Web Administration
Items & Catalog Configuration
Defining the item master: hierarchy groups and values, items, shared specification properties, per-QR unique properties, and measurement units.
Items & Hierarchy Groups
The master list of trackable materials and tools.
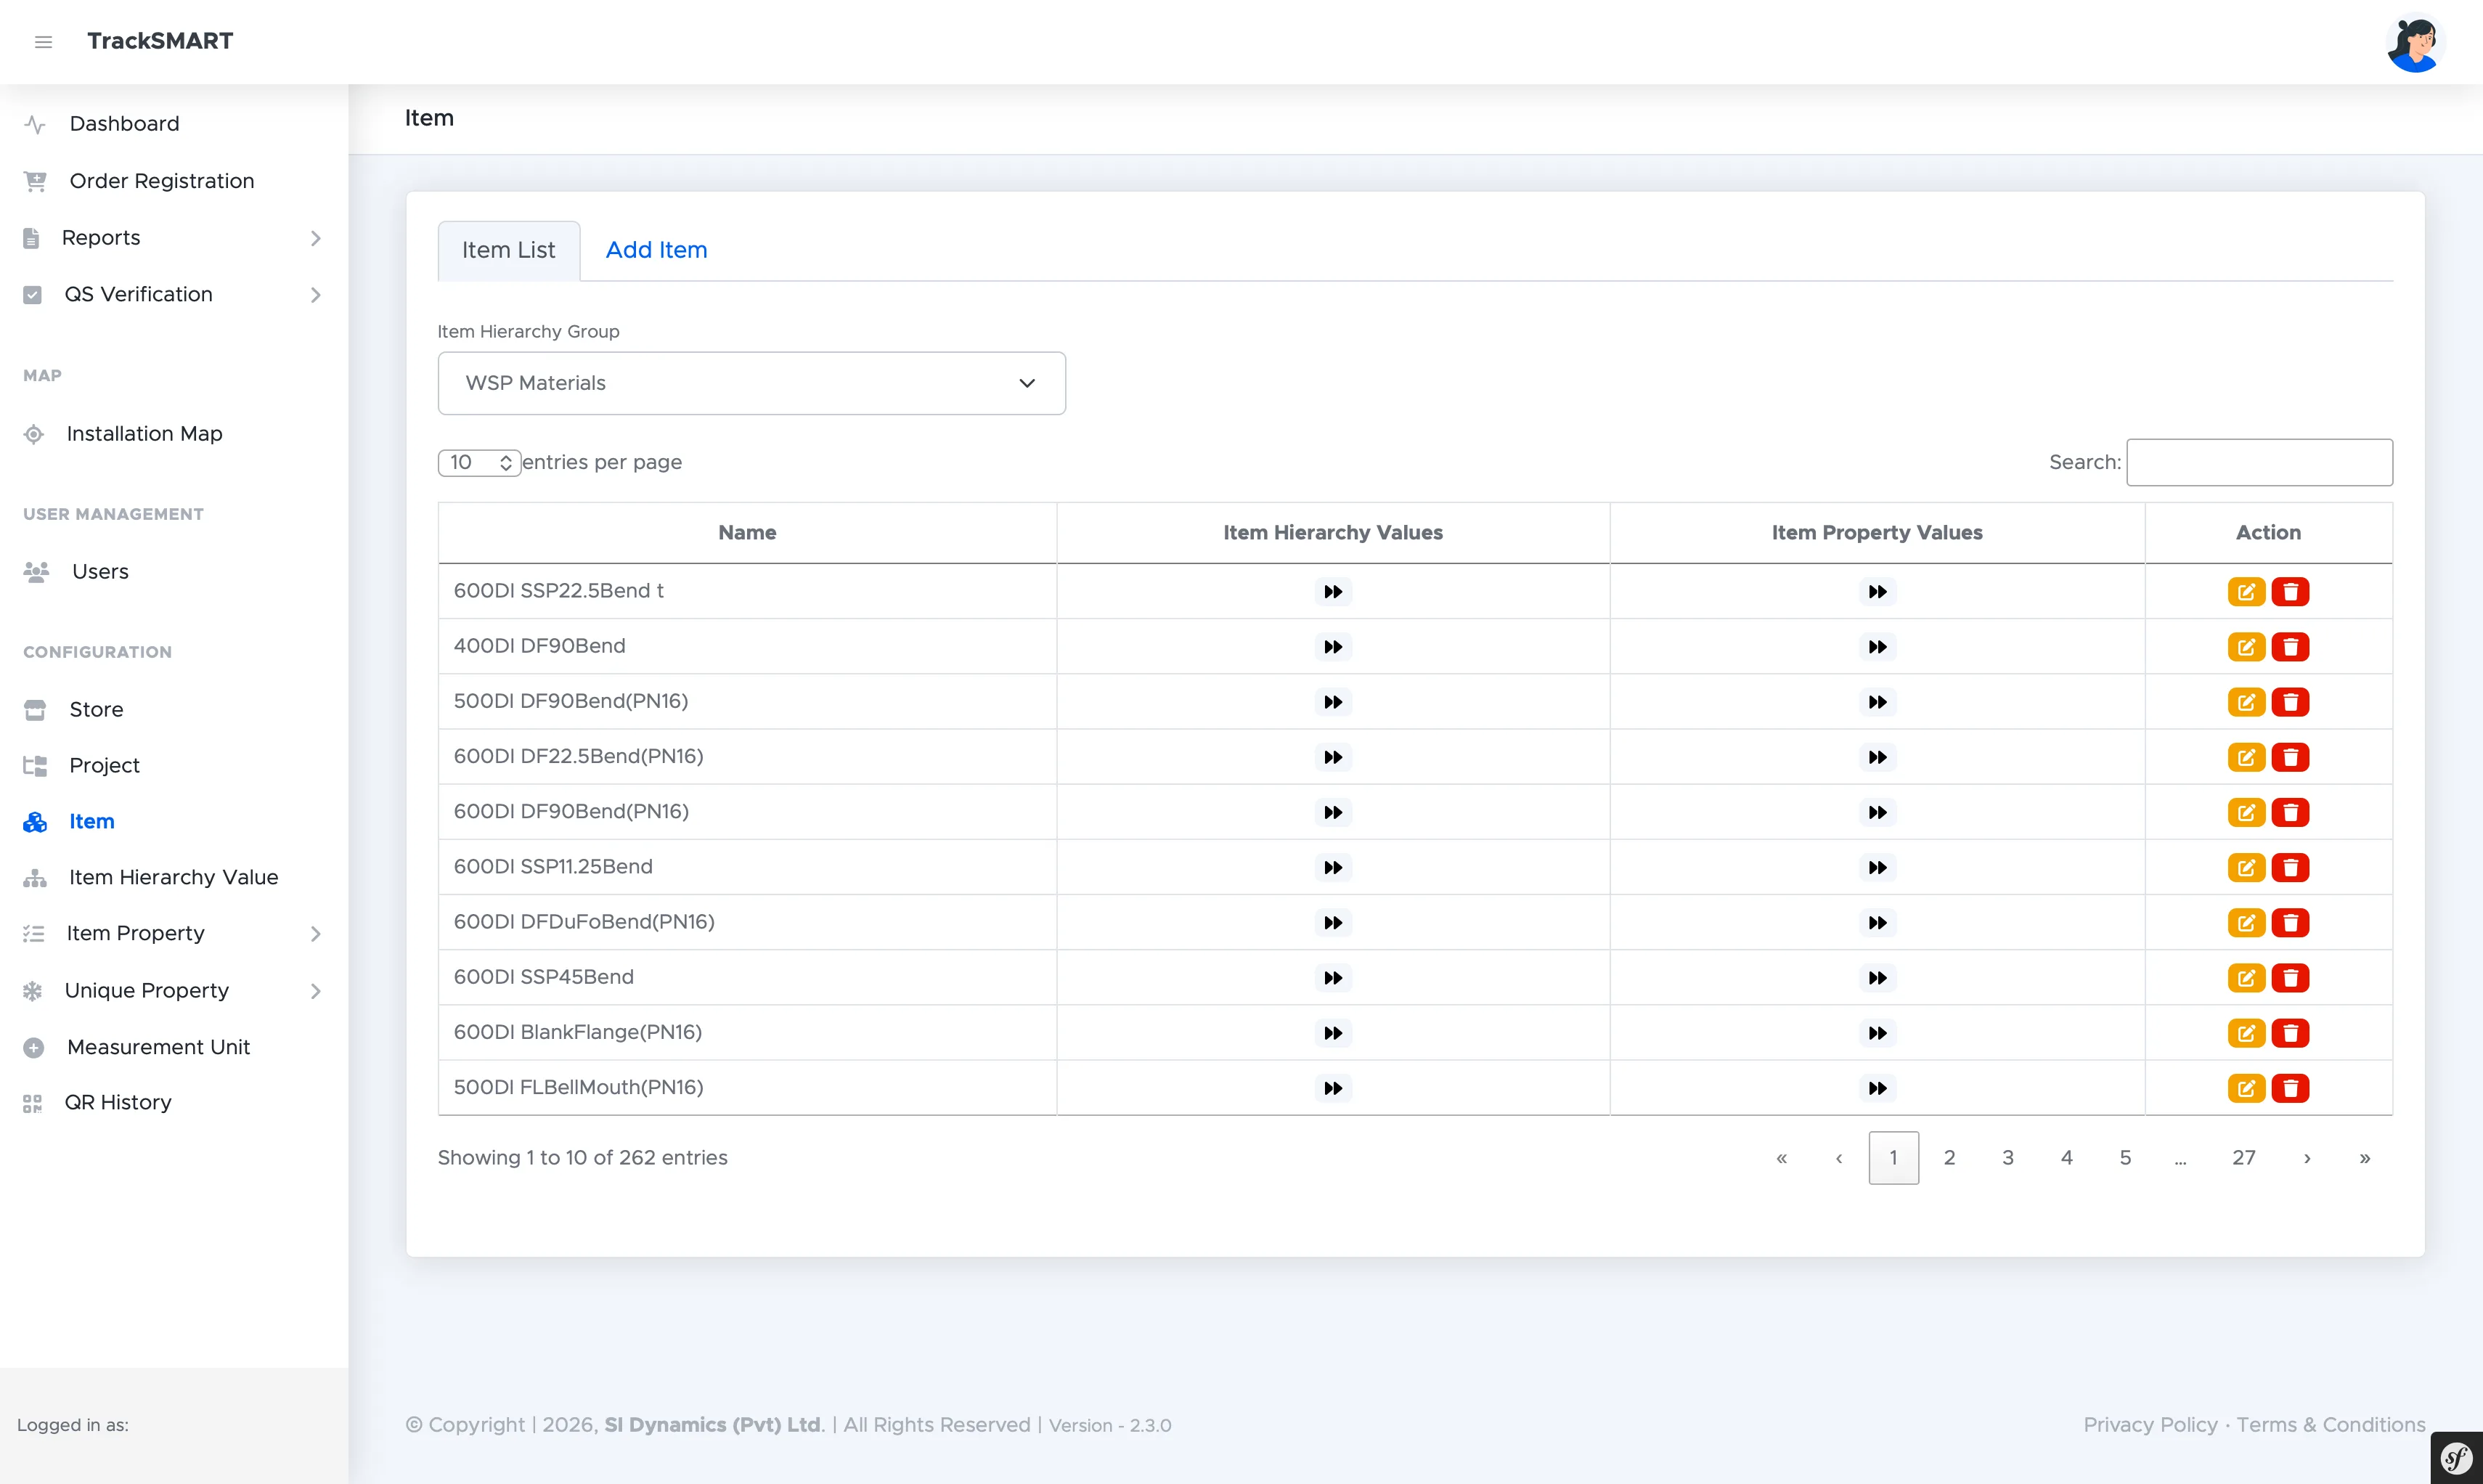
The Item module (CONFIGURATION > Item) is the master catalog of everything TrackSmart can track — from 600DI bends and flanges to power tools. Items are organized by Item Hierarchy Group (e.g. WSP Materials), and the Item List can be filtered by group with search and pagination.
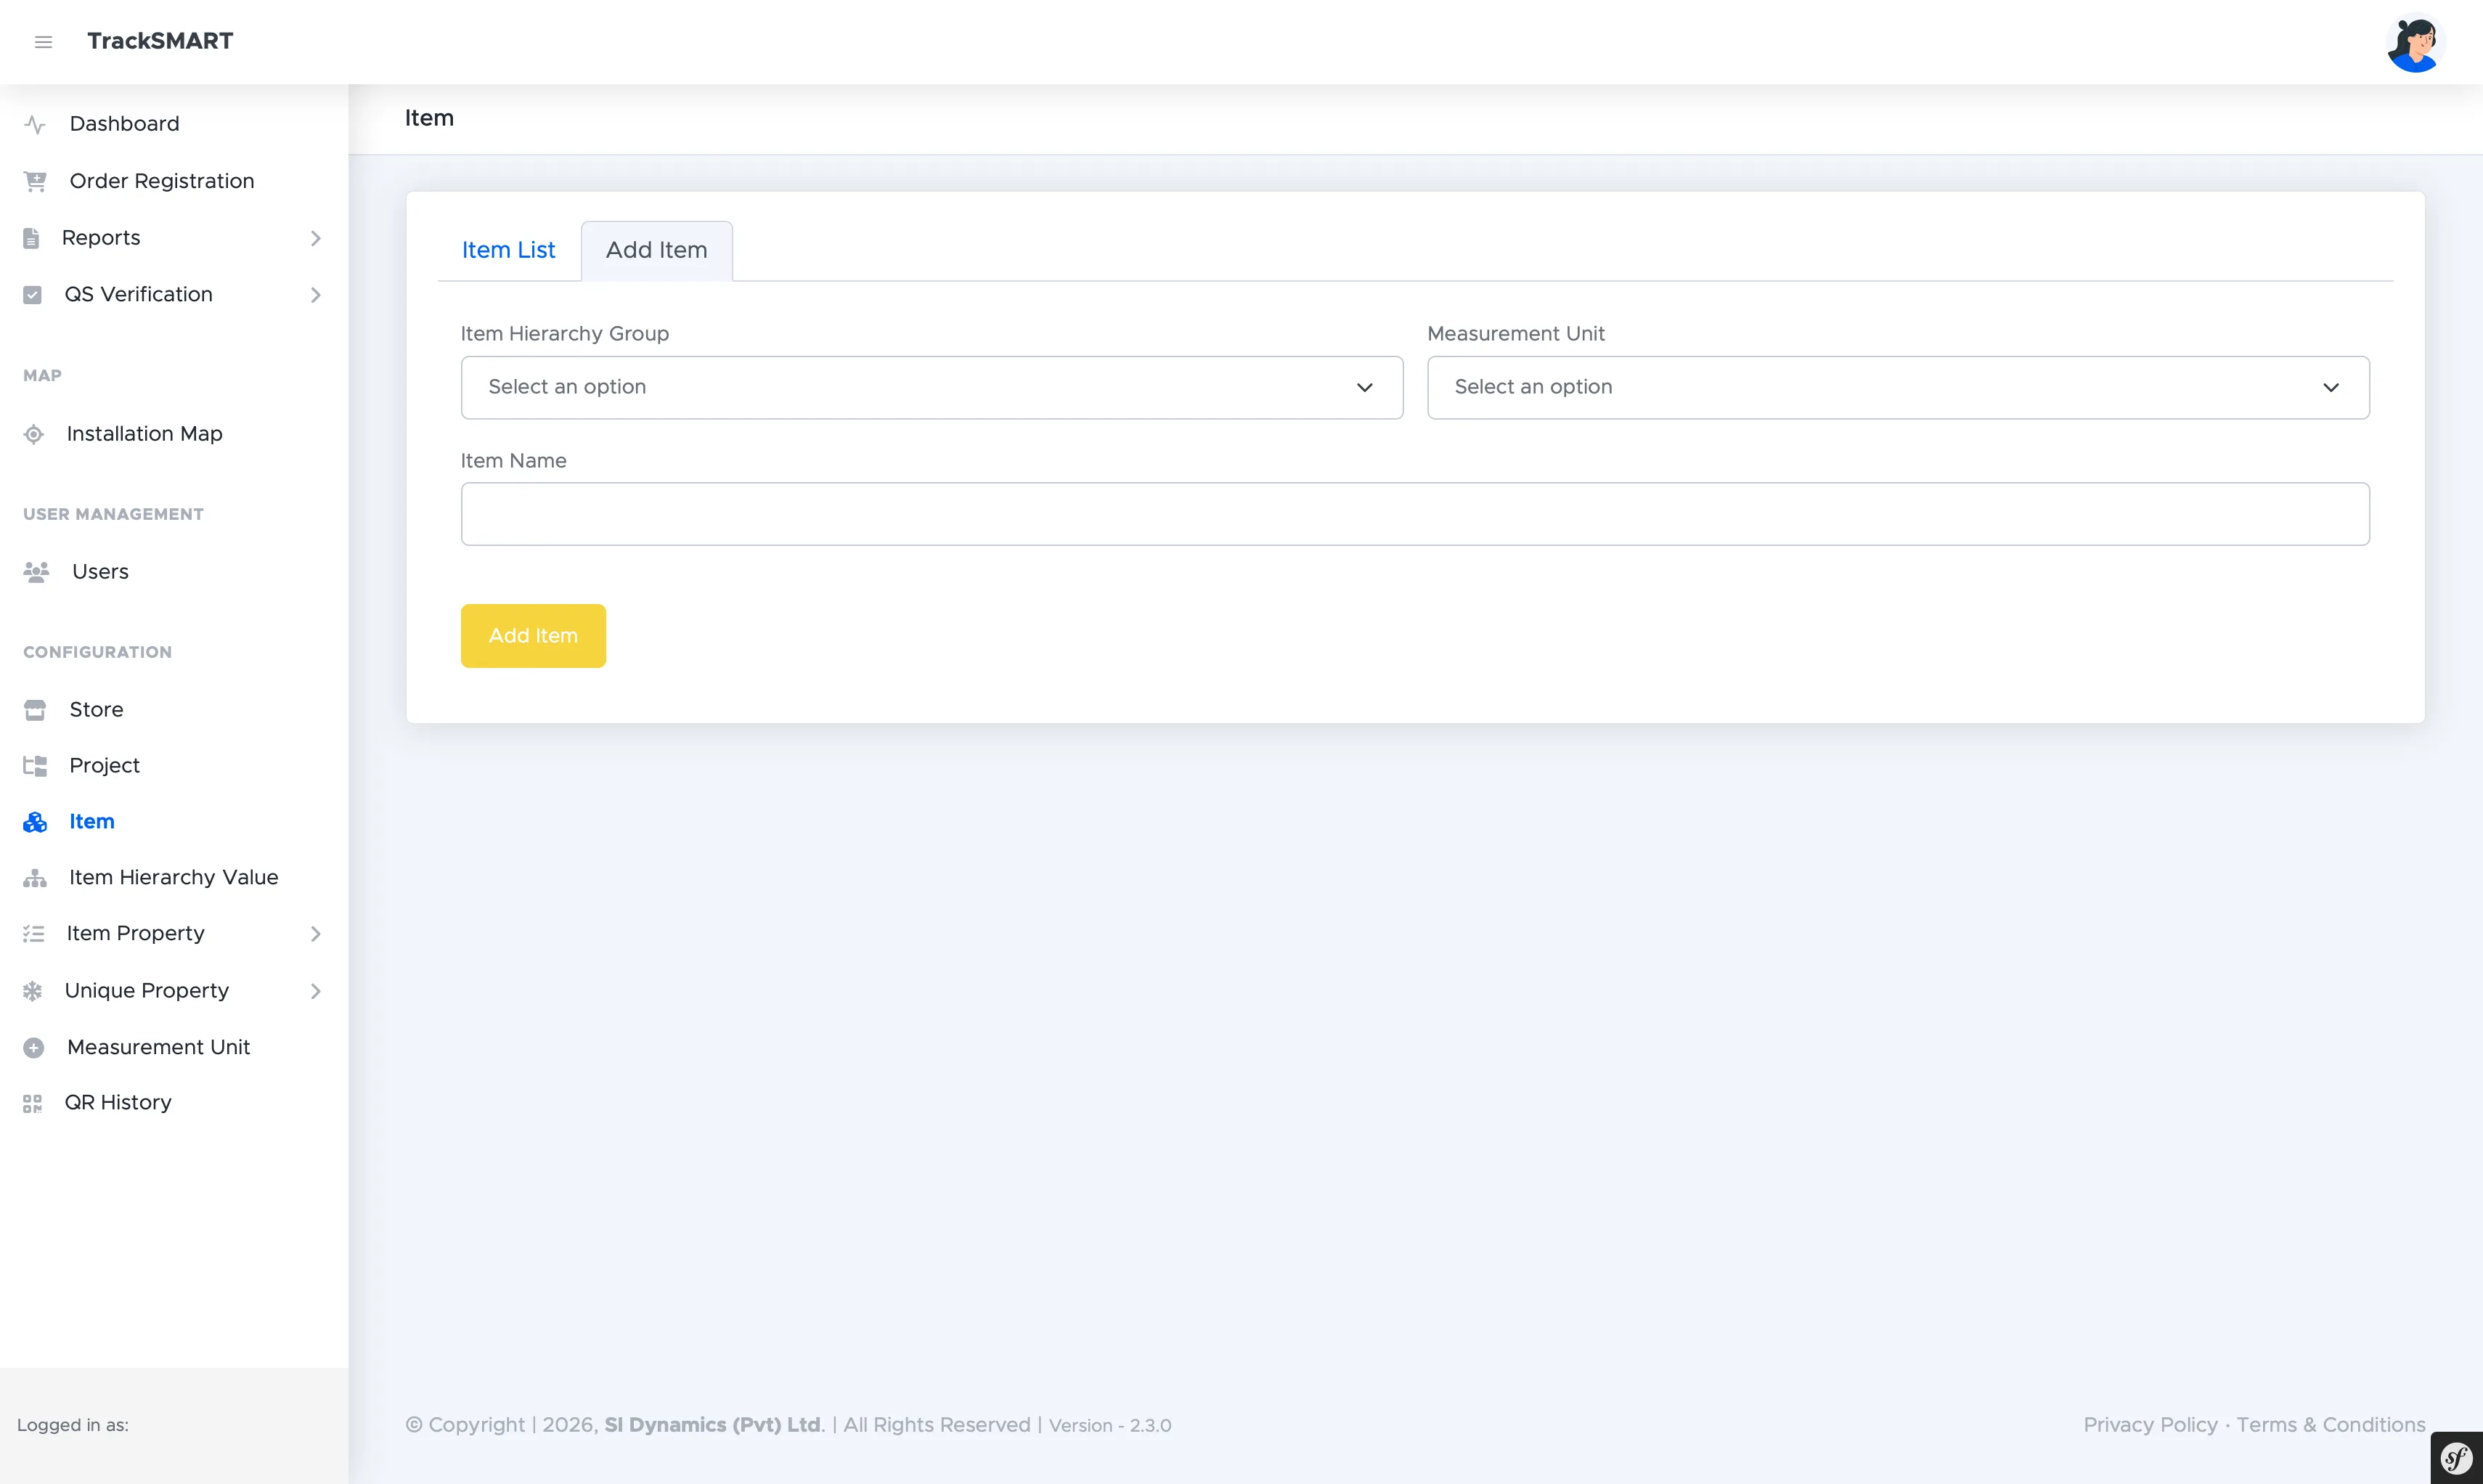
- 1Open CONFIGURATION > Item and switch to the Add Item tab.
- 2Select the Item Hierarchy Group the item belongs to.
- 3Select the Measurement Unit (e.g. Nos, mm).
- 4Enter the Item Name using site convention (e.g. 600DI DF90Bend(PN16)).
- 5Click Add Item to save. Hierarchy values and properties are attached afterwards.
Item Hierarchy Values
Category trees that classify every item.
Item Hierarchy Values define the classification tree inside each hierarchy group. For WSP Materials the tree runs Item Category and Item Sub Category down to Item Type. Selecting a node in the tree opens its values table, where entries like DI Pipes & Fittings, PE Pipes & Fittings, and PVC Pipes & Fittings are maintained with Add New, edit, and delete actions.
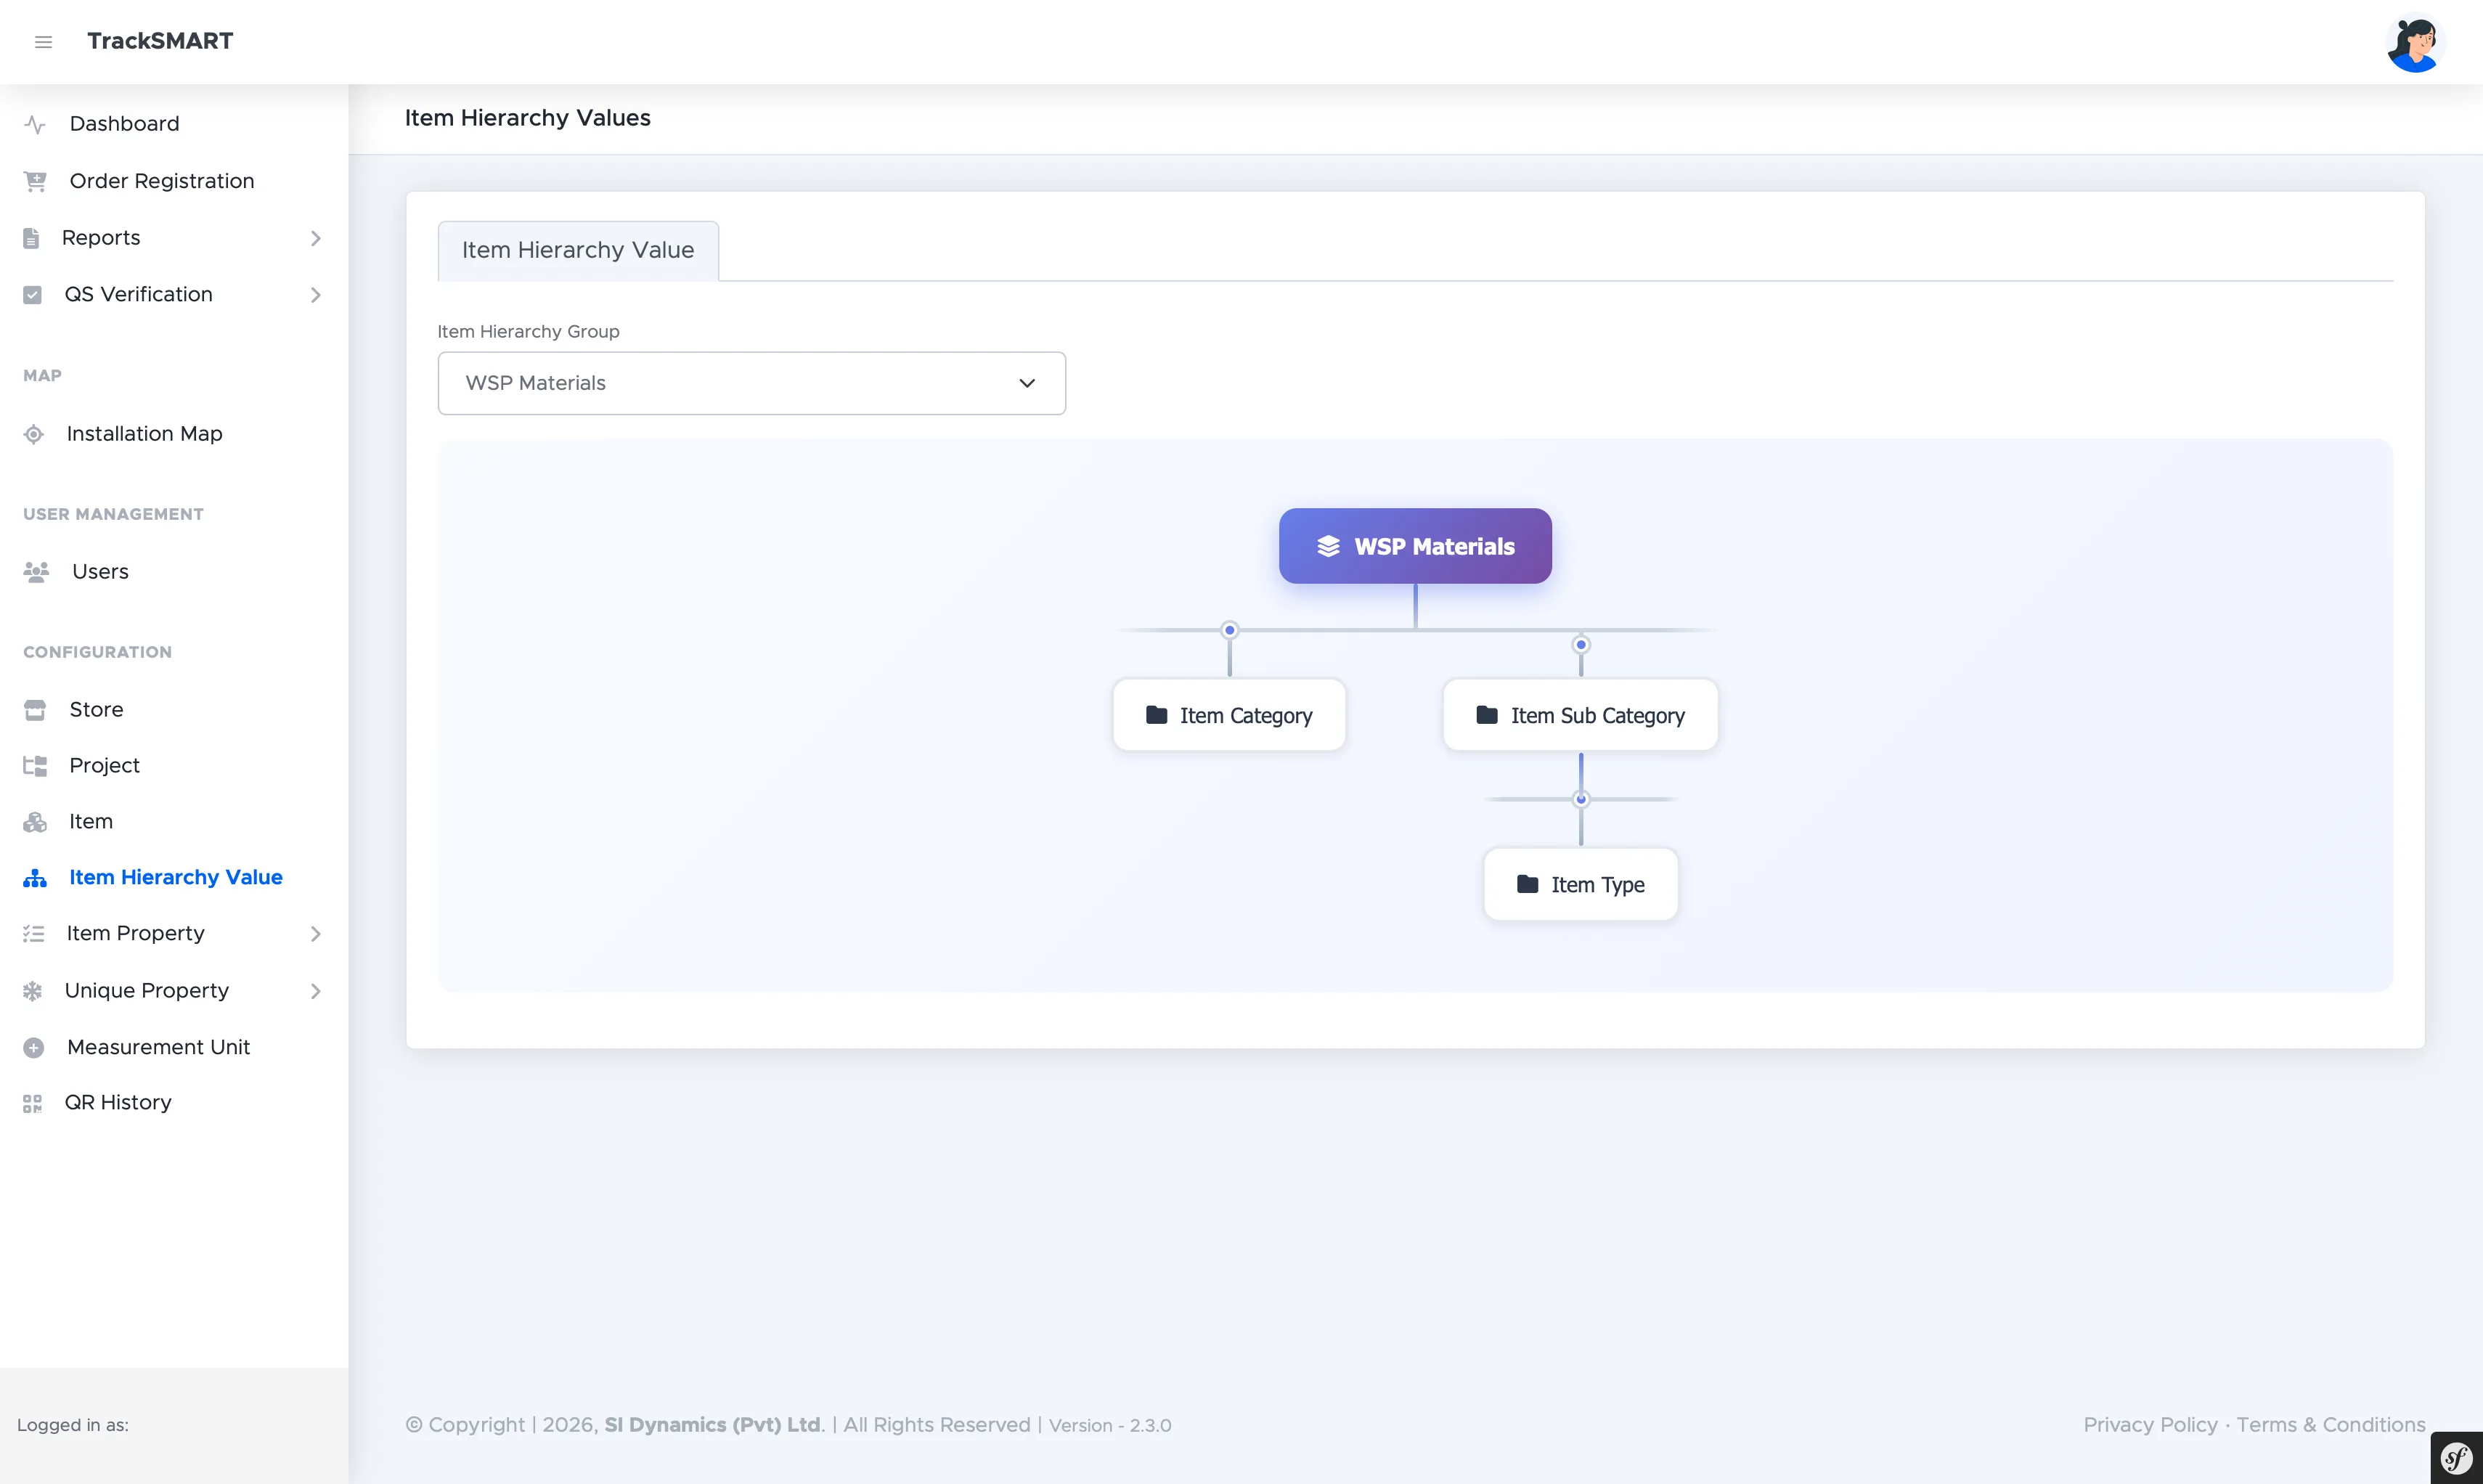
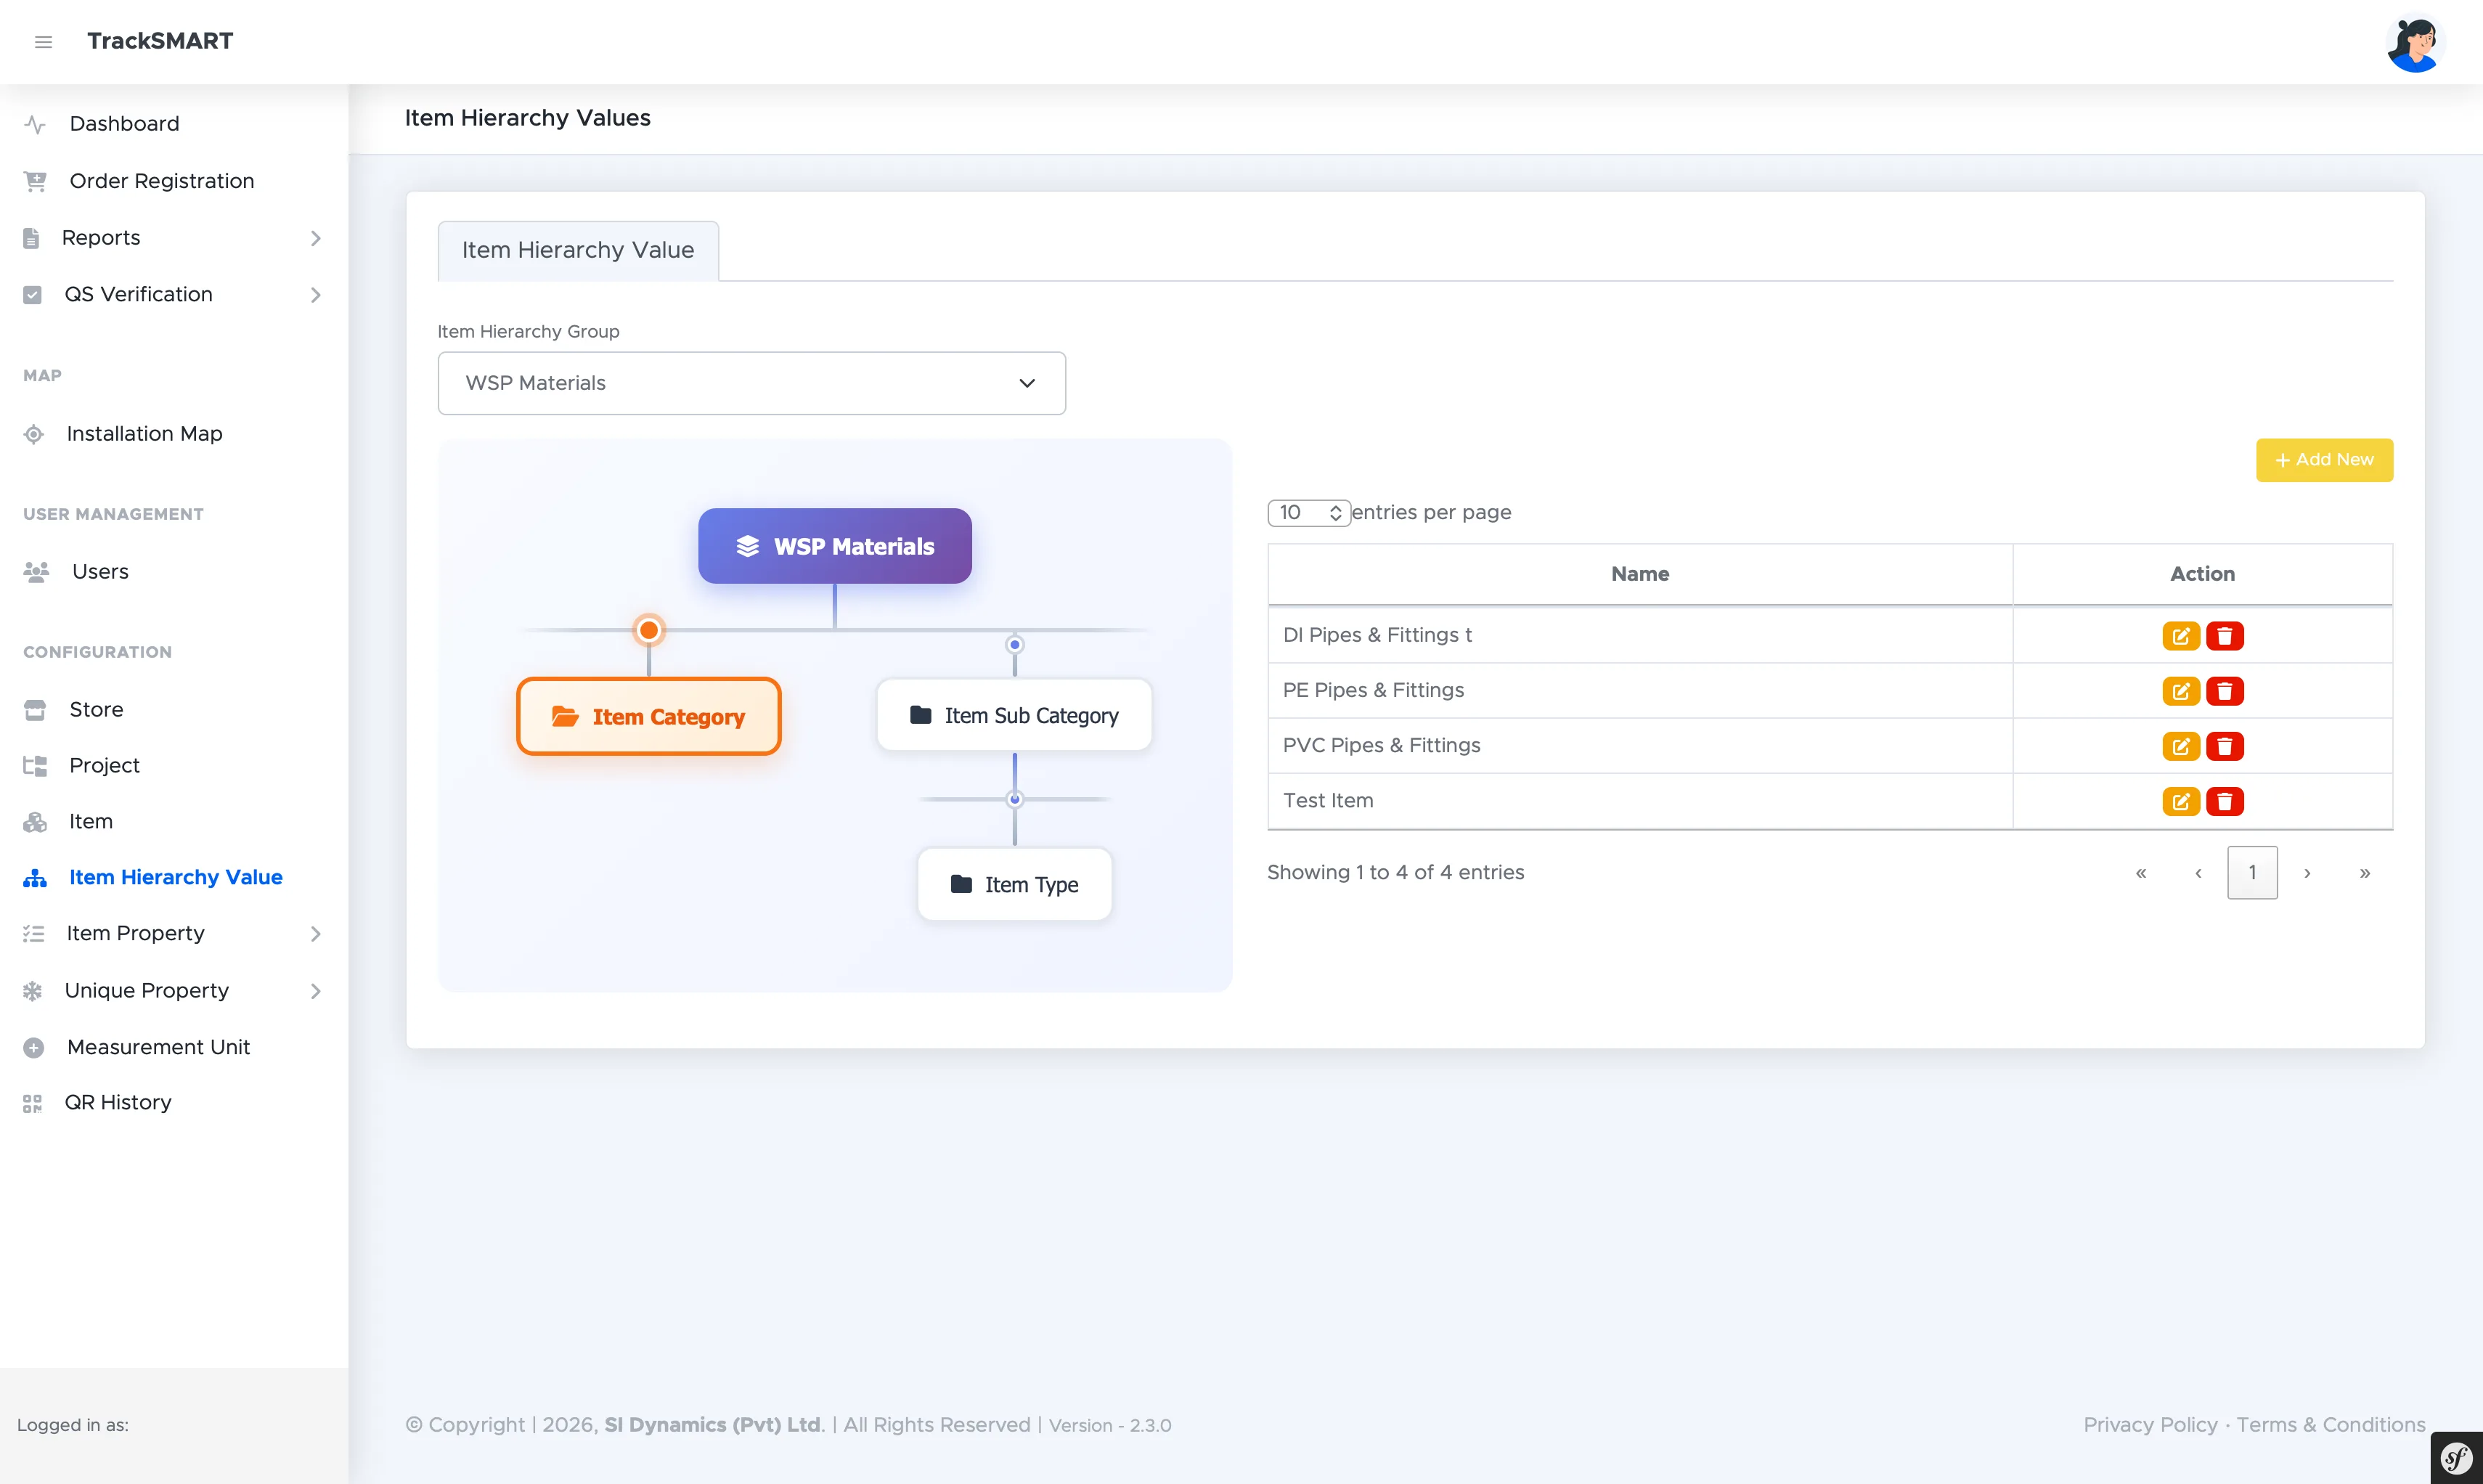
- Choose the Item Hierarchy Group first — the tree renders per group.
- Click a tree node (Category, Sub Category, Type) to manage that level's values.
- Keep value names consistent; they appear in mobile scanning and report filters.
Shared Item Properties
Specification attributes reused across many items.
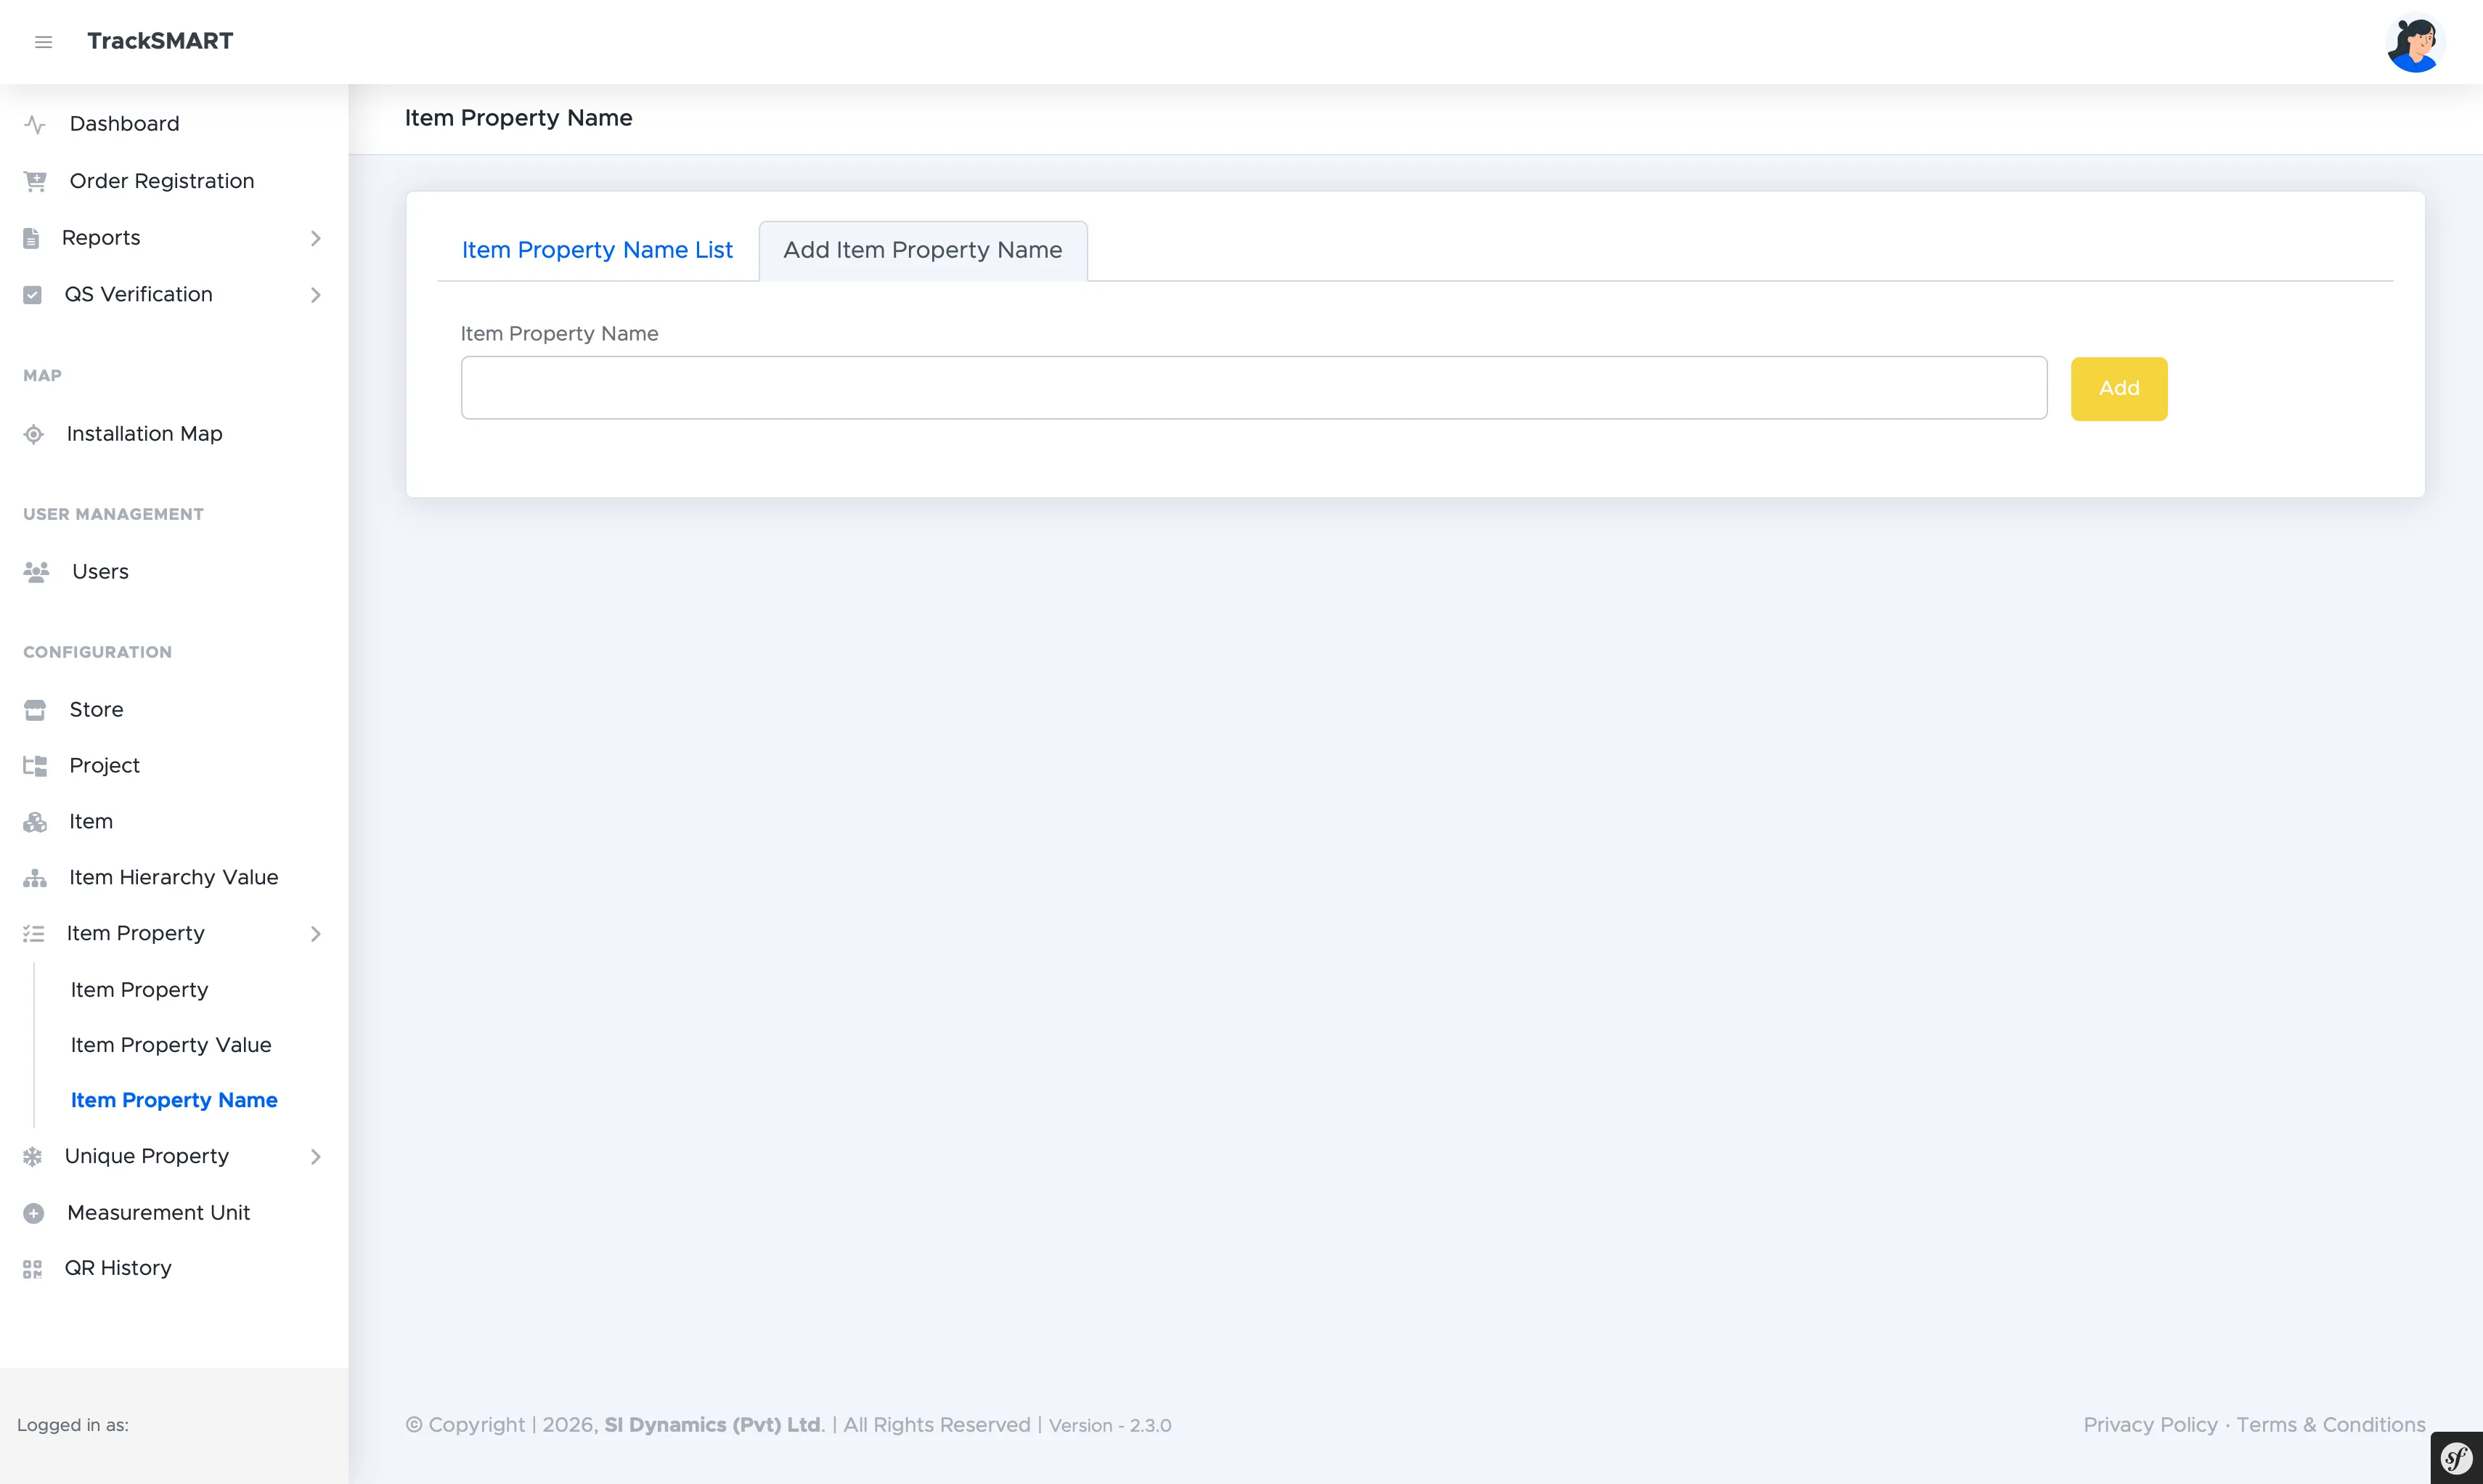
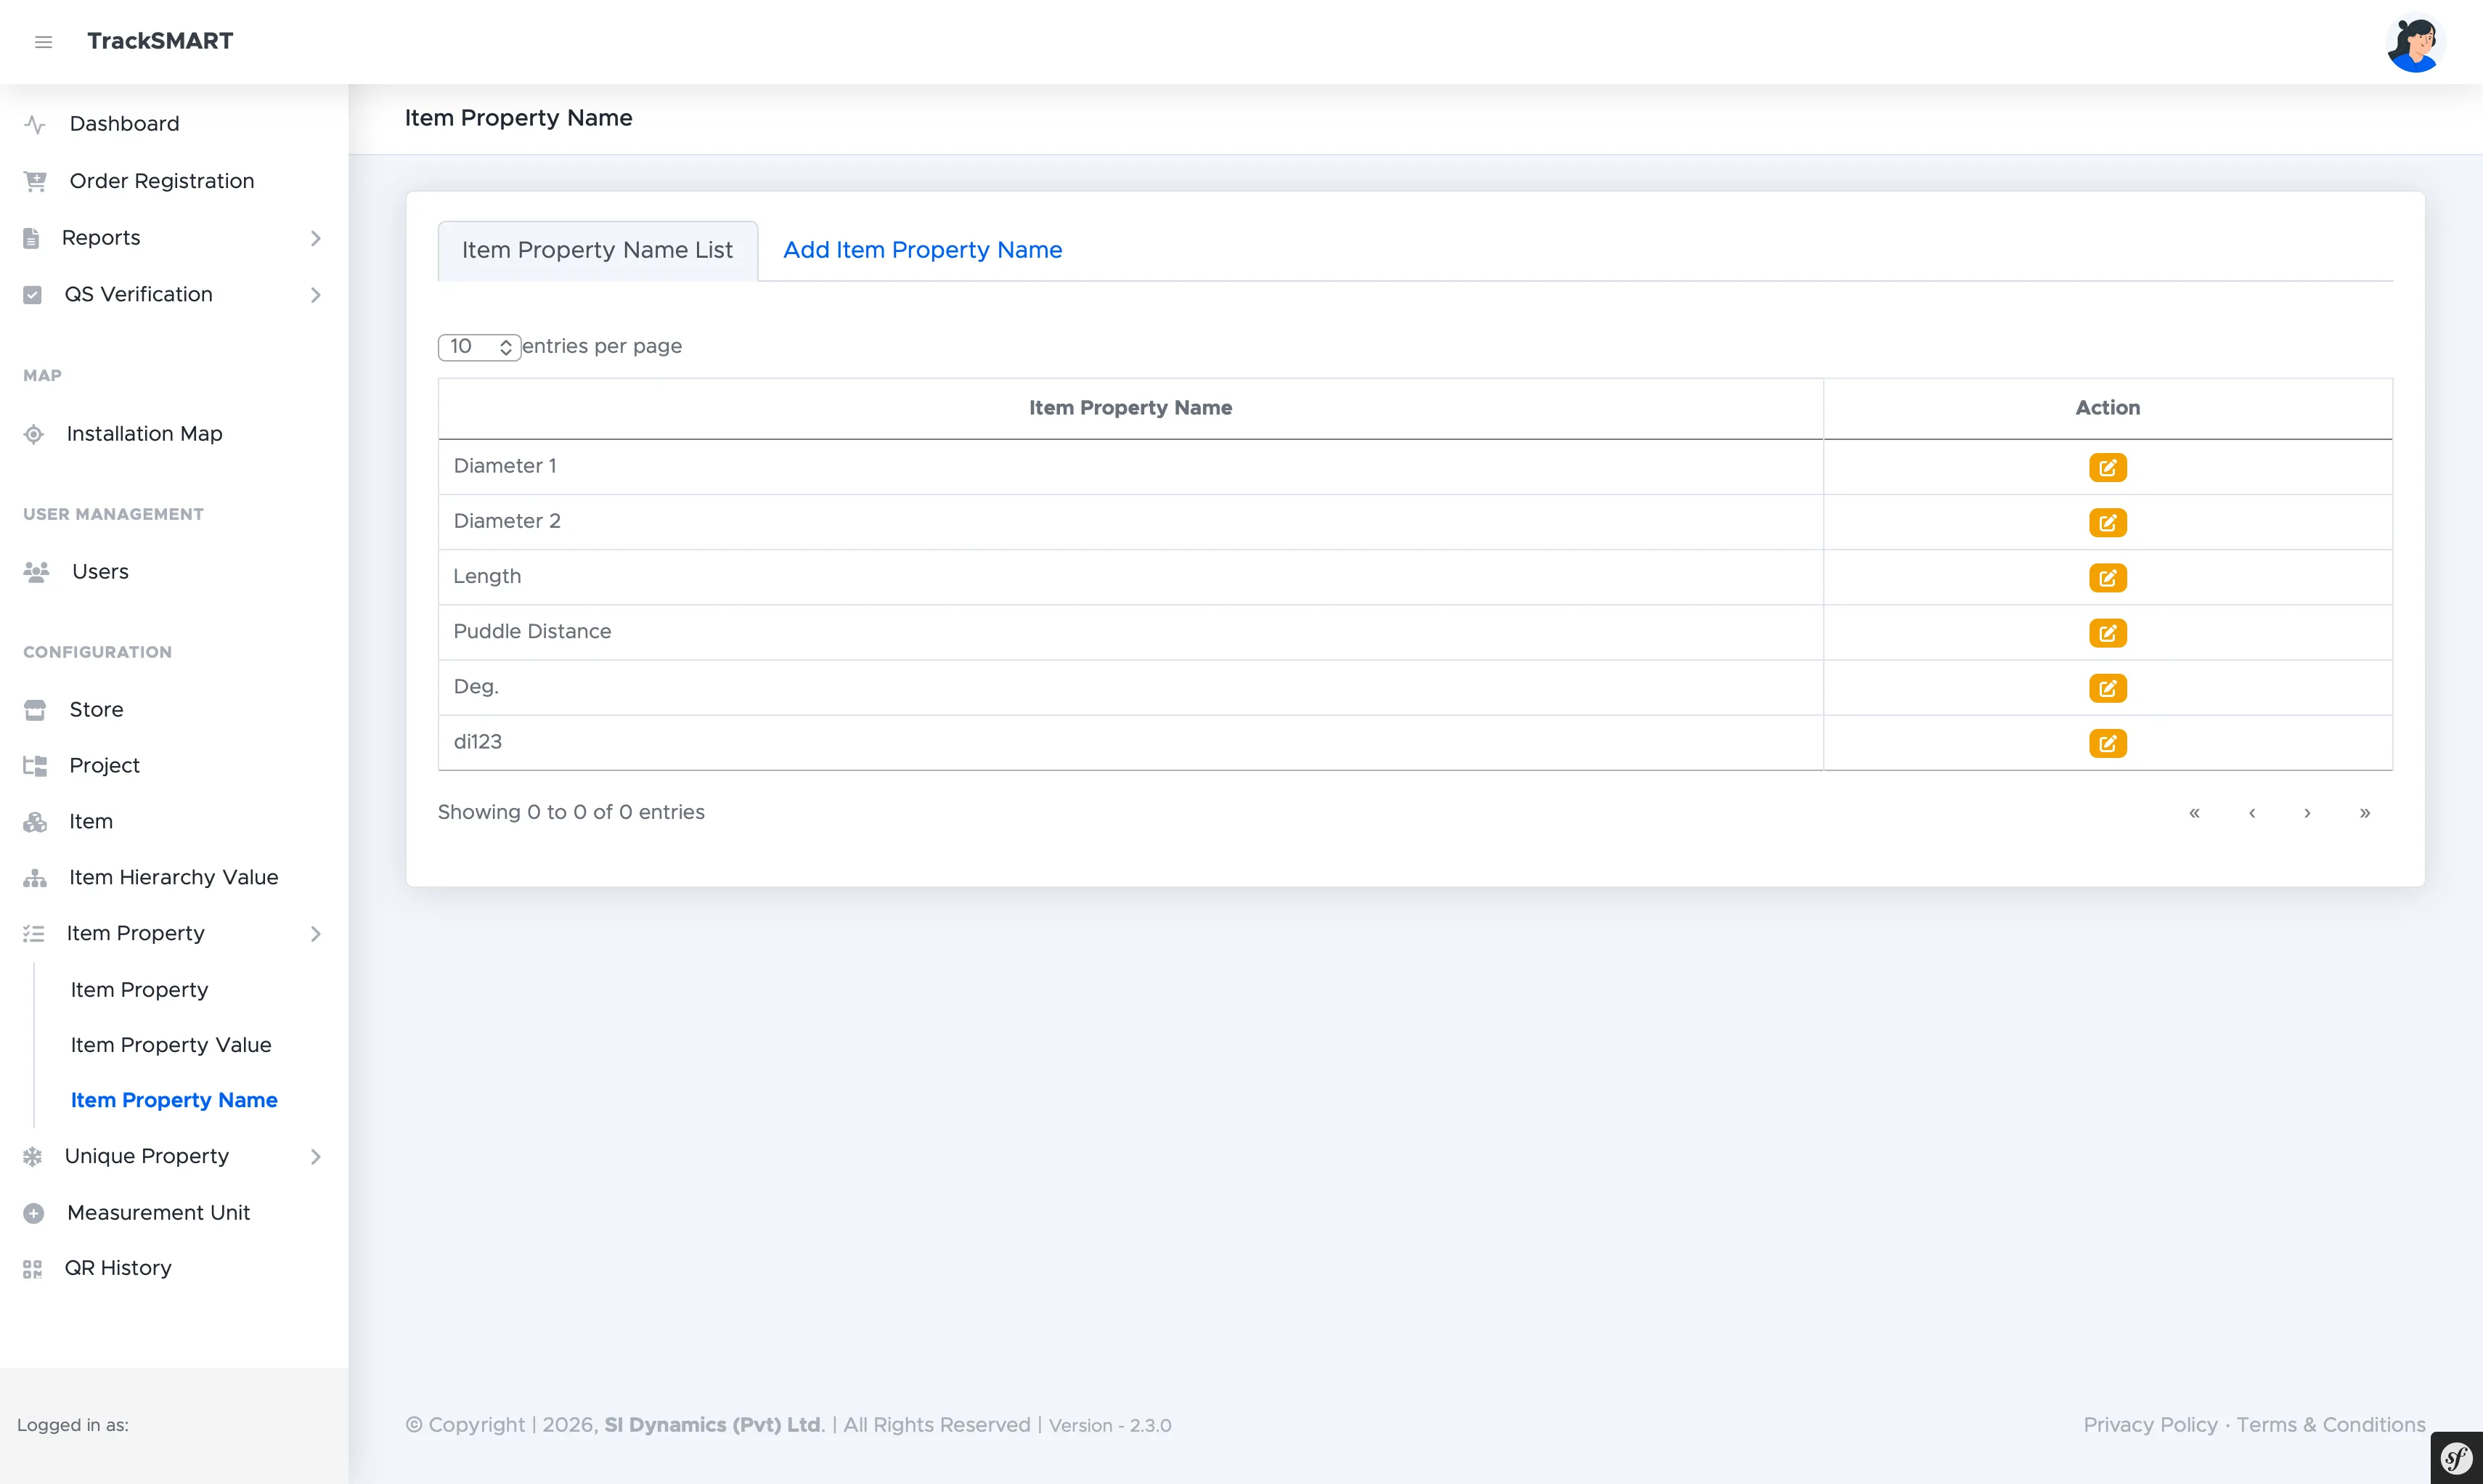
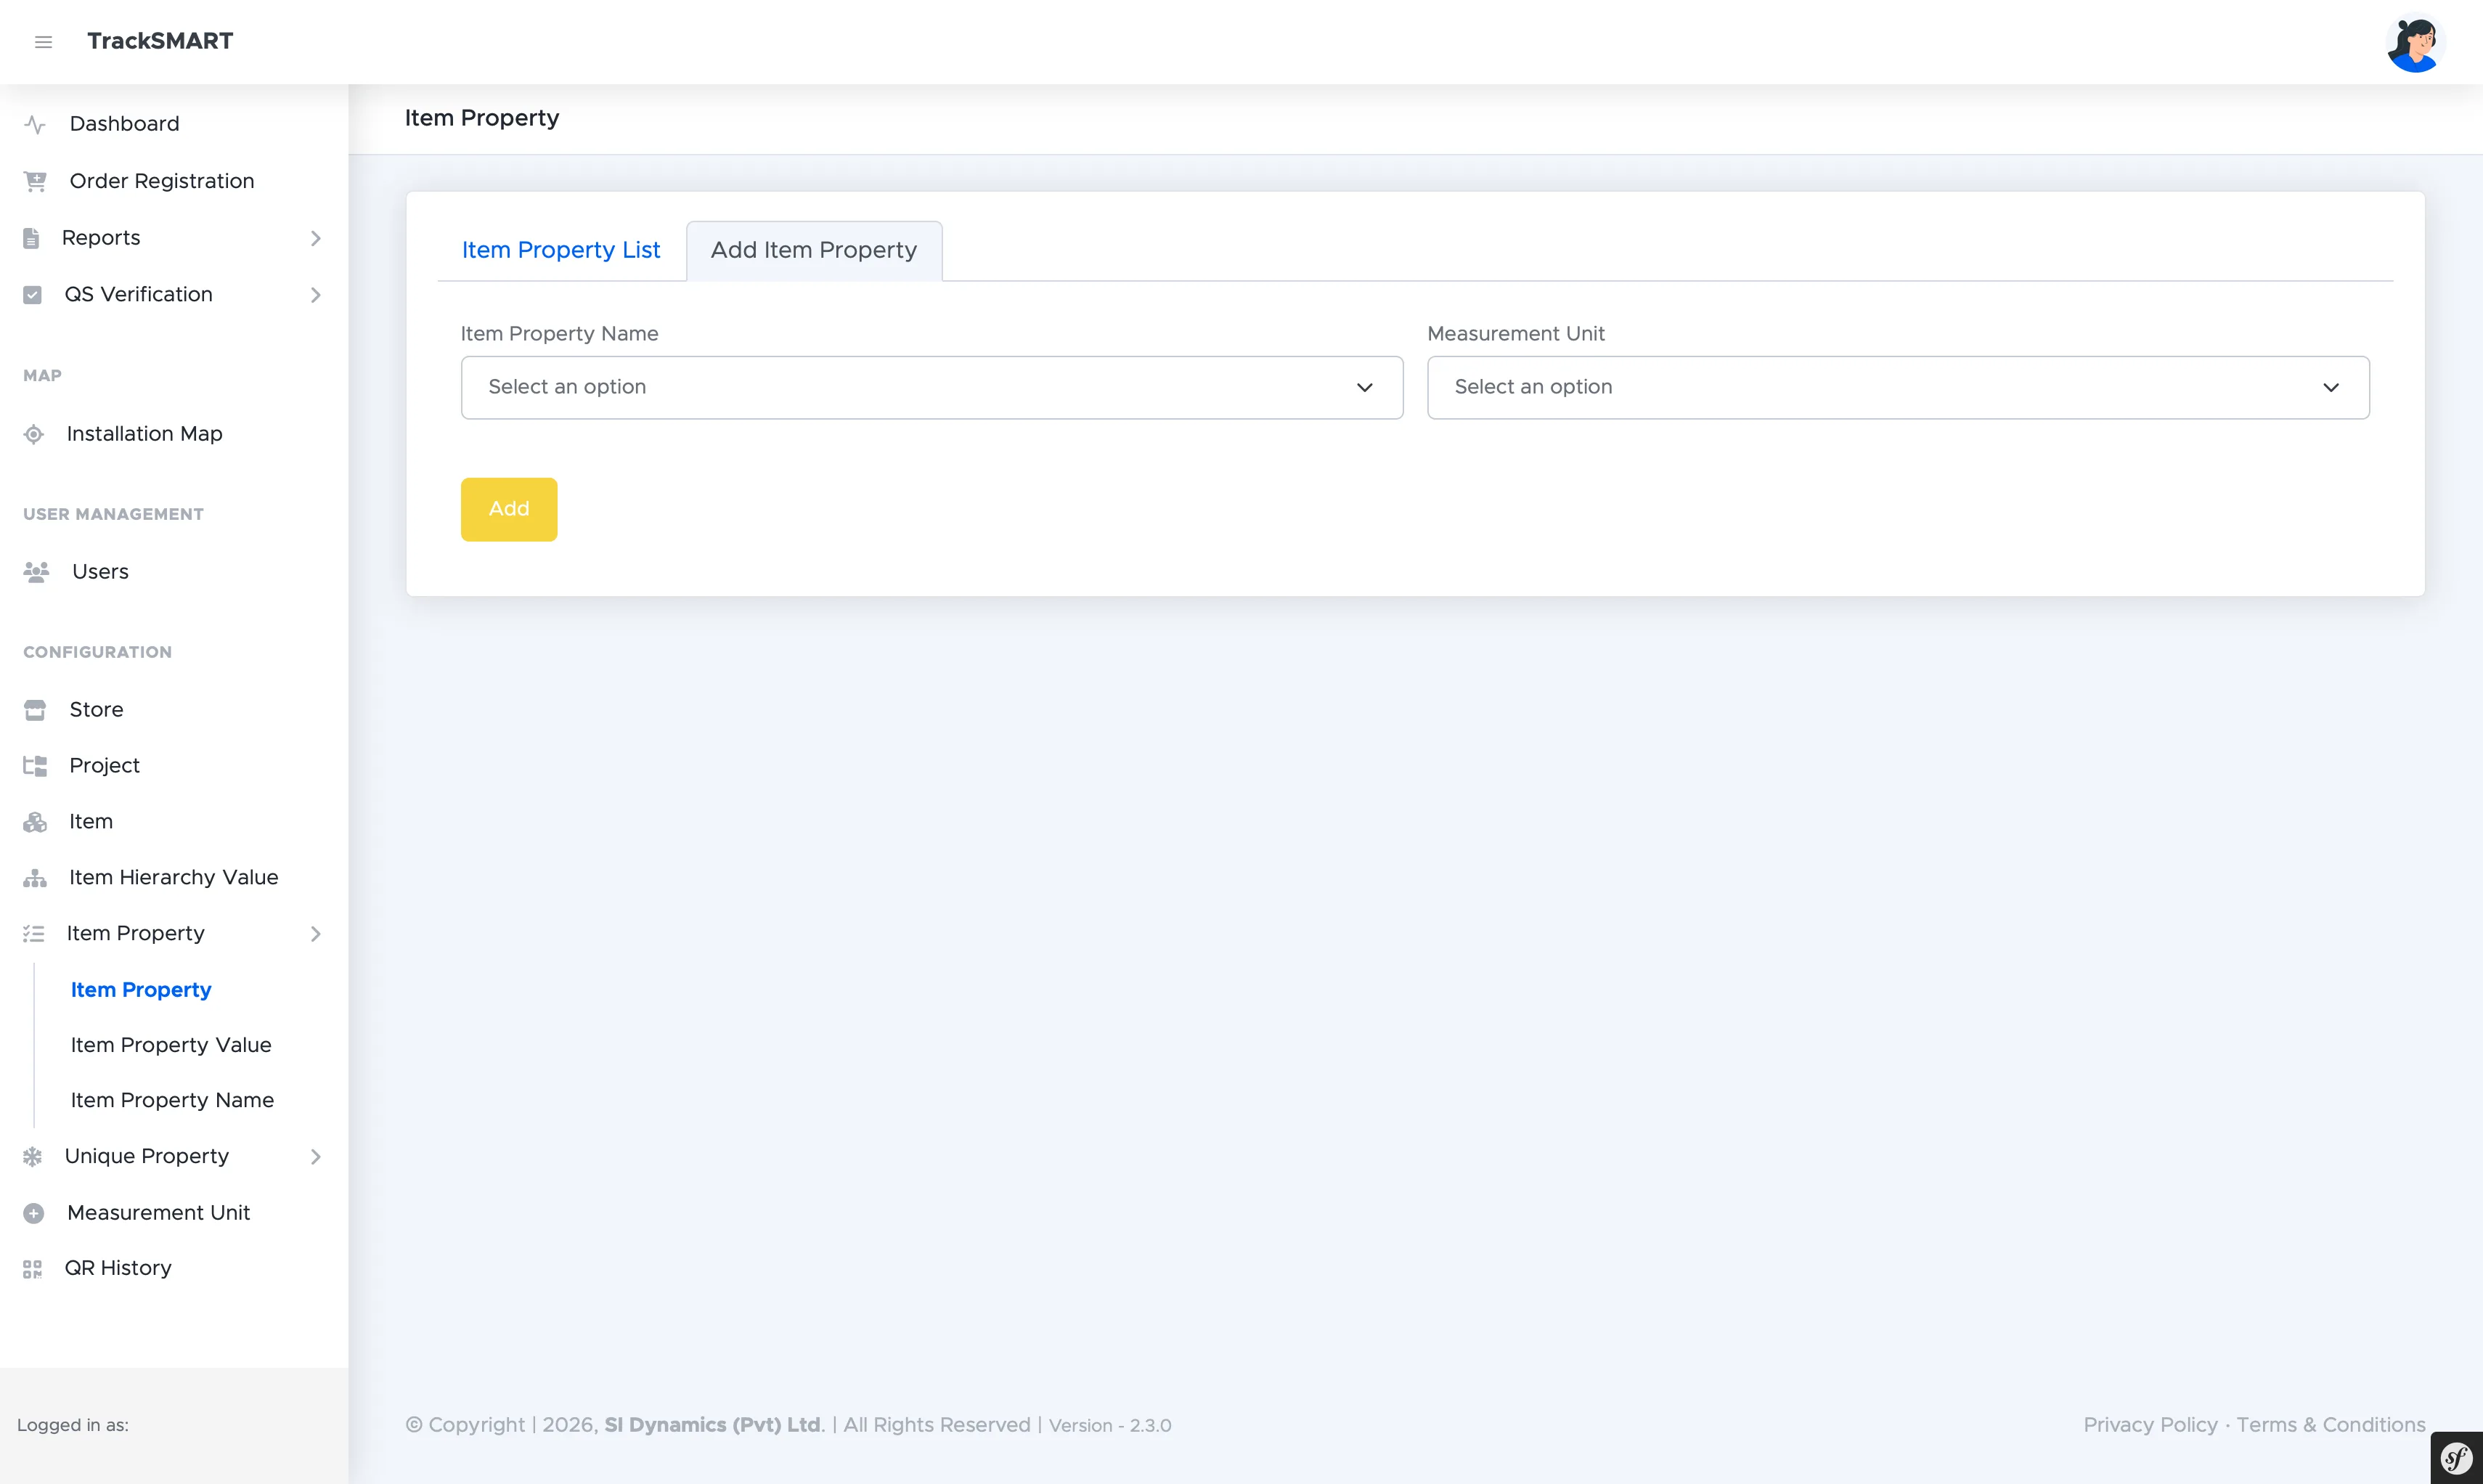
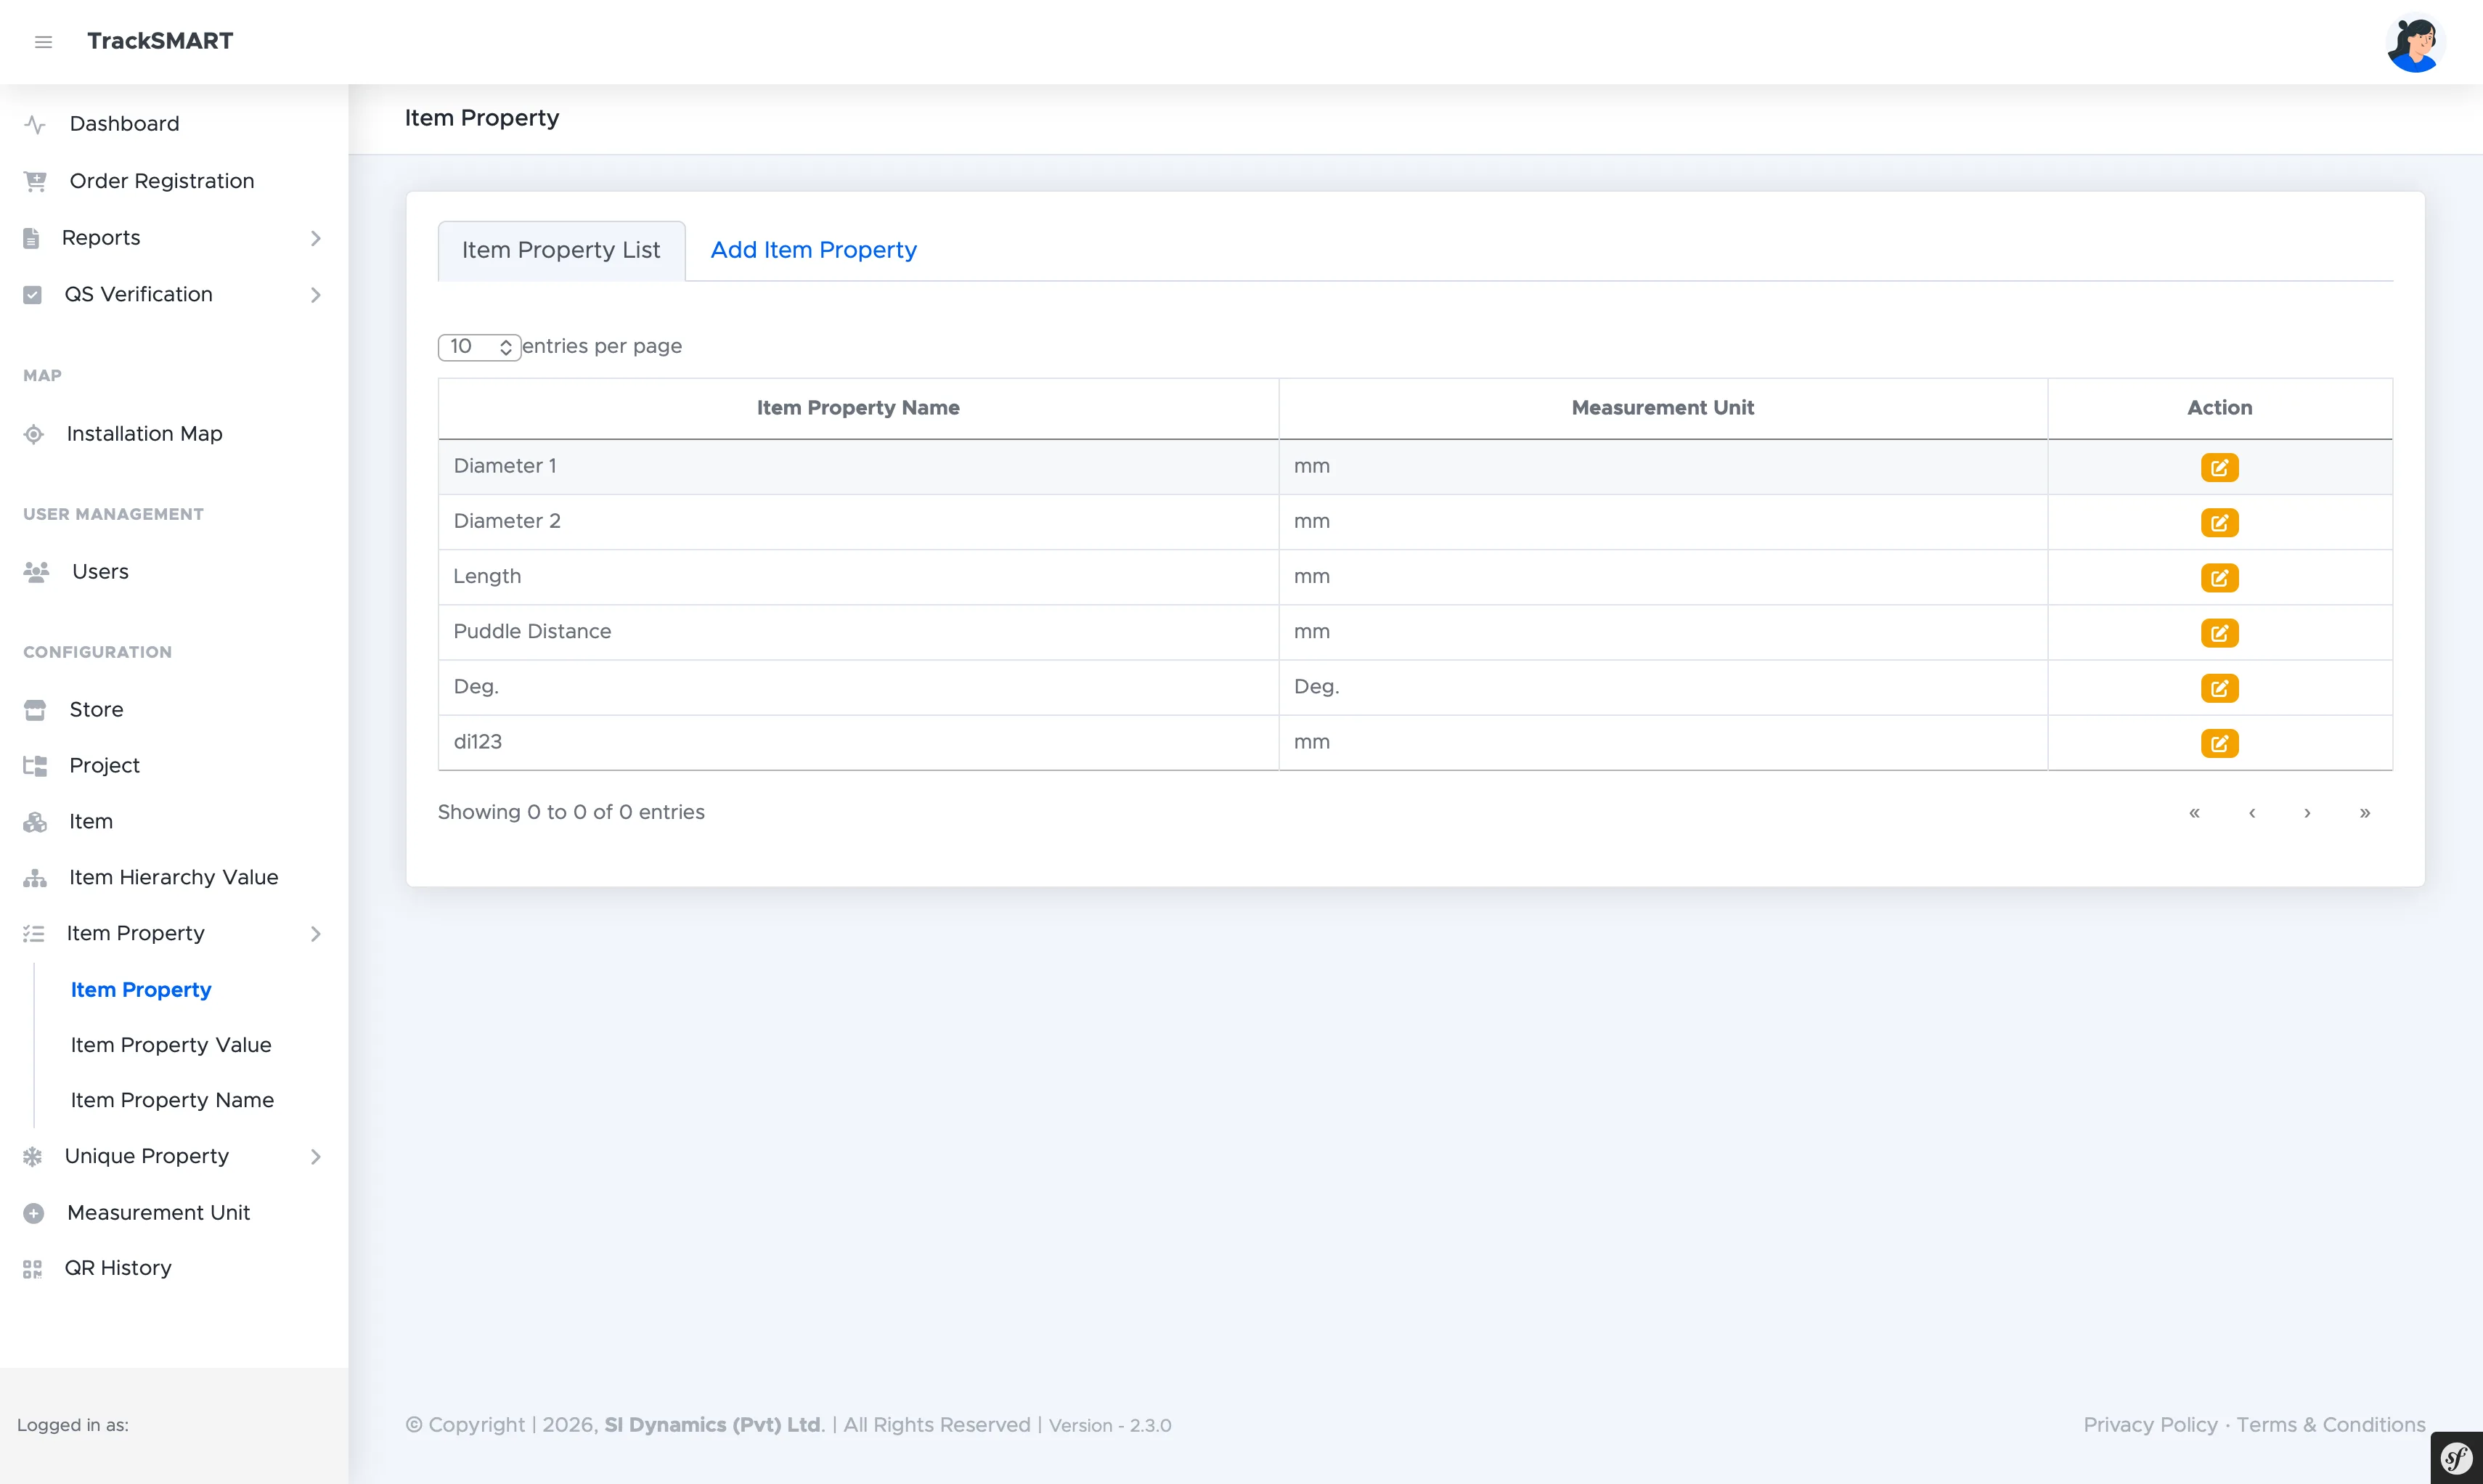
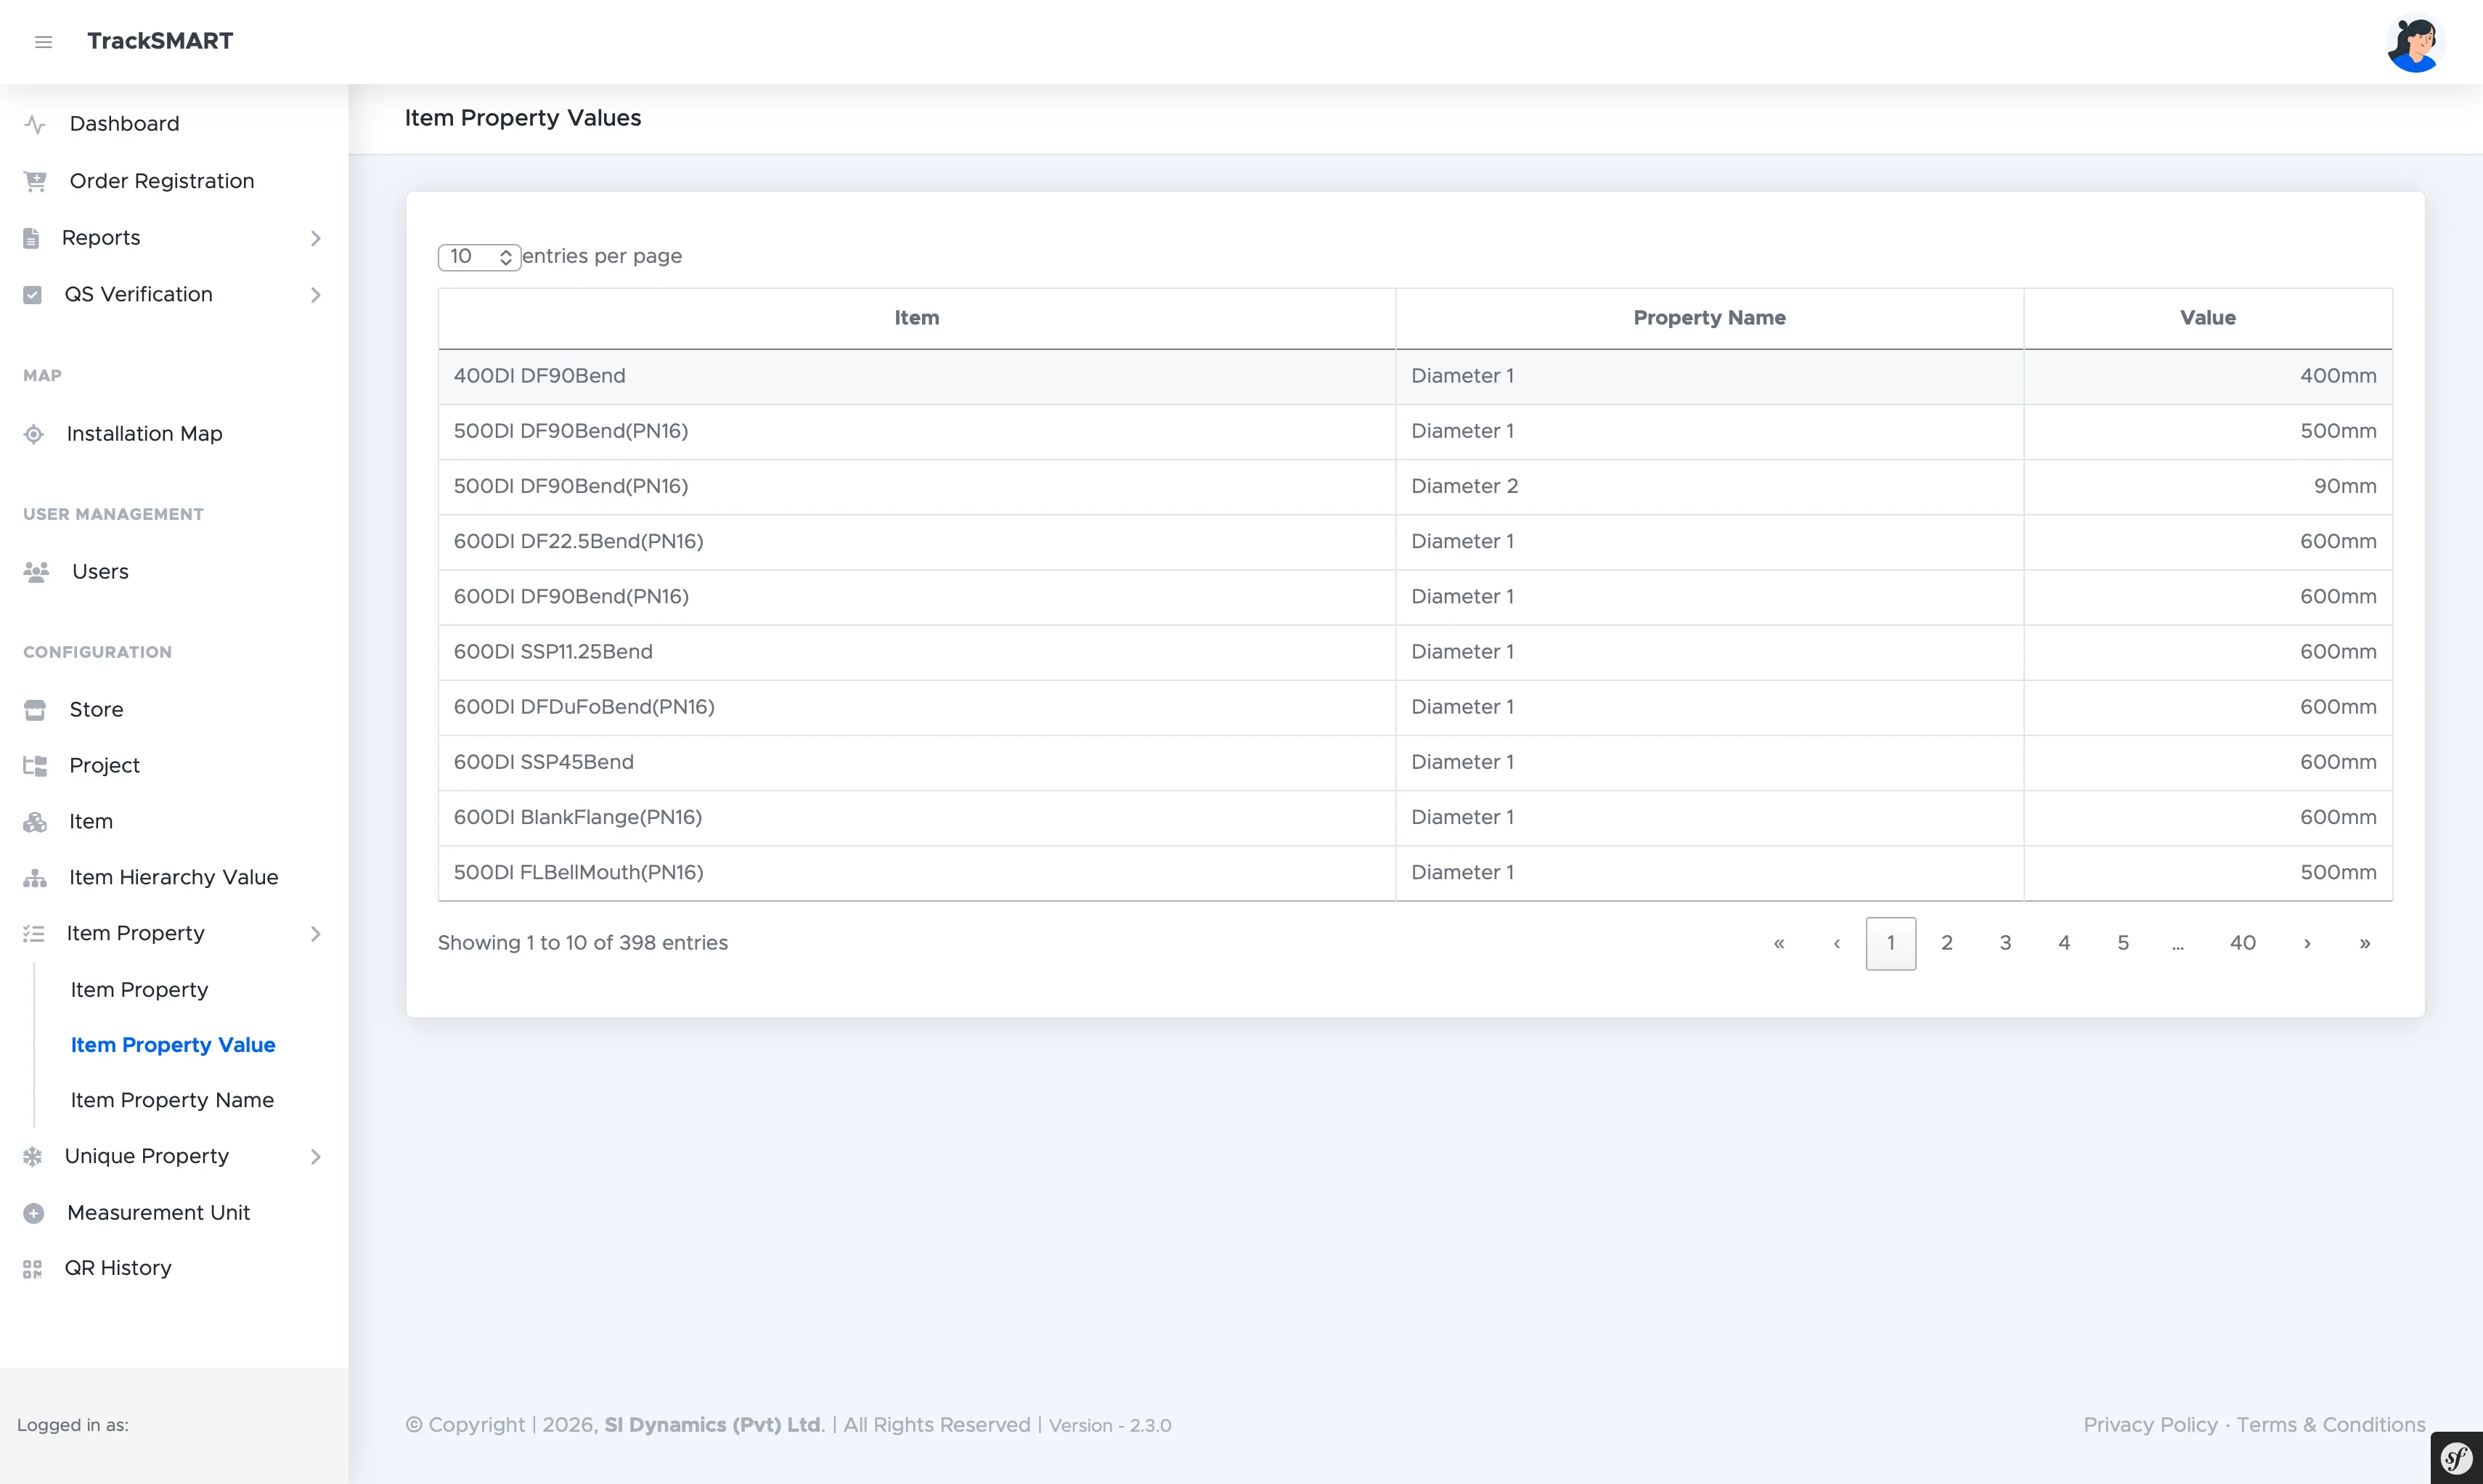
Shared properties describe specifications common to many items, such as diameters and lengths. The model has three levels: Item Property Name defines the attribute (e.g. Diameter 1), Item Property binds that attribute to a measurement unit (e.g. Diameter 1 in mm), and Item Property Value records the actual value per item (e.g. 400DI DF90Bend has Diameter 1 of 400mm).
Unique (Per-QR) Properties
Attributes tracked per serialized QR instance.
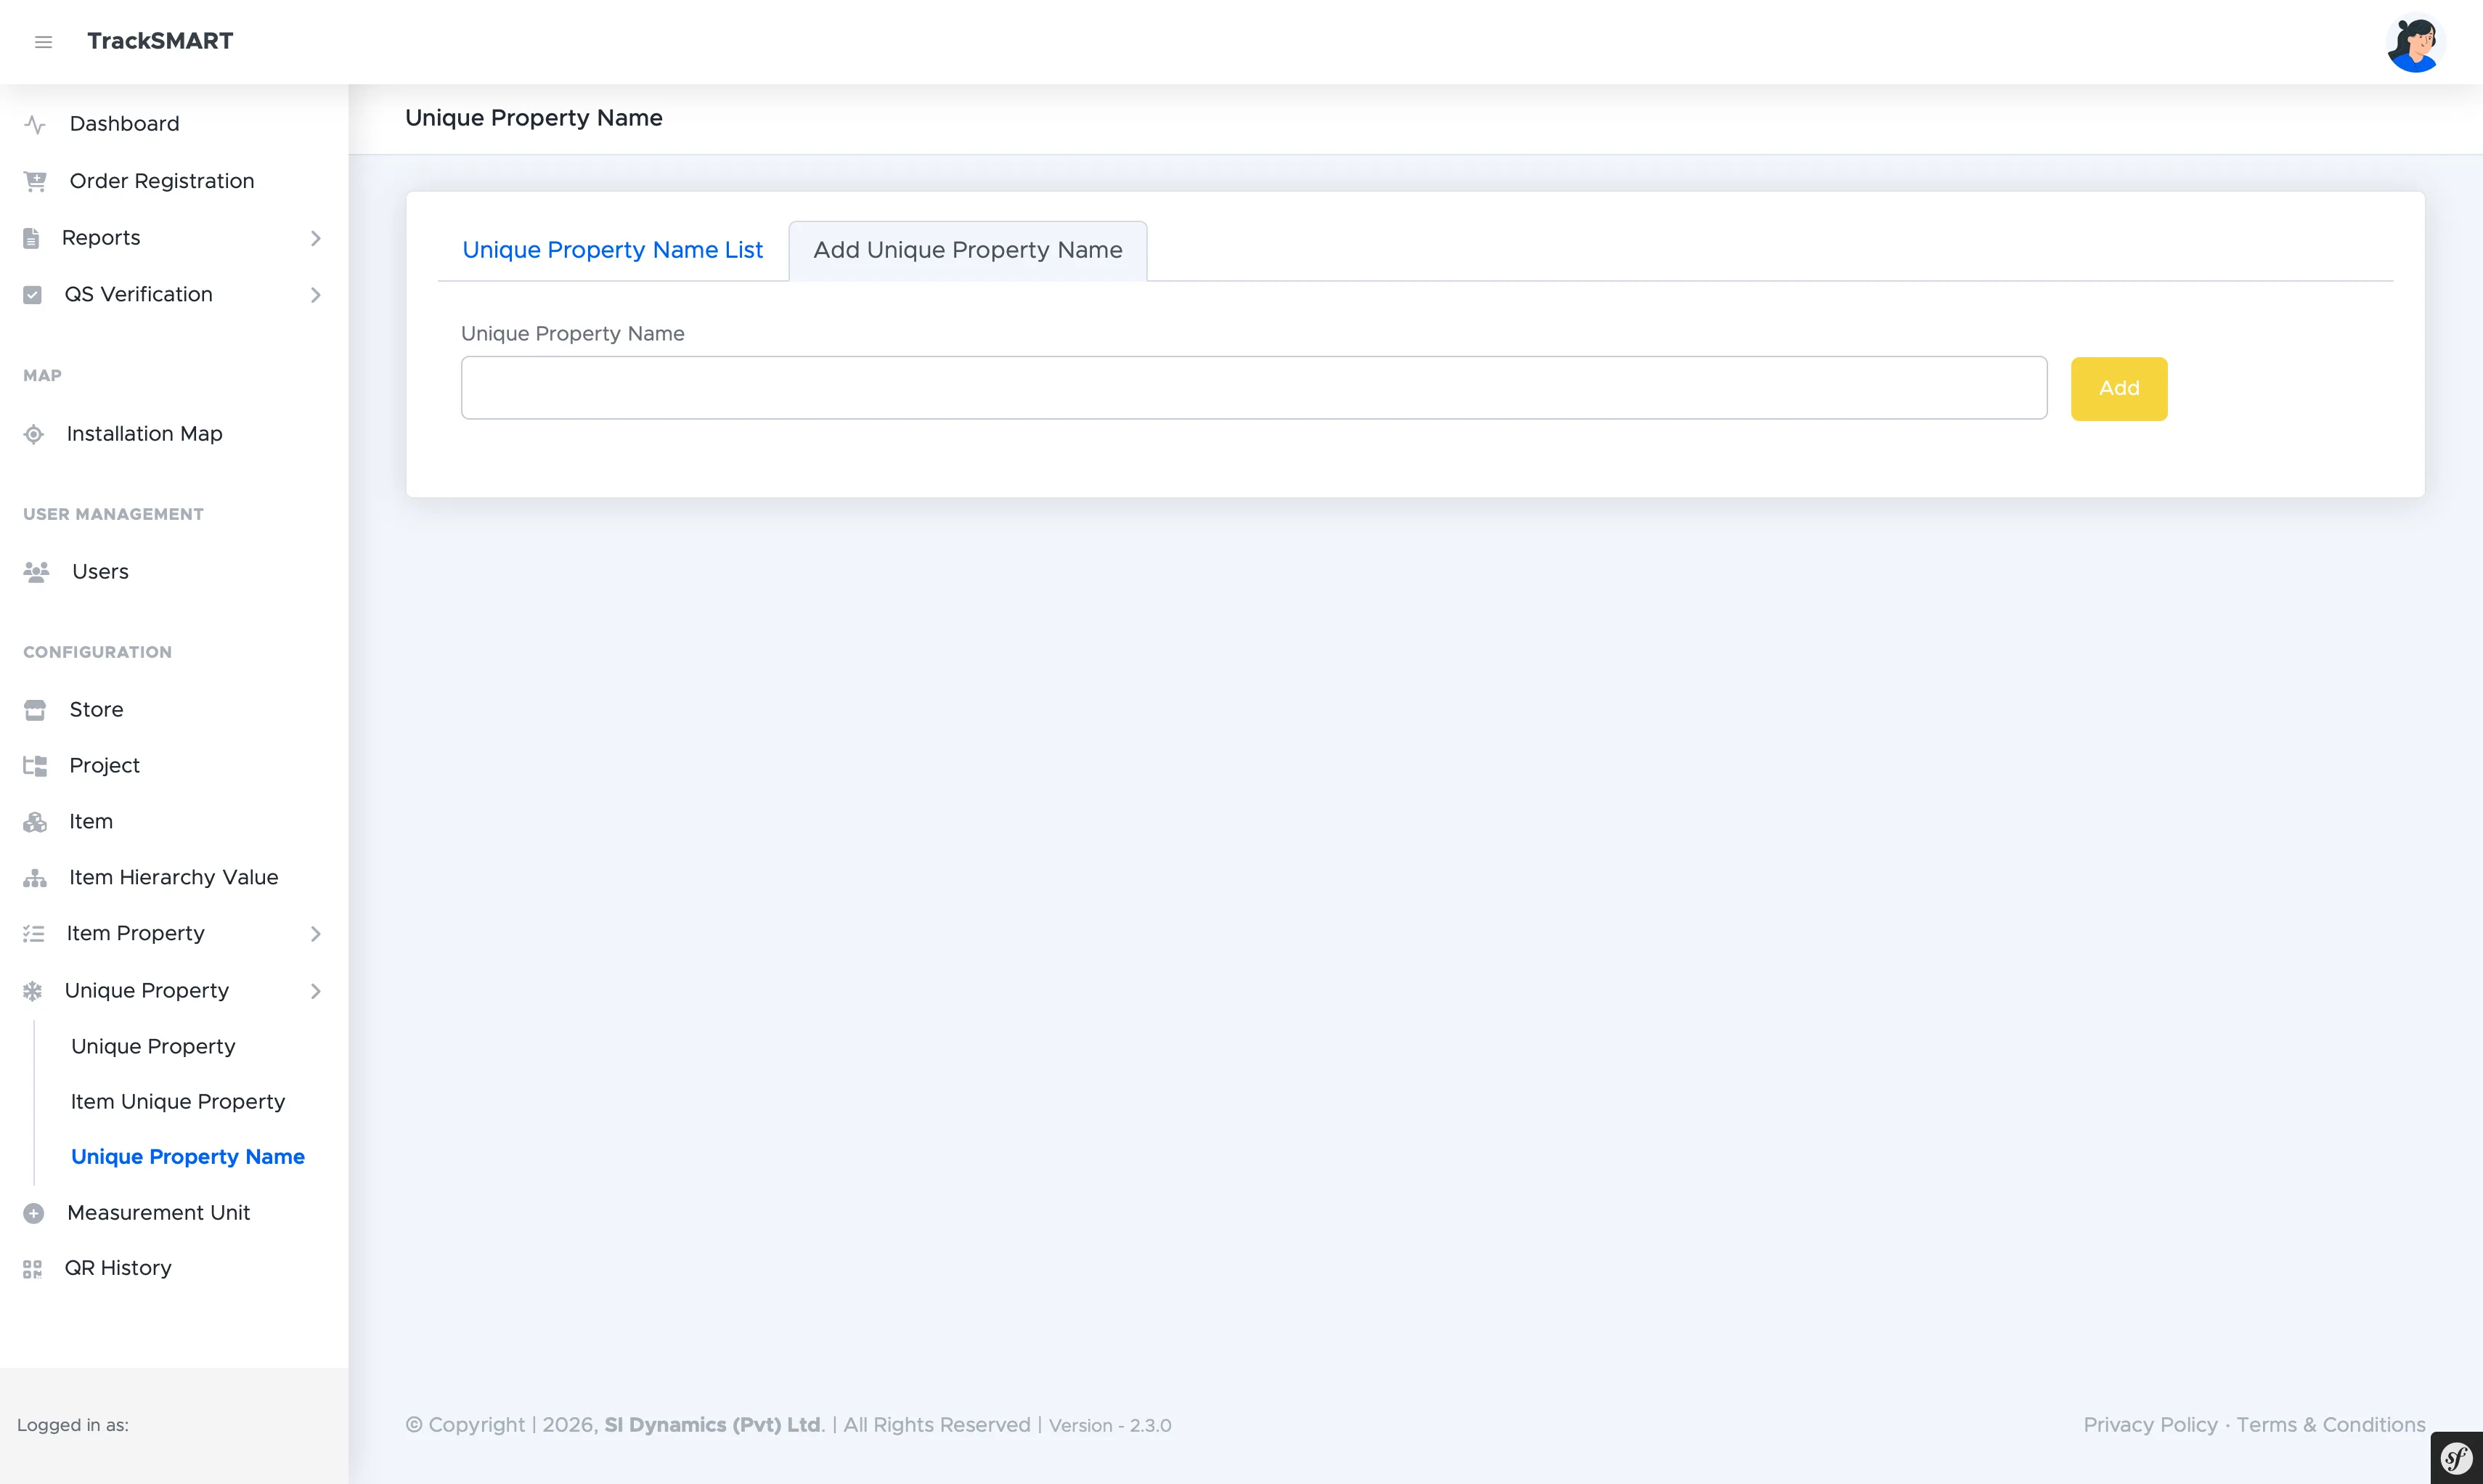
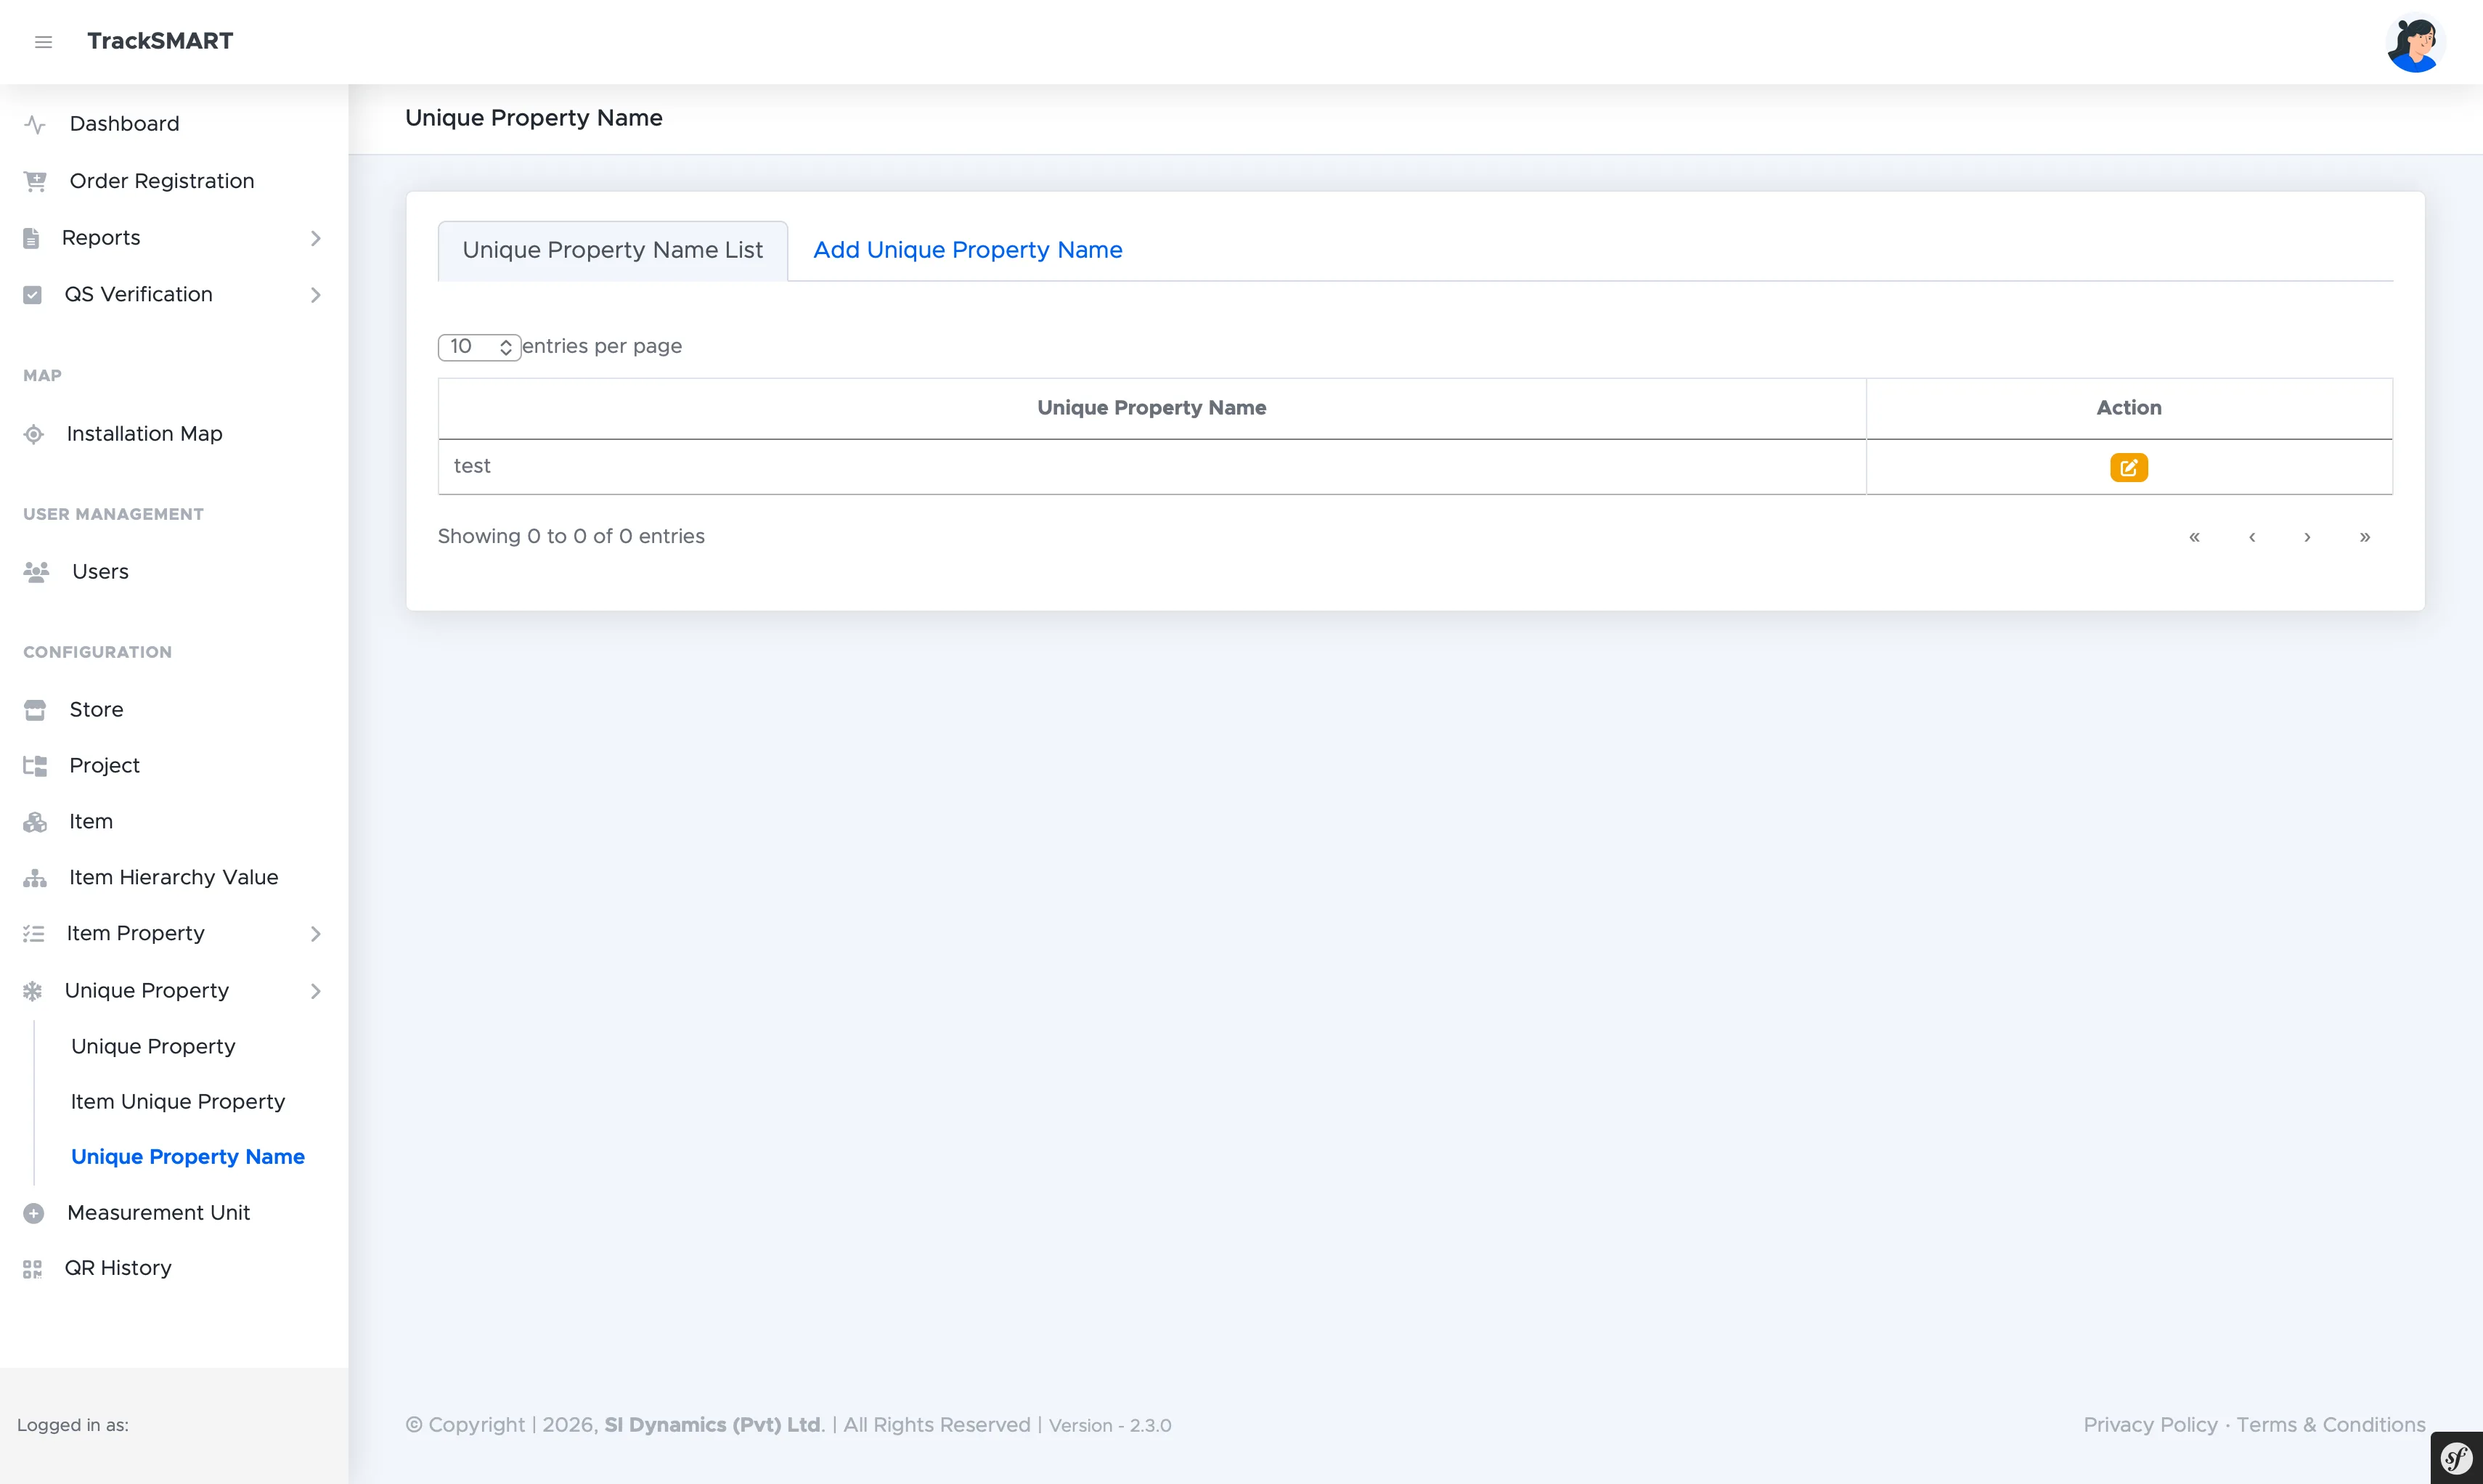
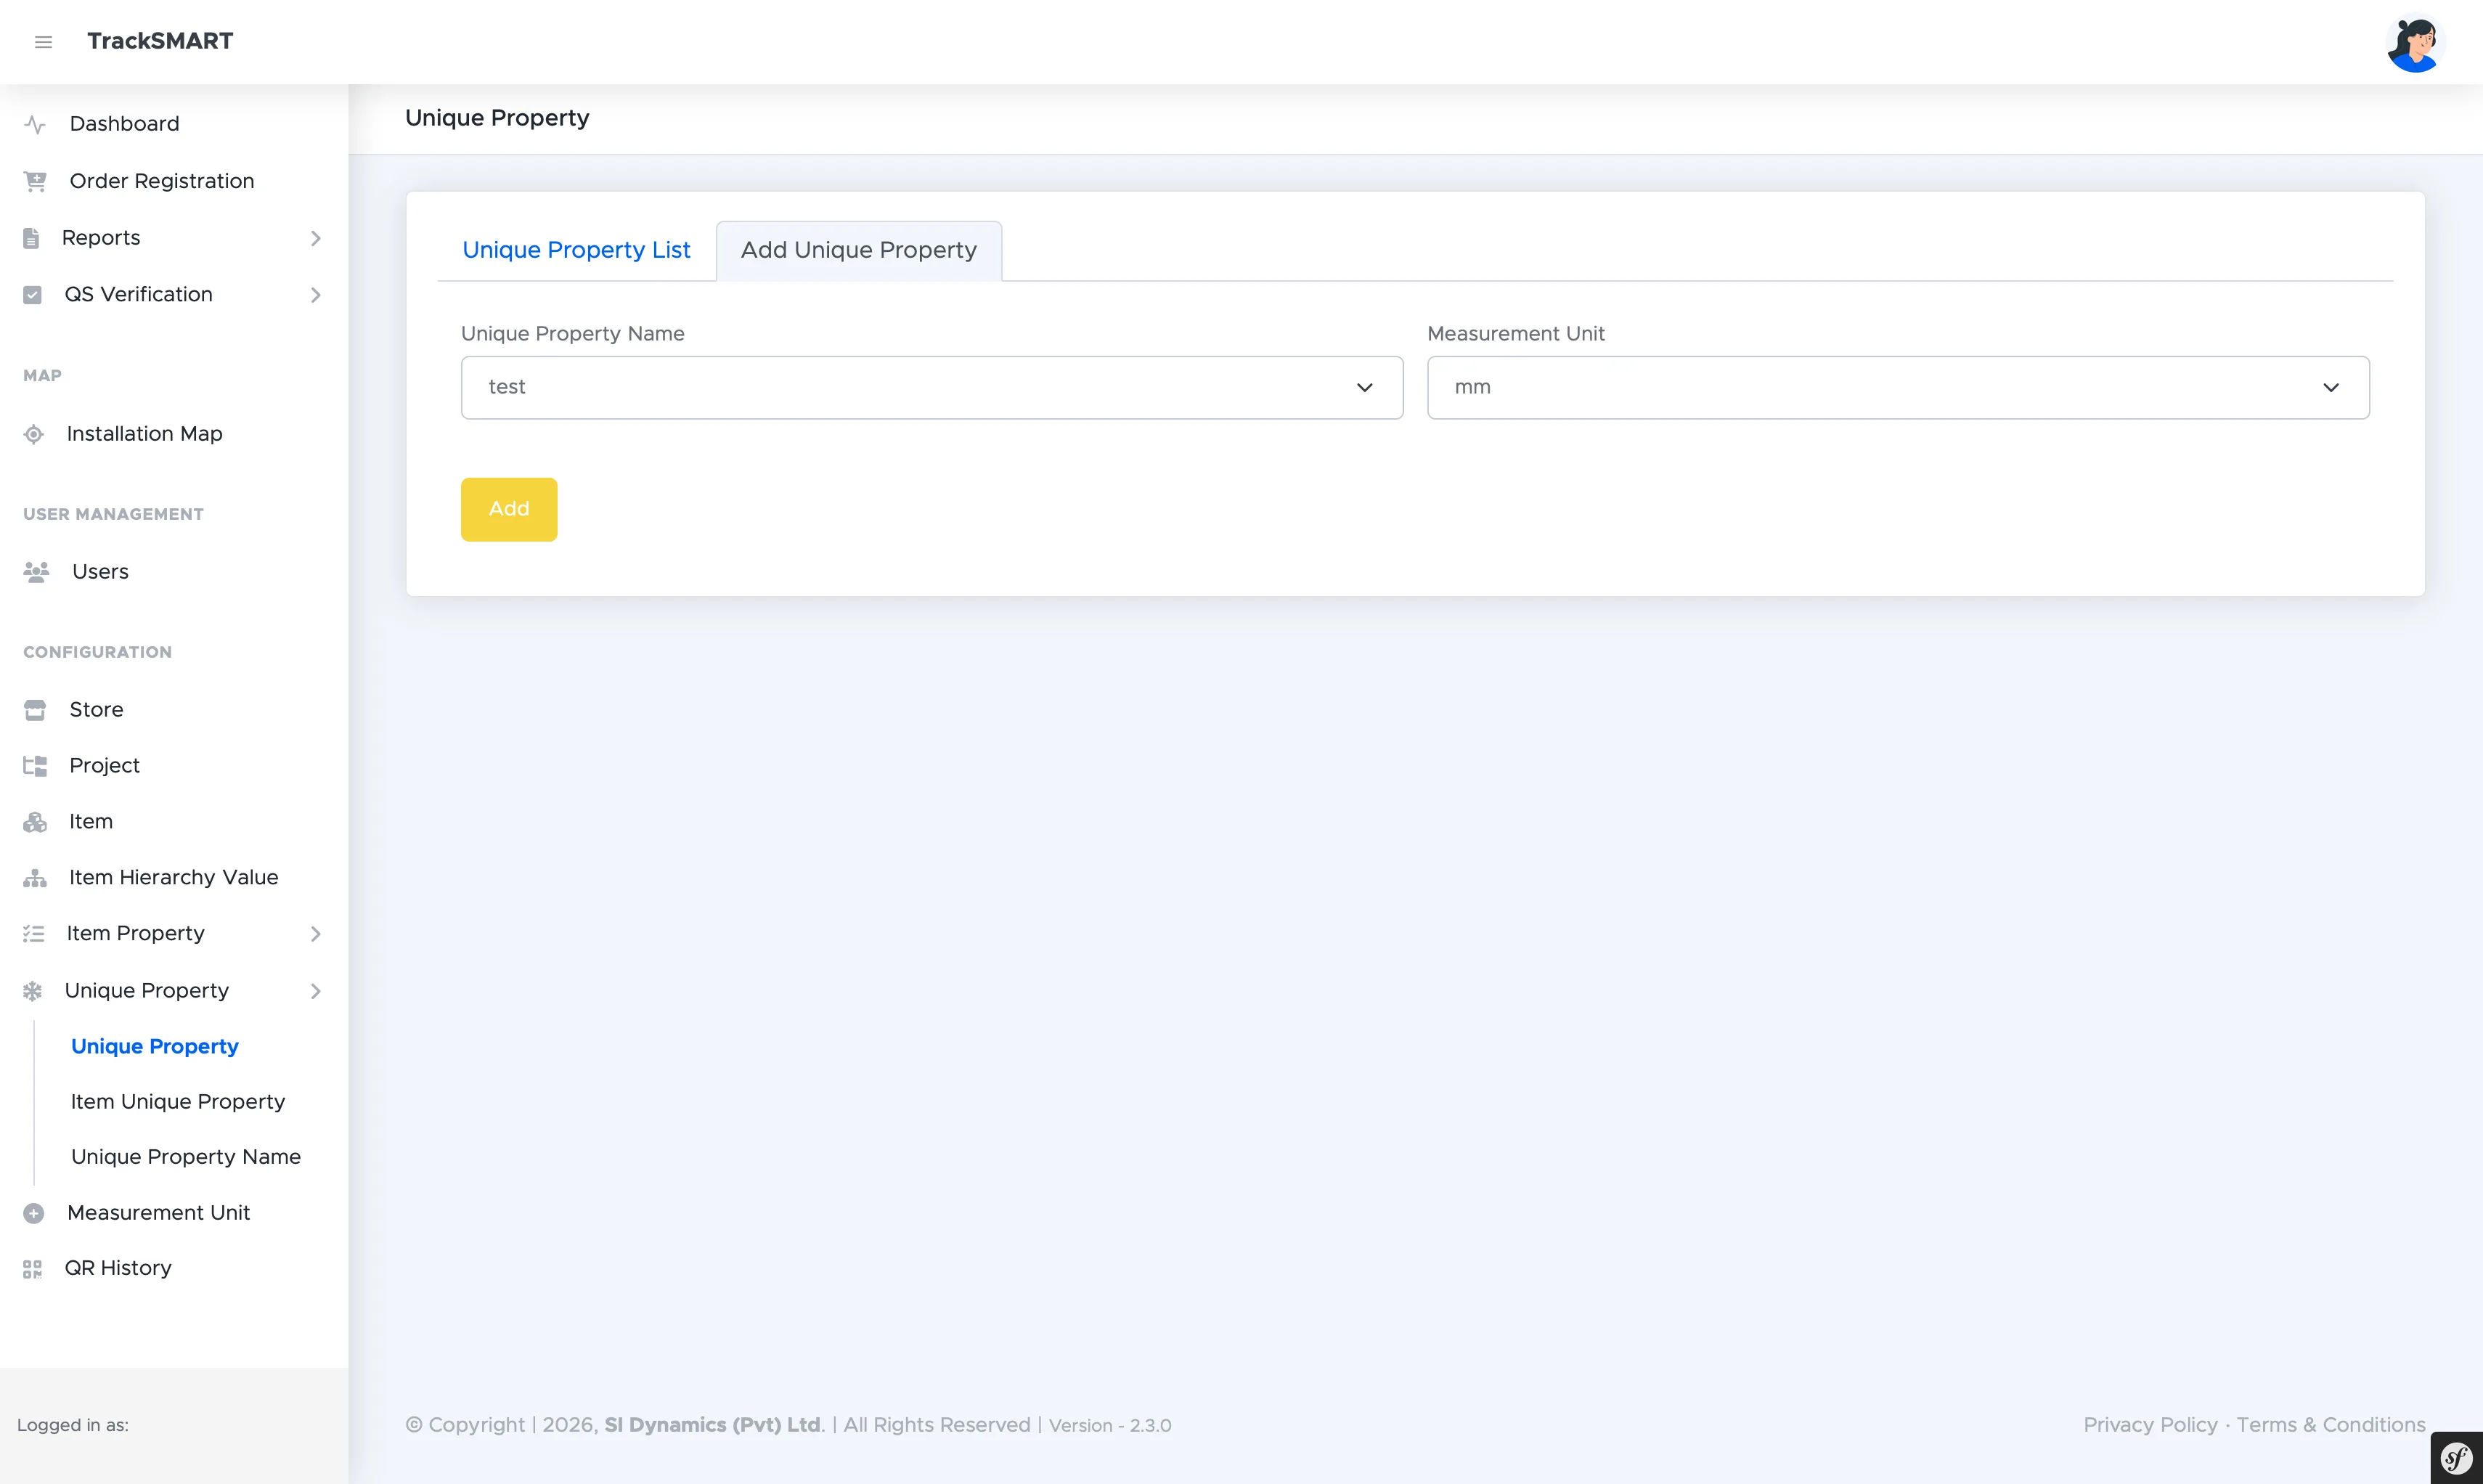
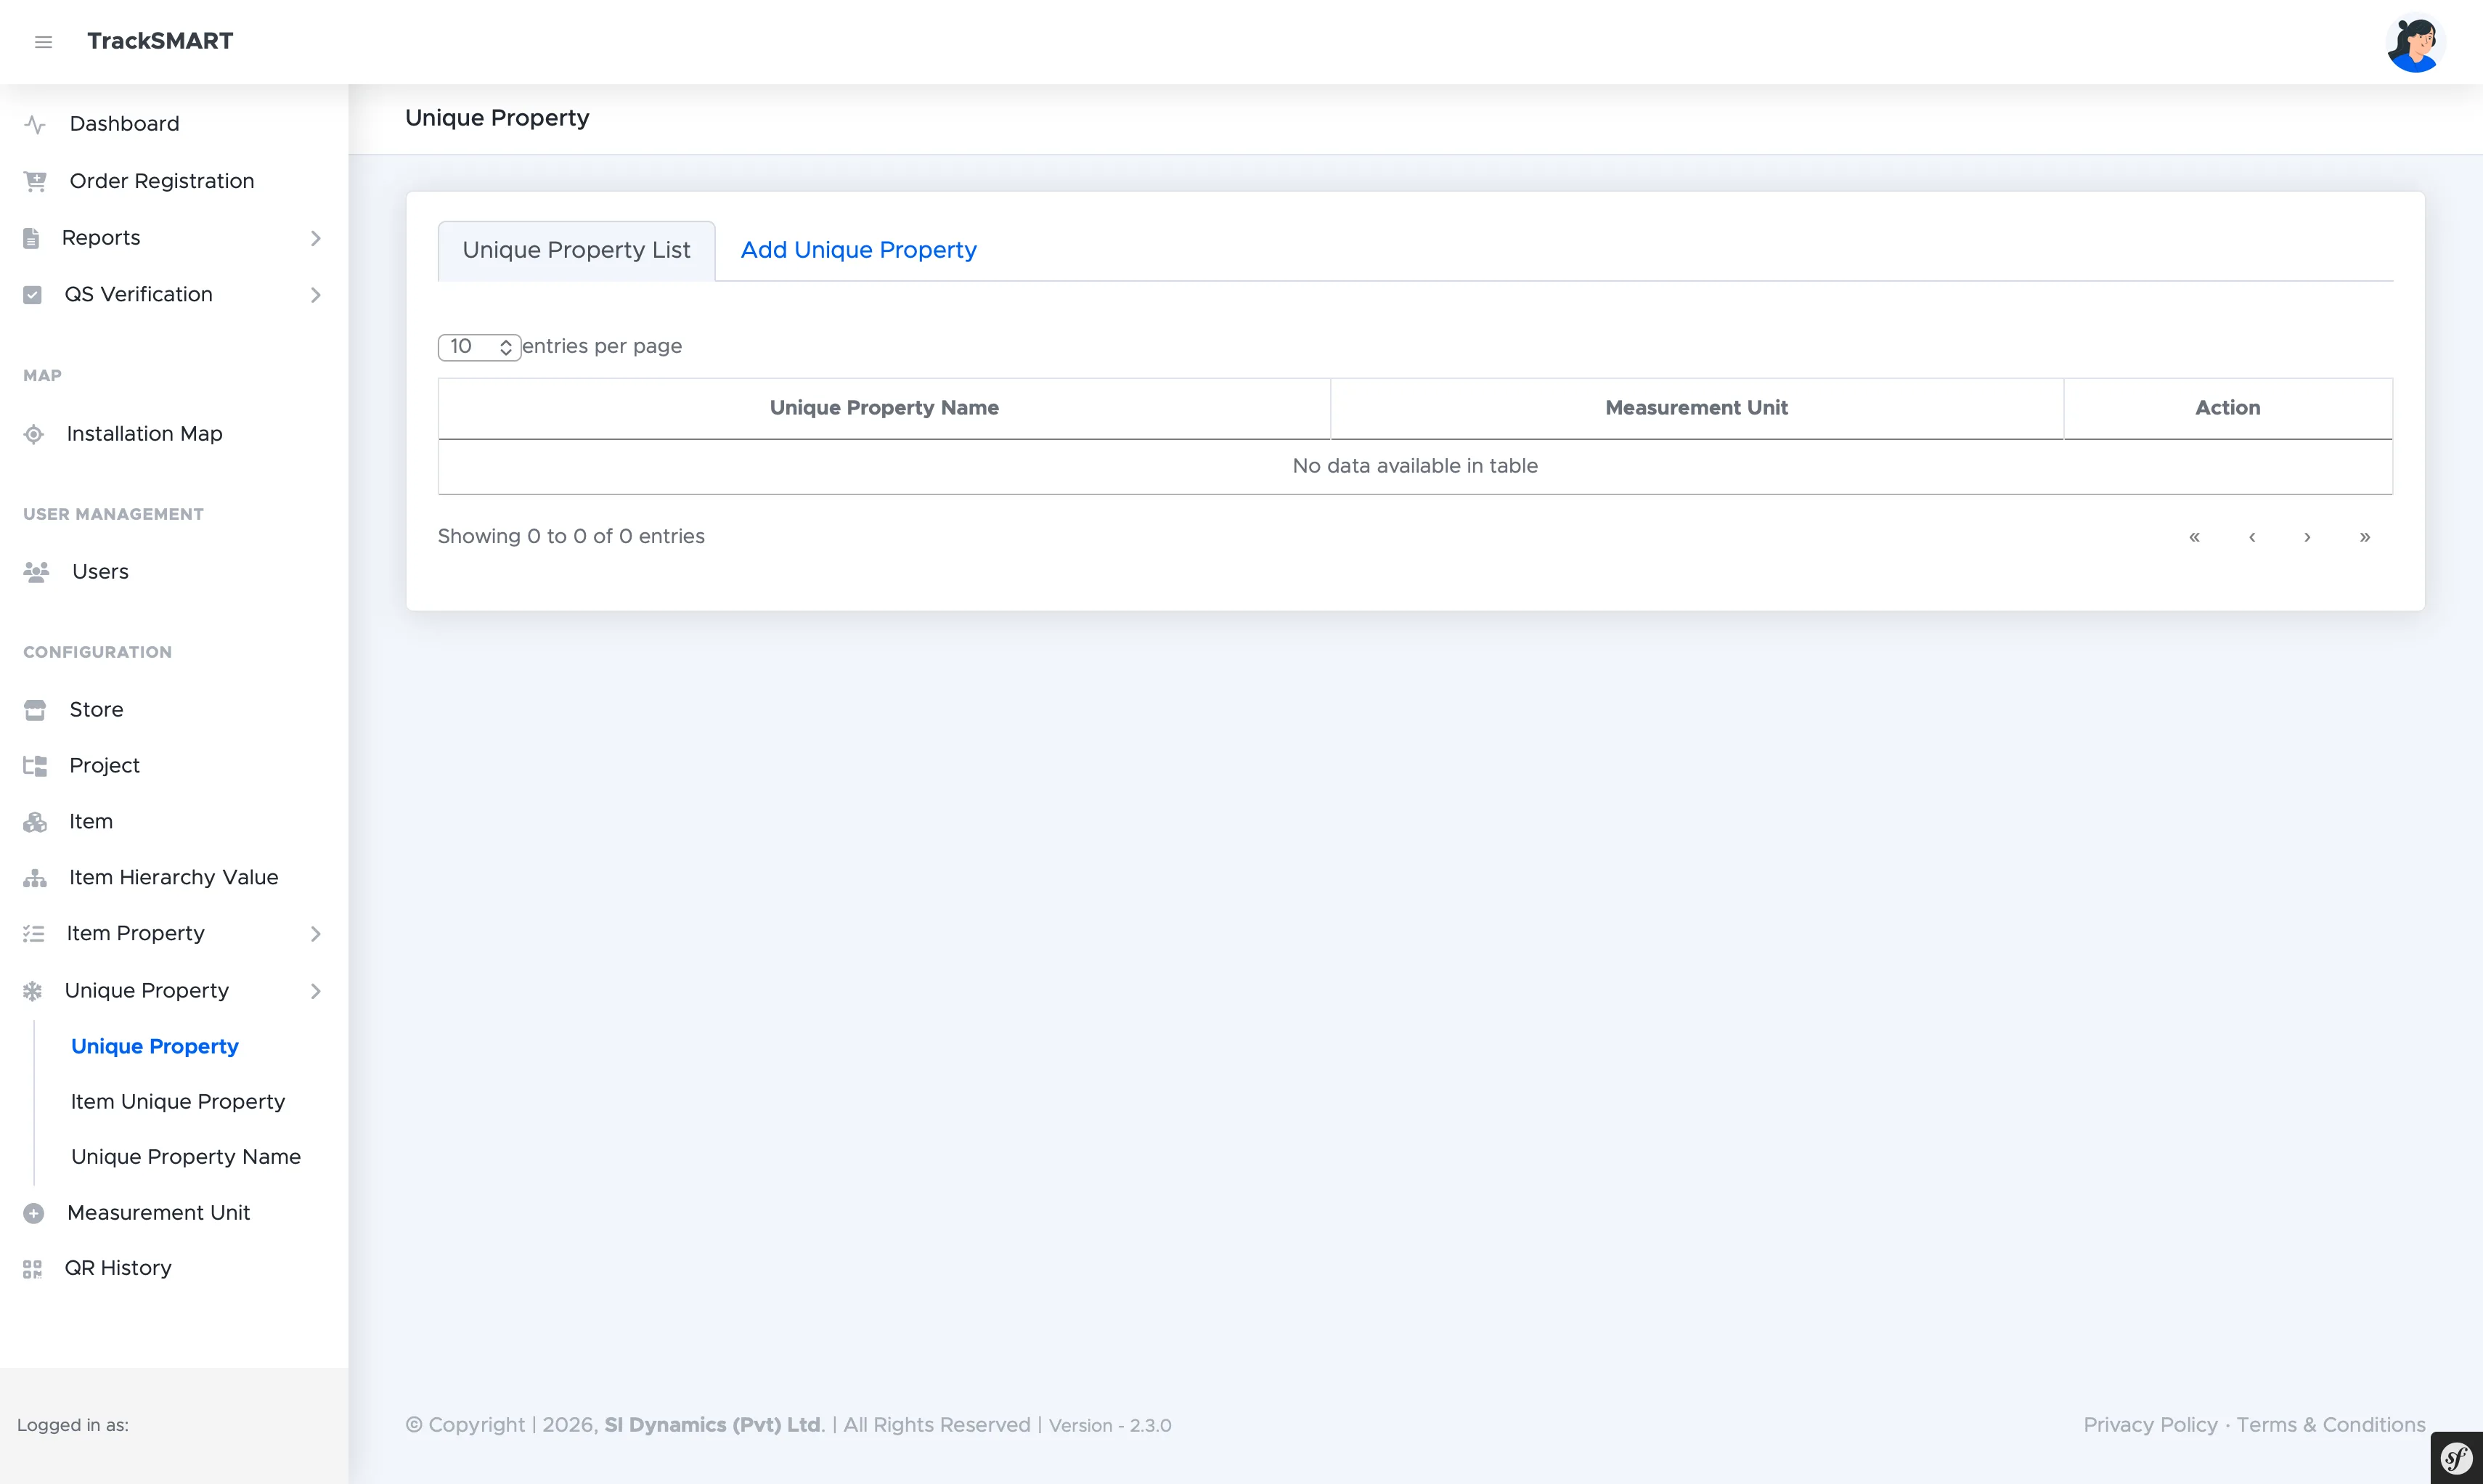
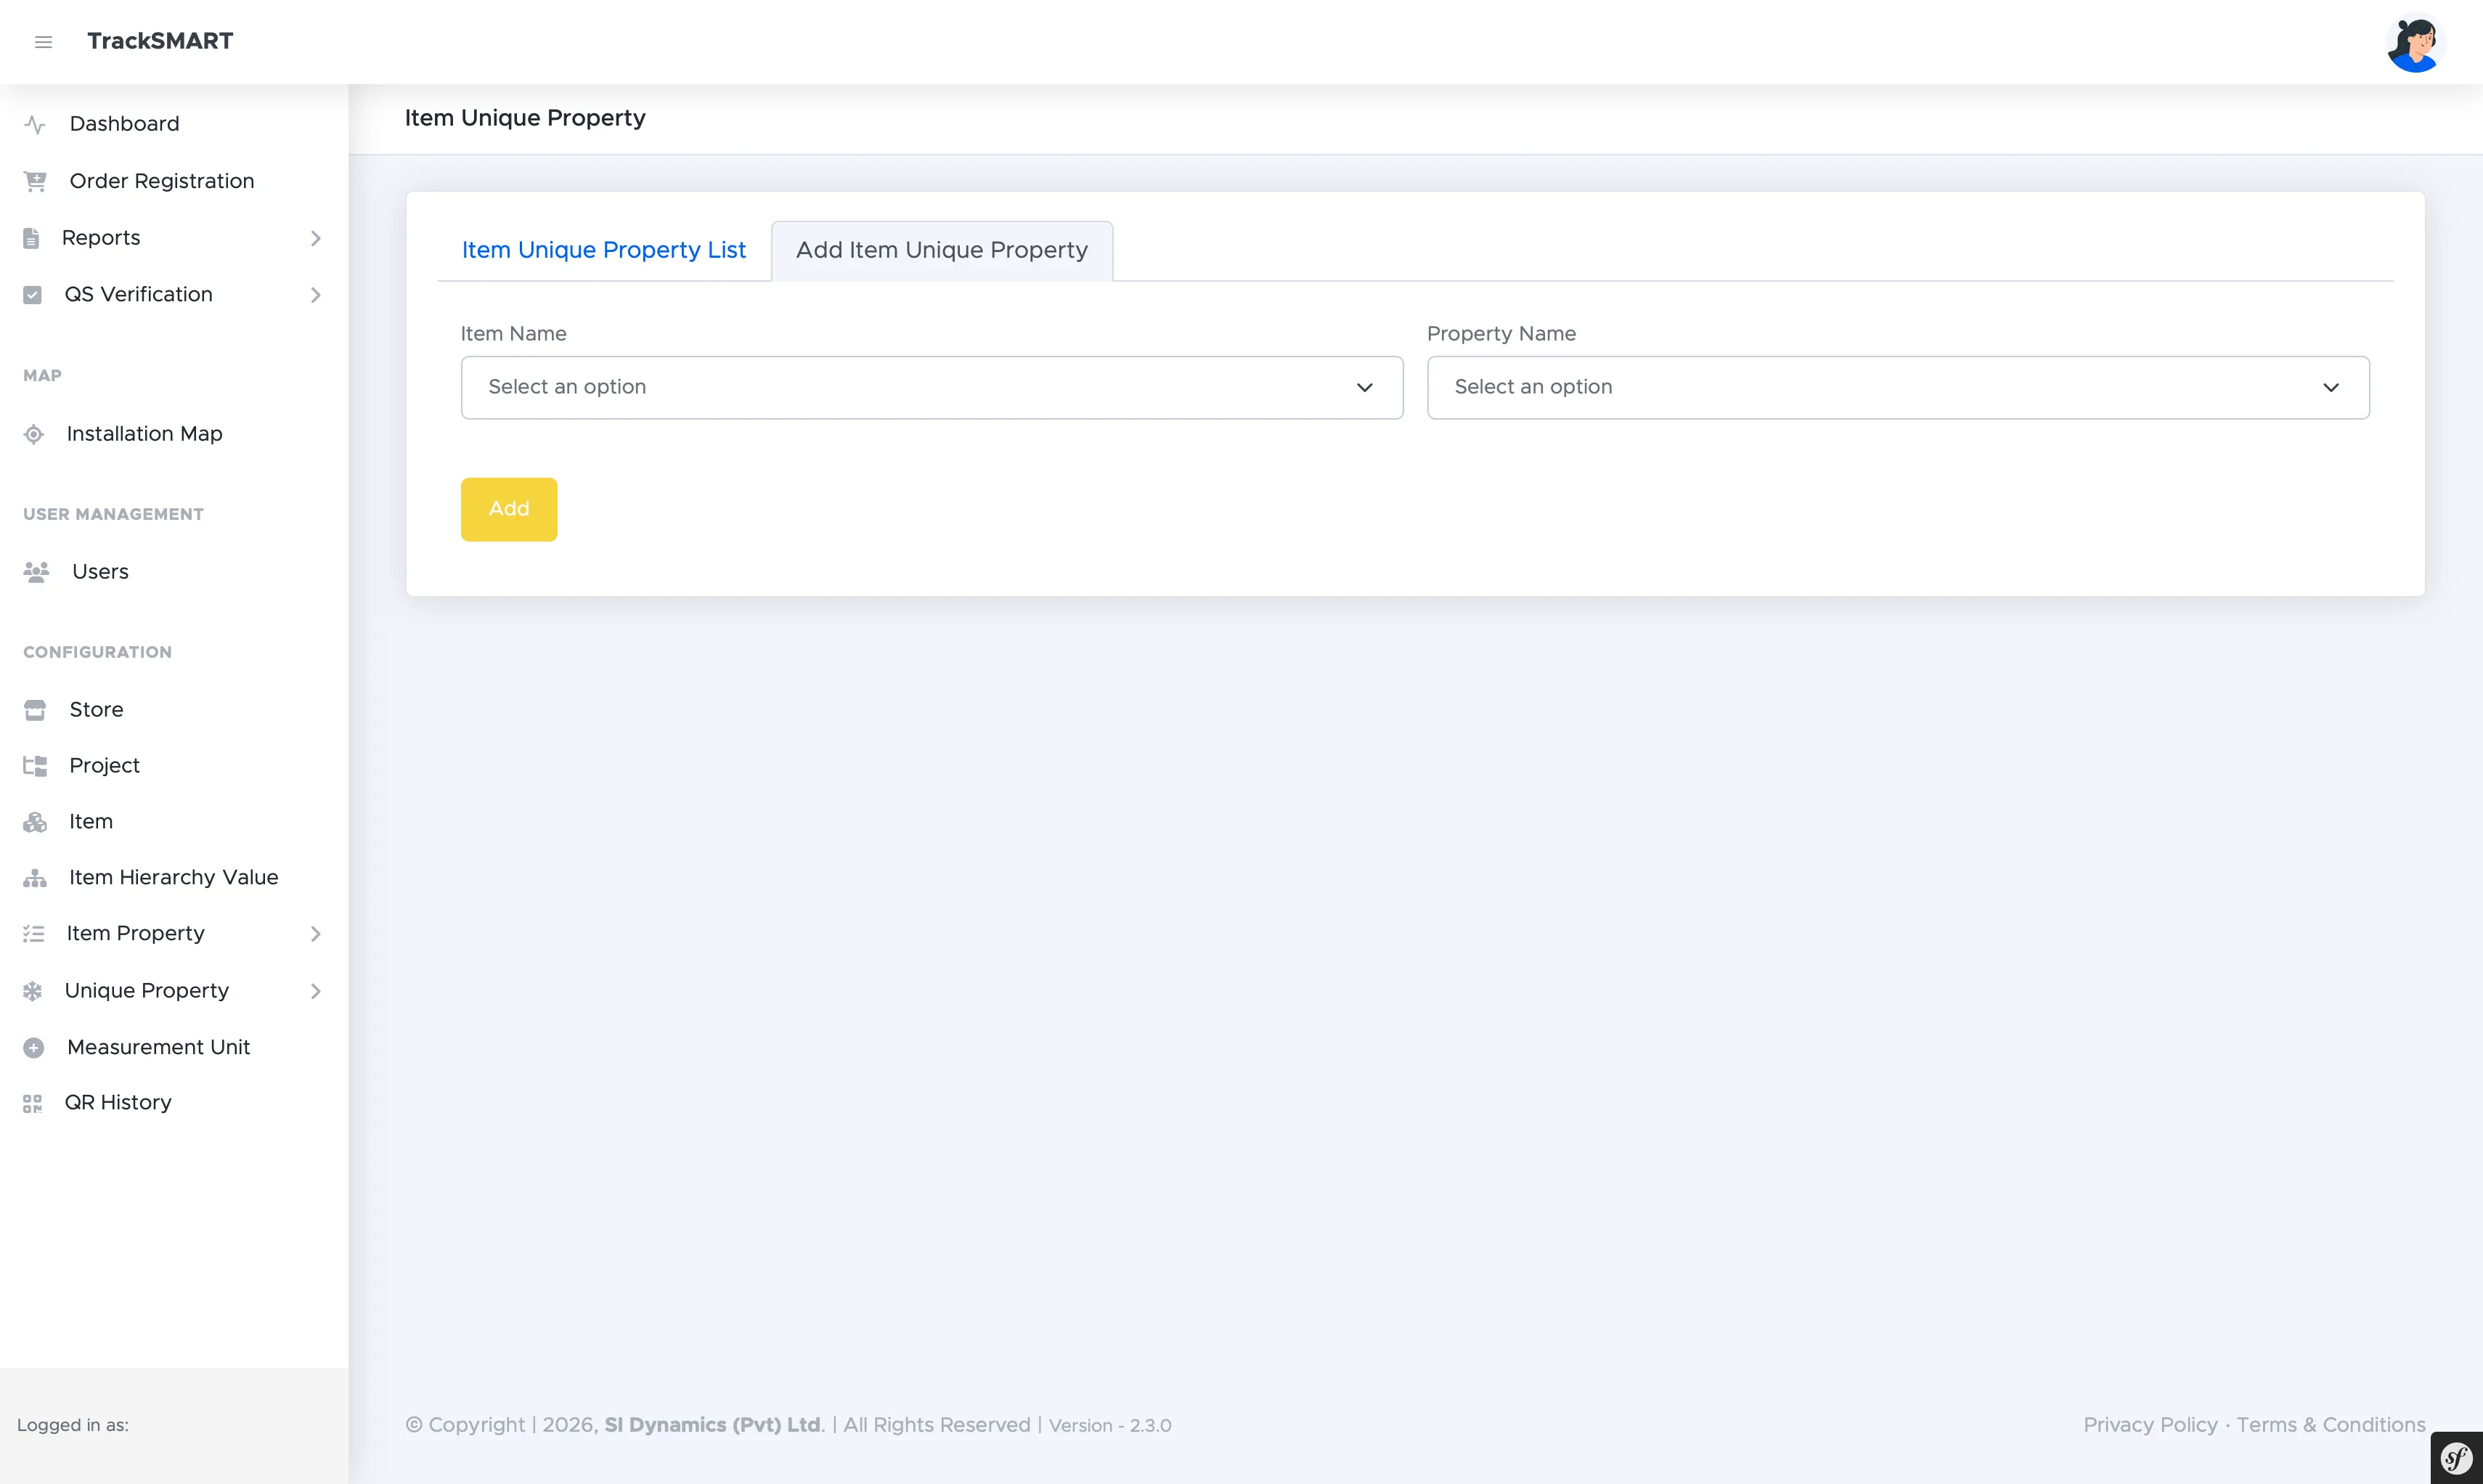
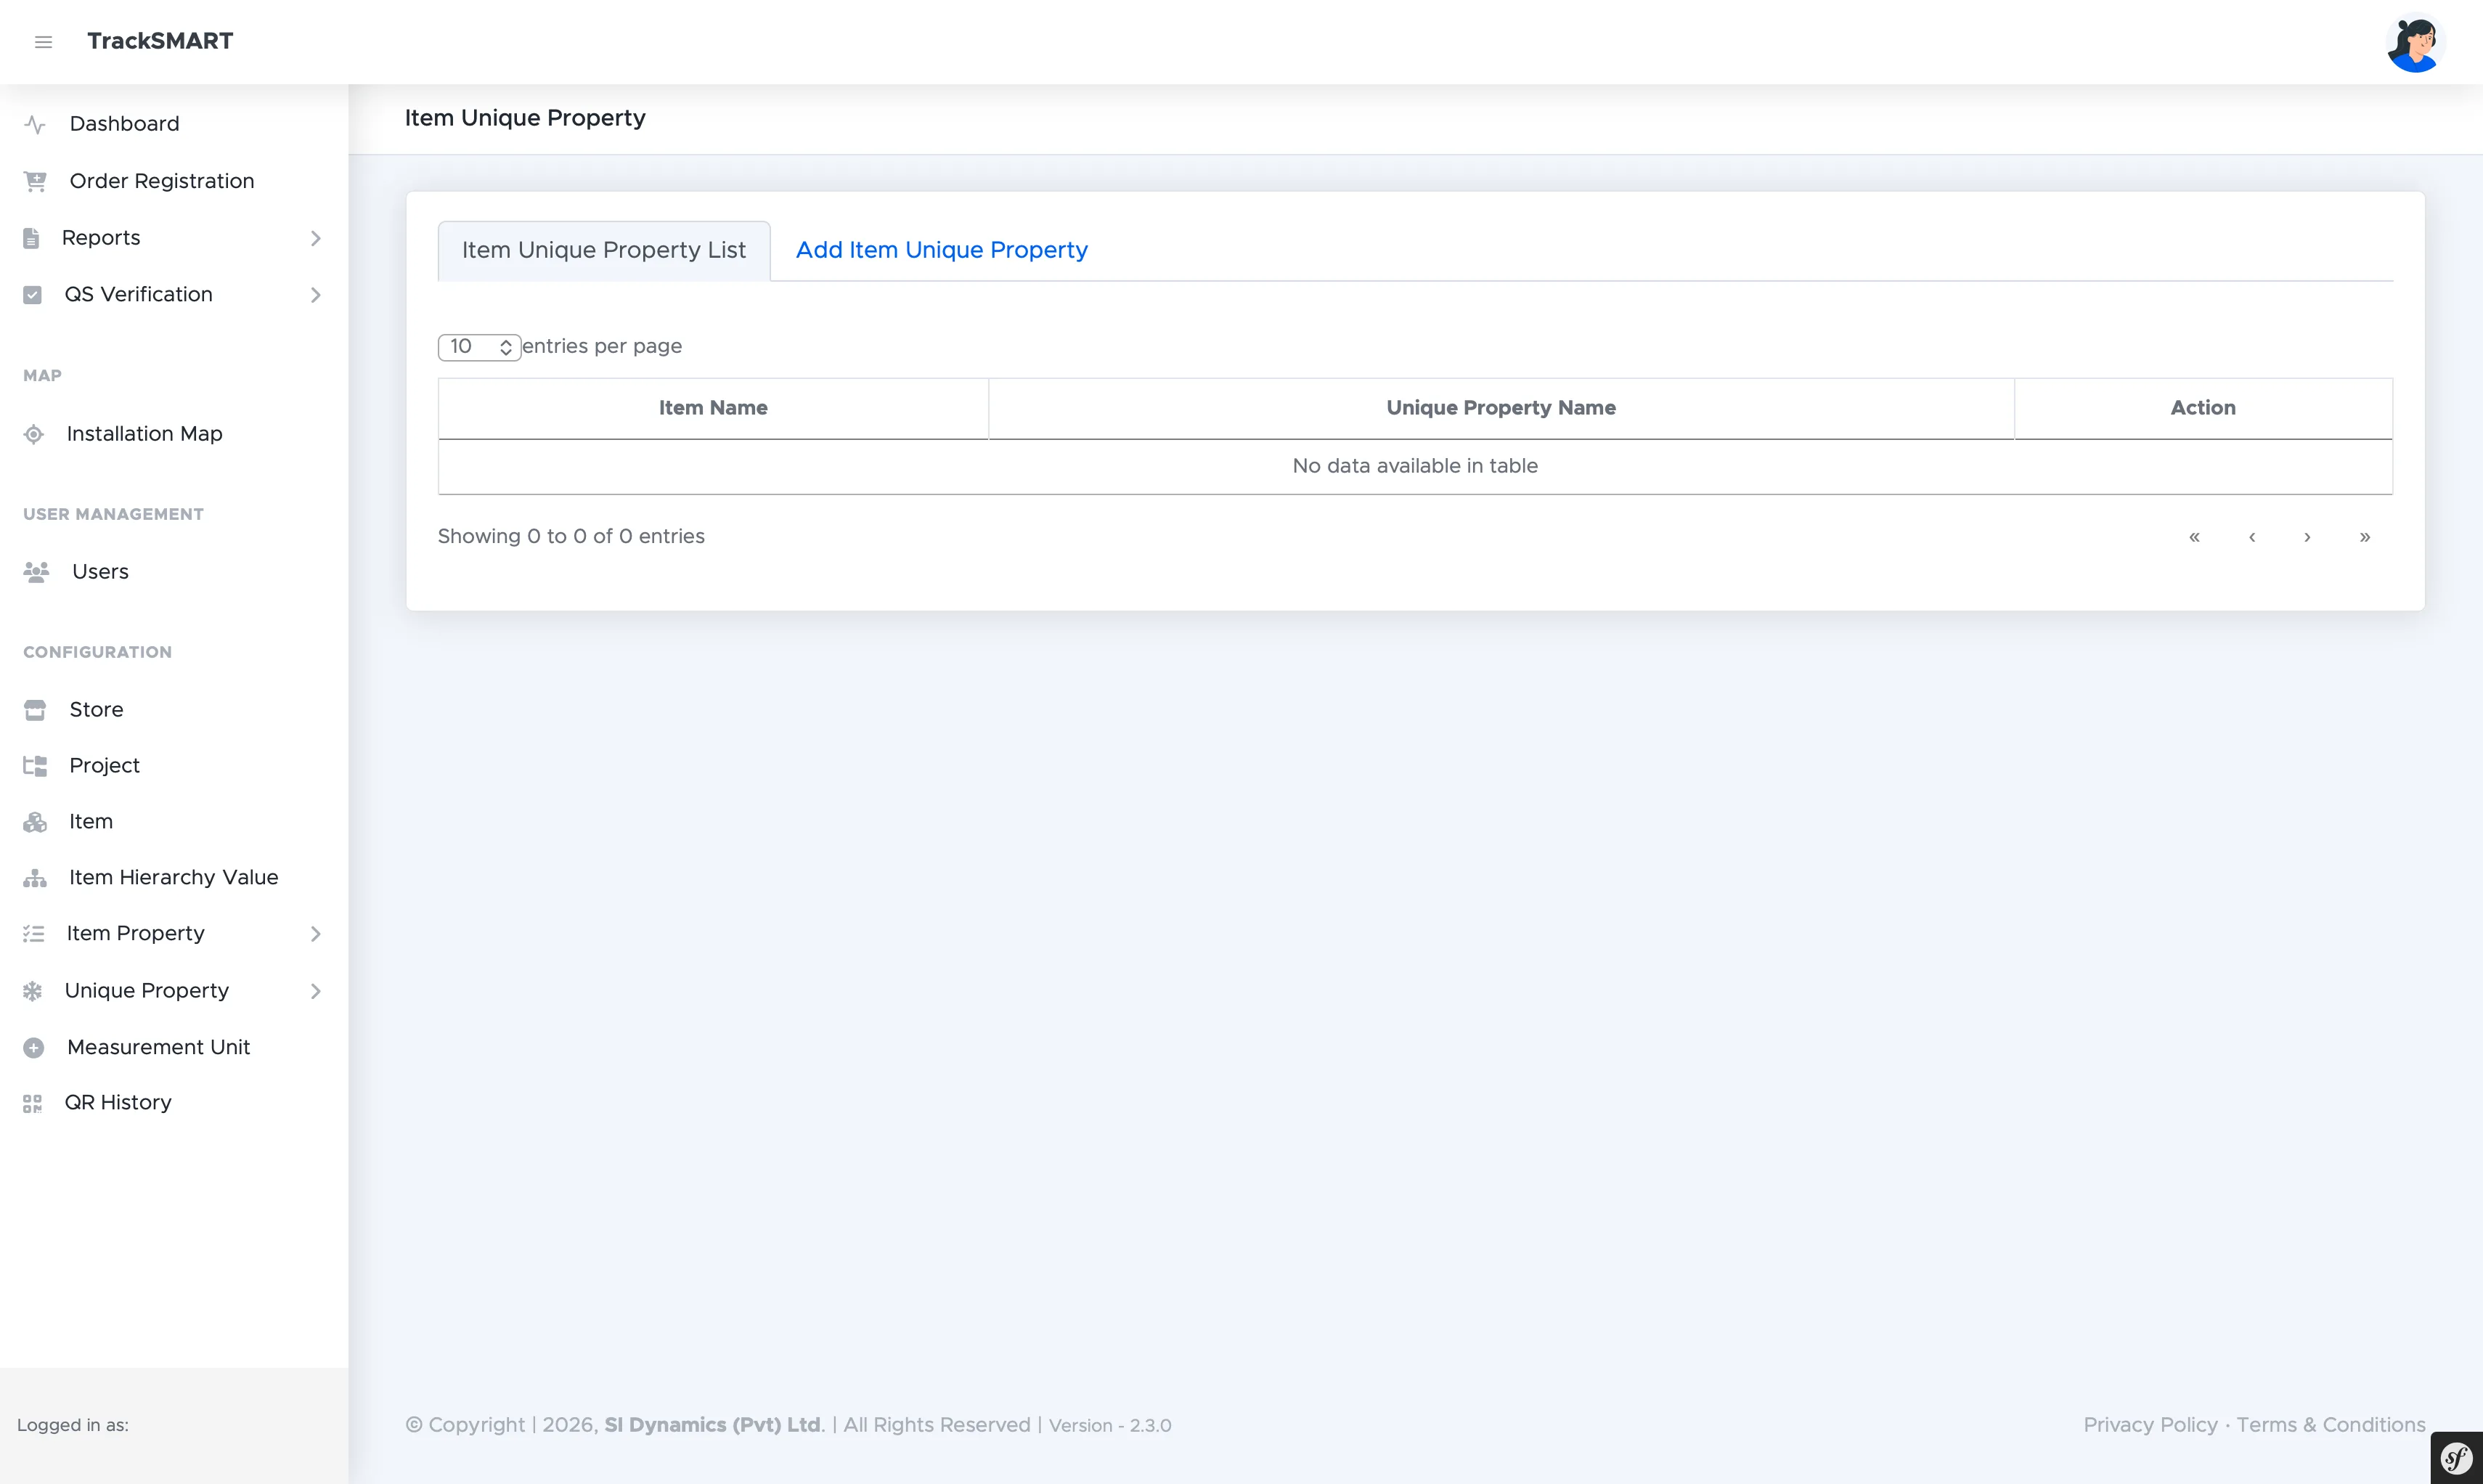
Where shared properties describe the specification, Unique Properties track per-QR-instance data — values that can differ between two physical copies of the same item. The setup mirrors shared properties: define a Unique Property Name, bind it to a unit as a Unique Property, then attach it to specific items via Item Unique Property.
Measurement Units
The unit dictionary behind every quantity.
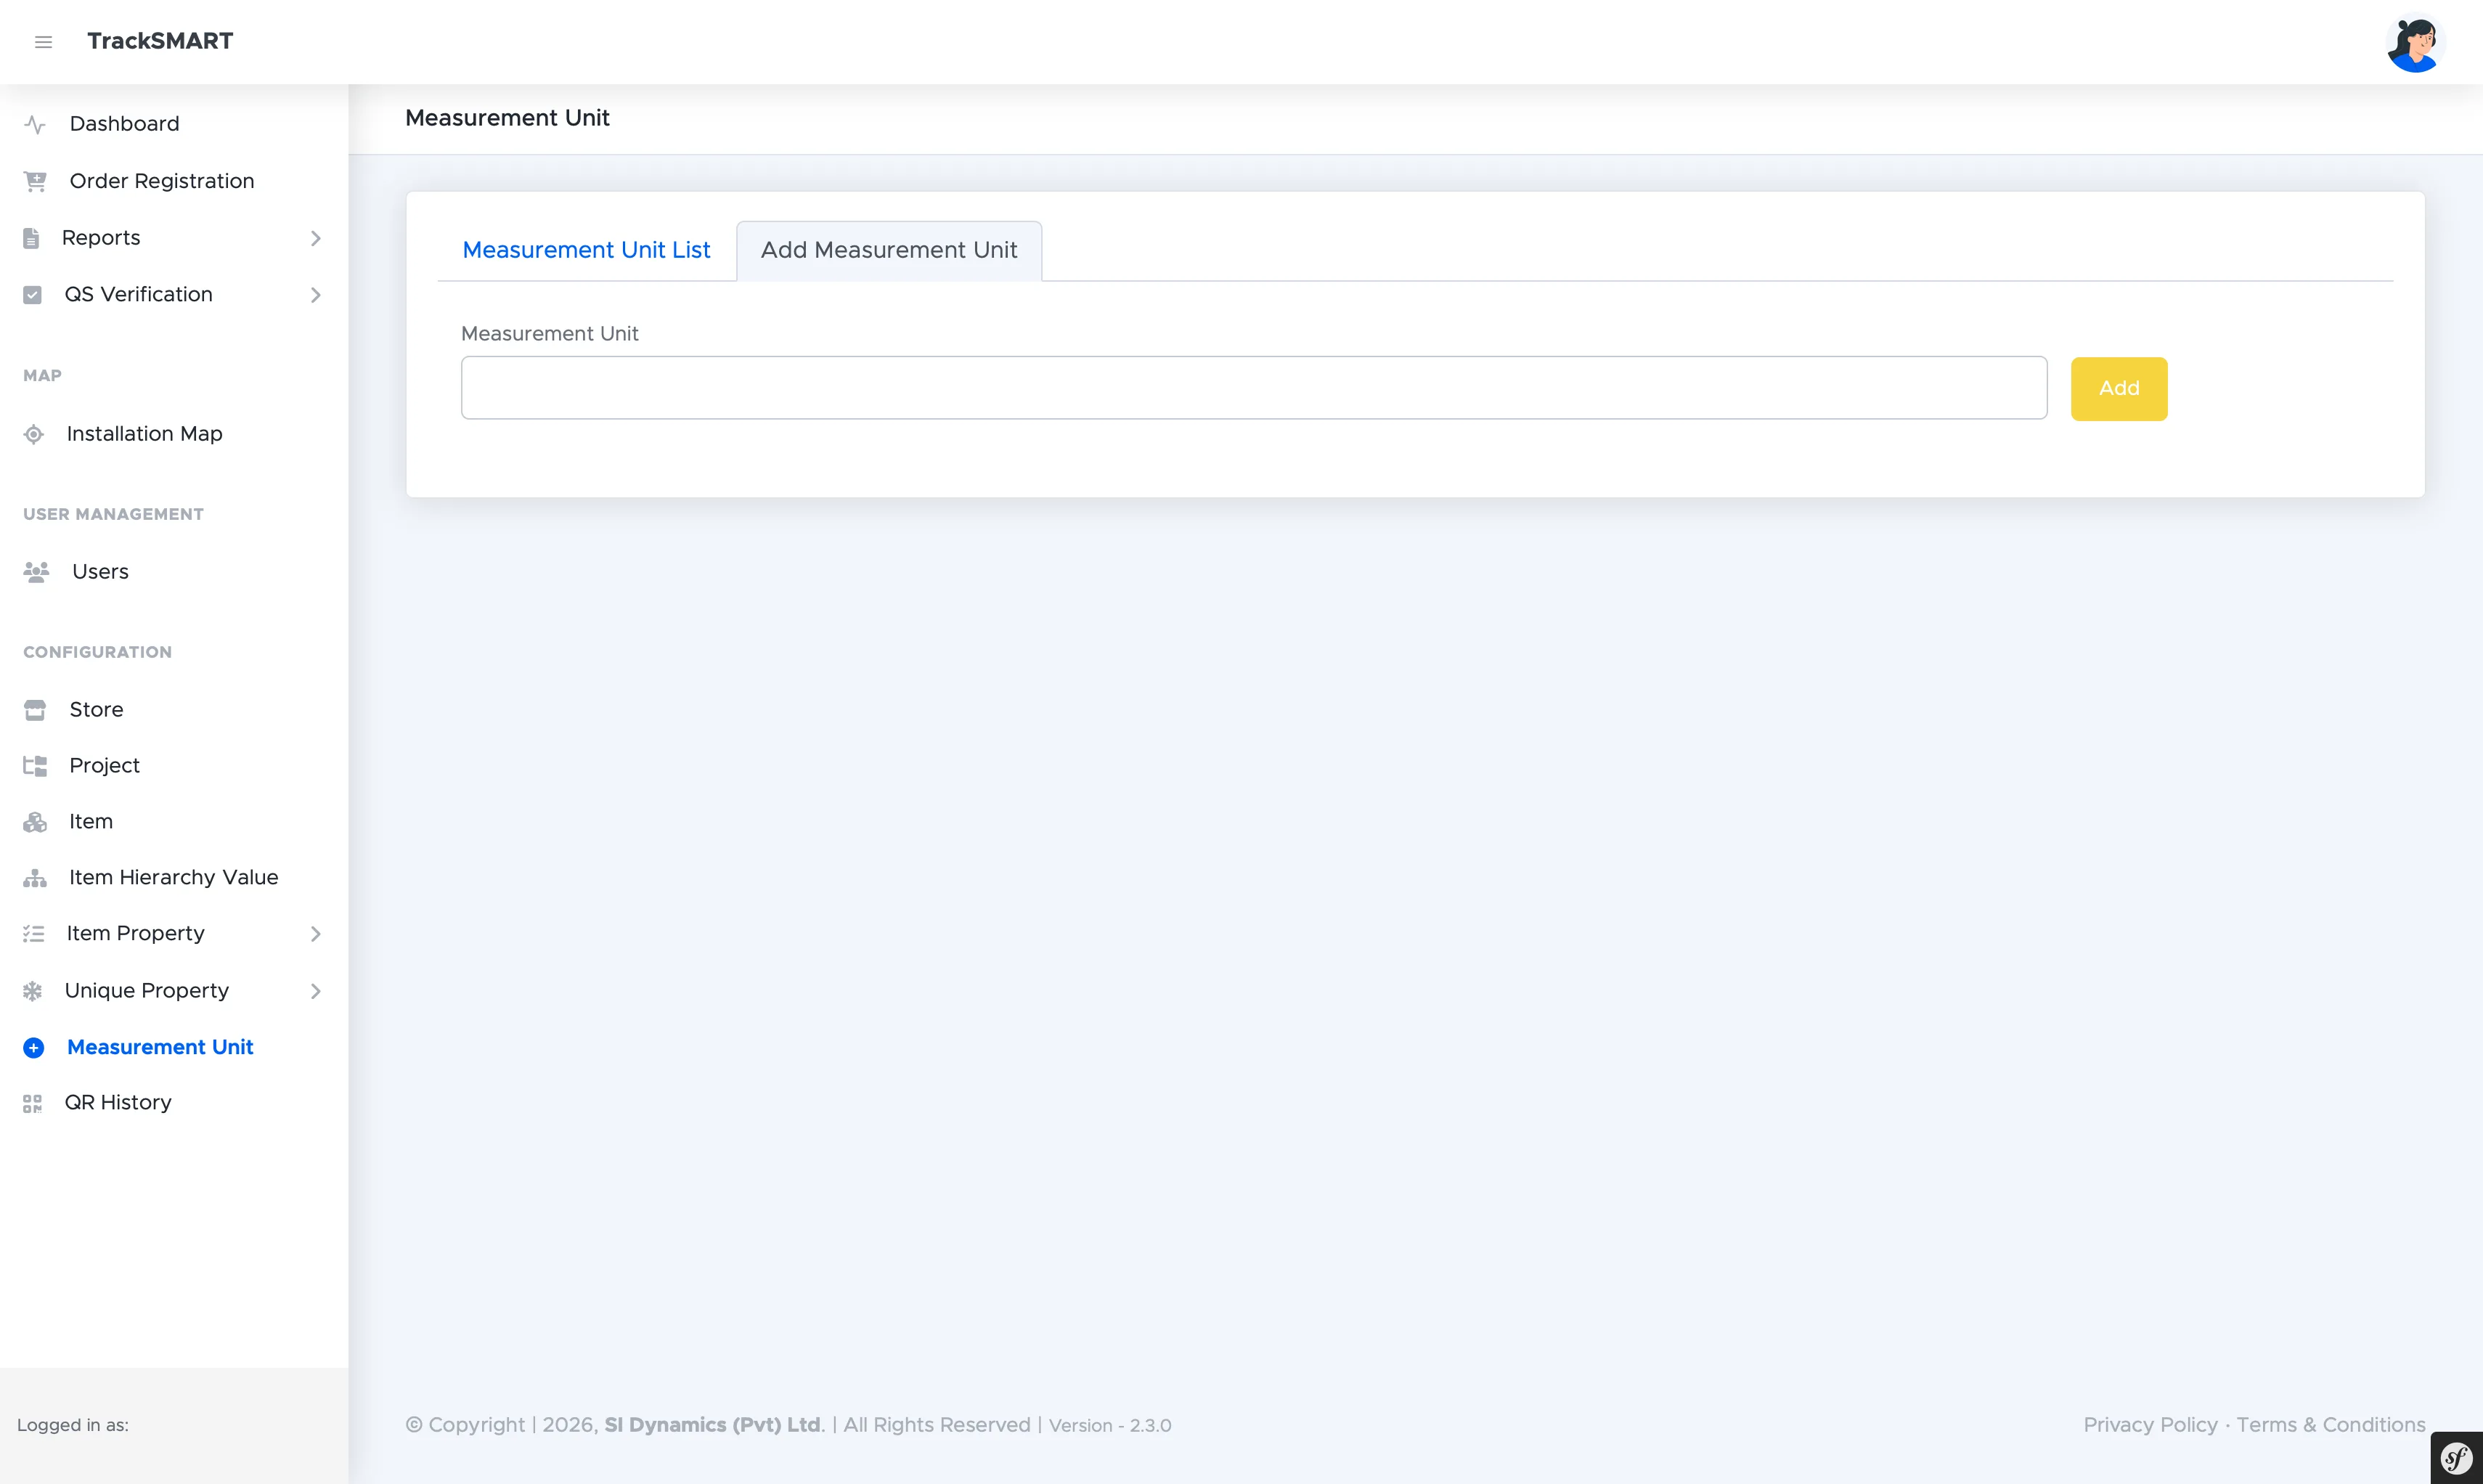
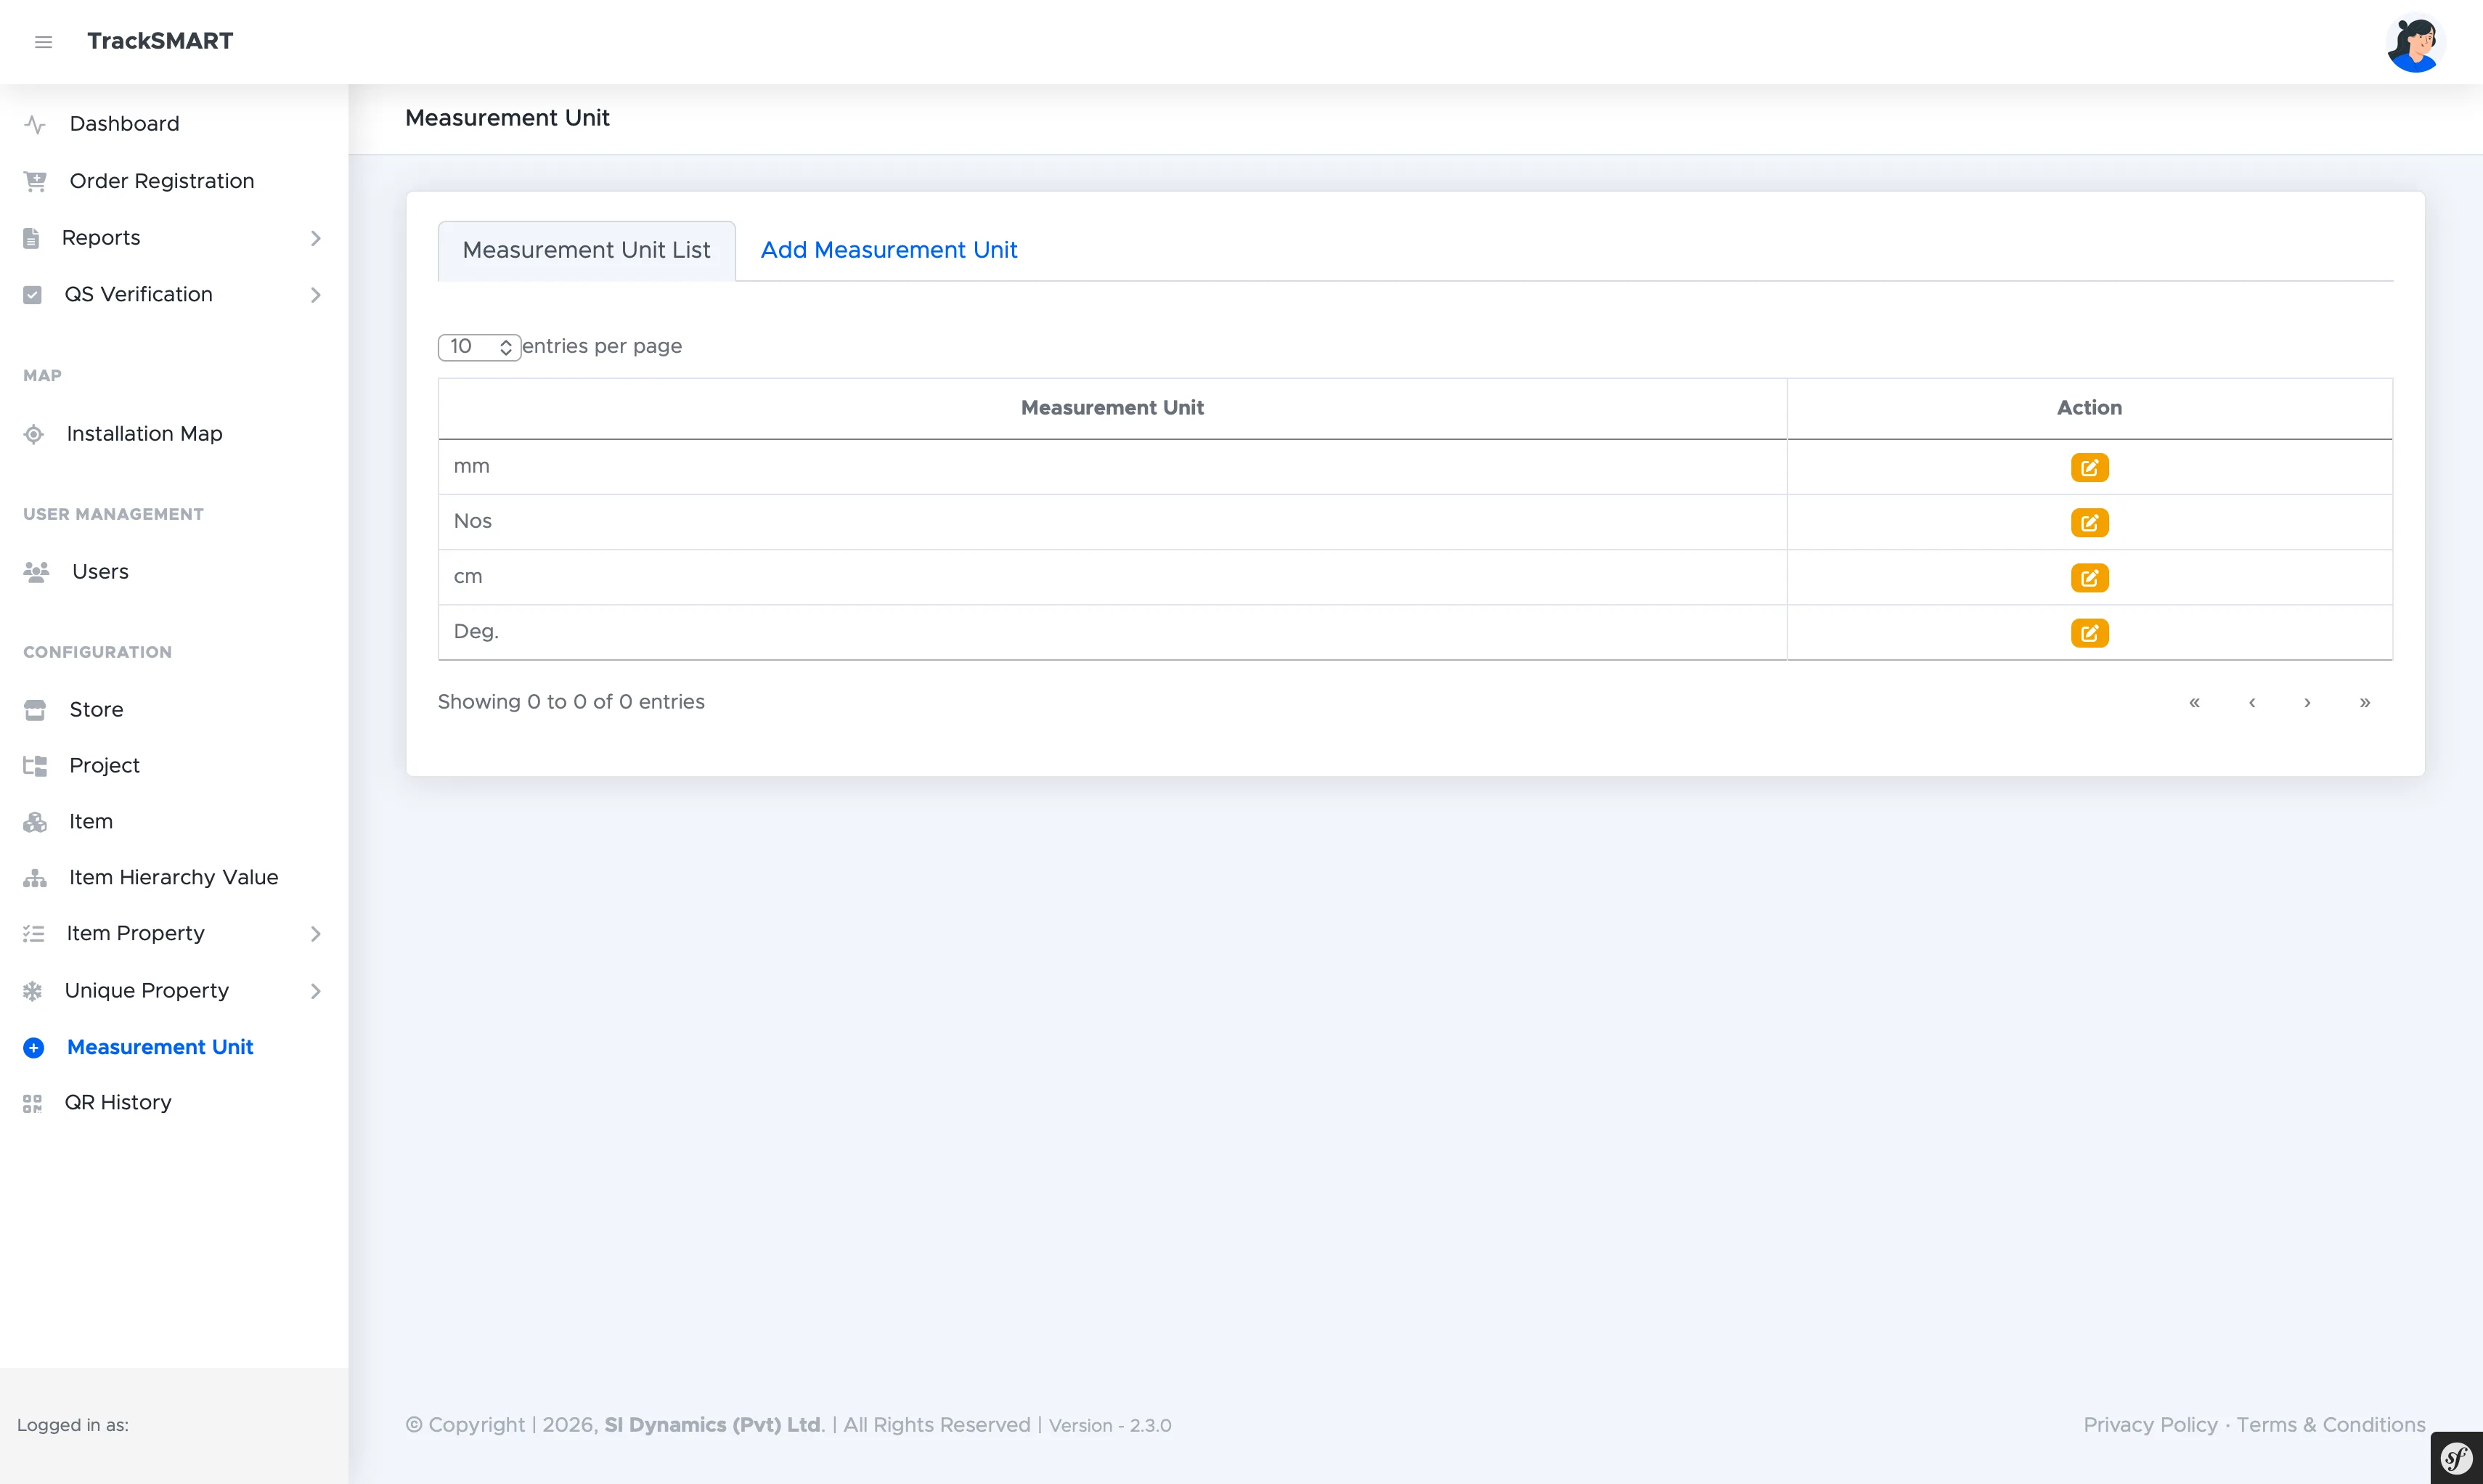
Measurement Units (CONFIGURATION > Measurement Unit) power quantities on items, properties, and reports. Define each unit once — mm, Nos, cm, Deg. — then reference it everywhere.