Web Administration
Projects & Stores Setup
Creating construction projects and physical site stores in the TrackSmart Web Portal — the foundation that every order, user assignment, and installation references.
Creating & Managing Projects
Every TrackSmart workflow is scoped to a project. Set projects up first.
A Project represents one construction jobsite (e.g. Kandy). Before stores, items, users, or orders can be assigned anywhere, at least one project must exist. The Project module lives under CONFIGURATION > Project and uses an Add Project / Projects tab pair.
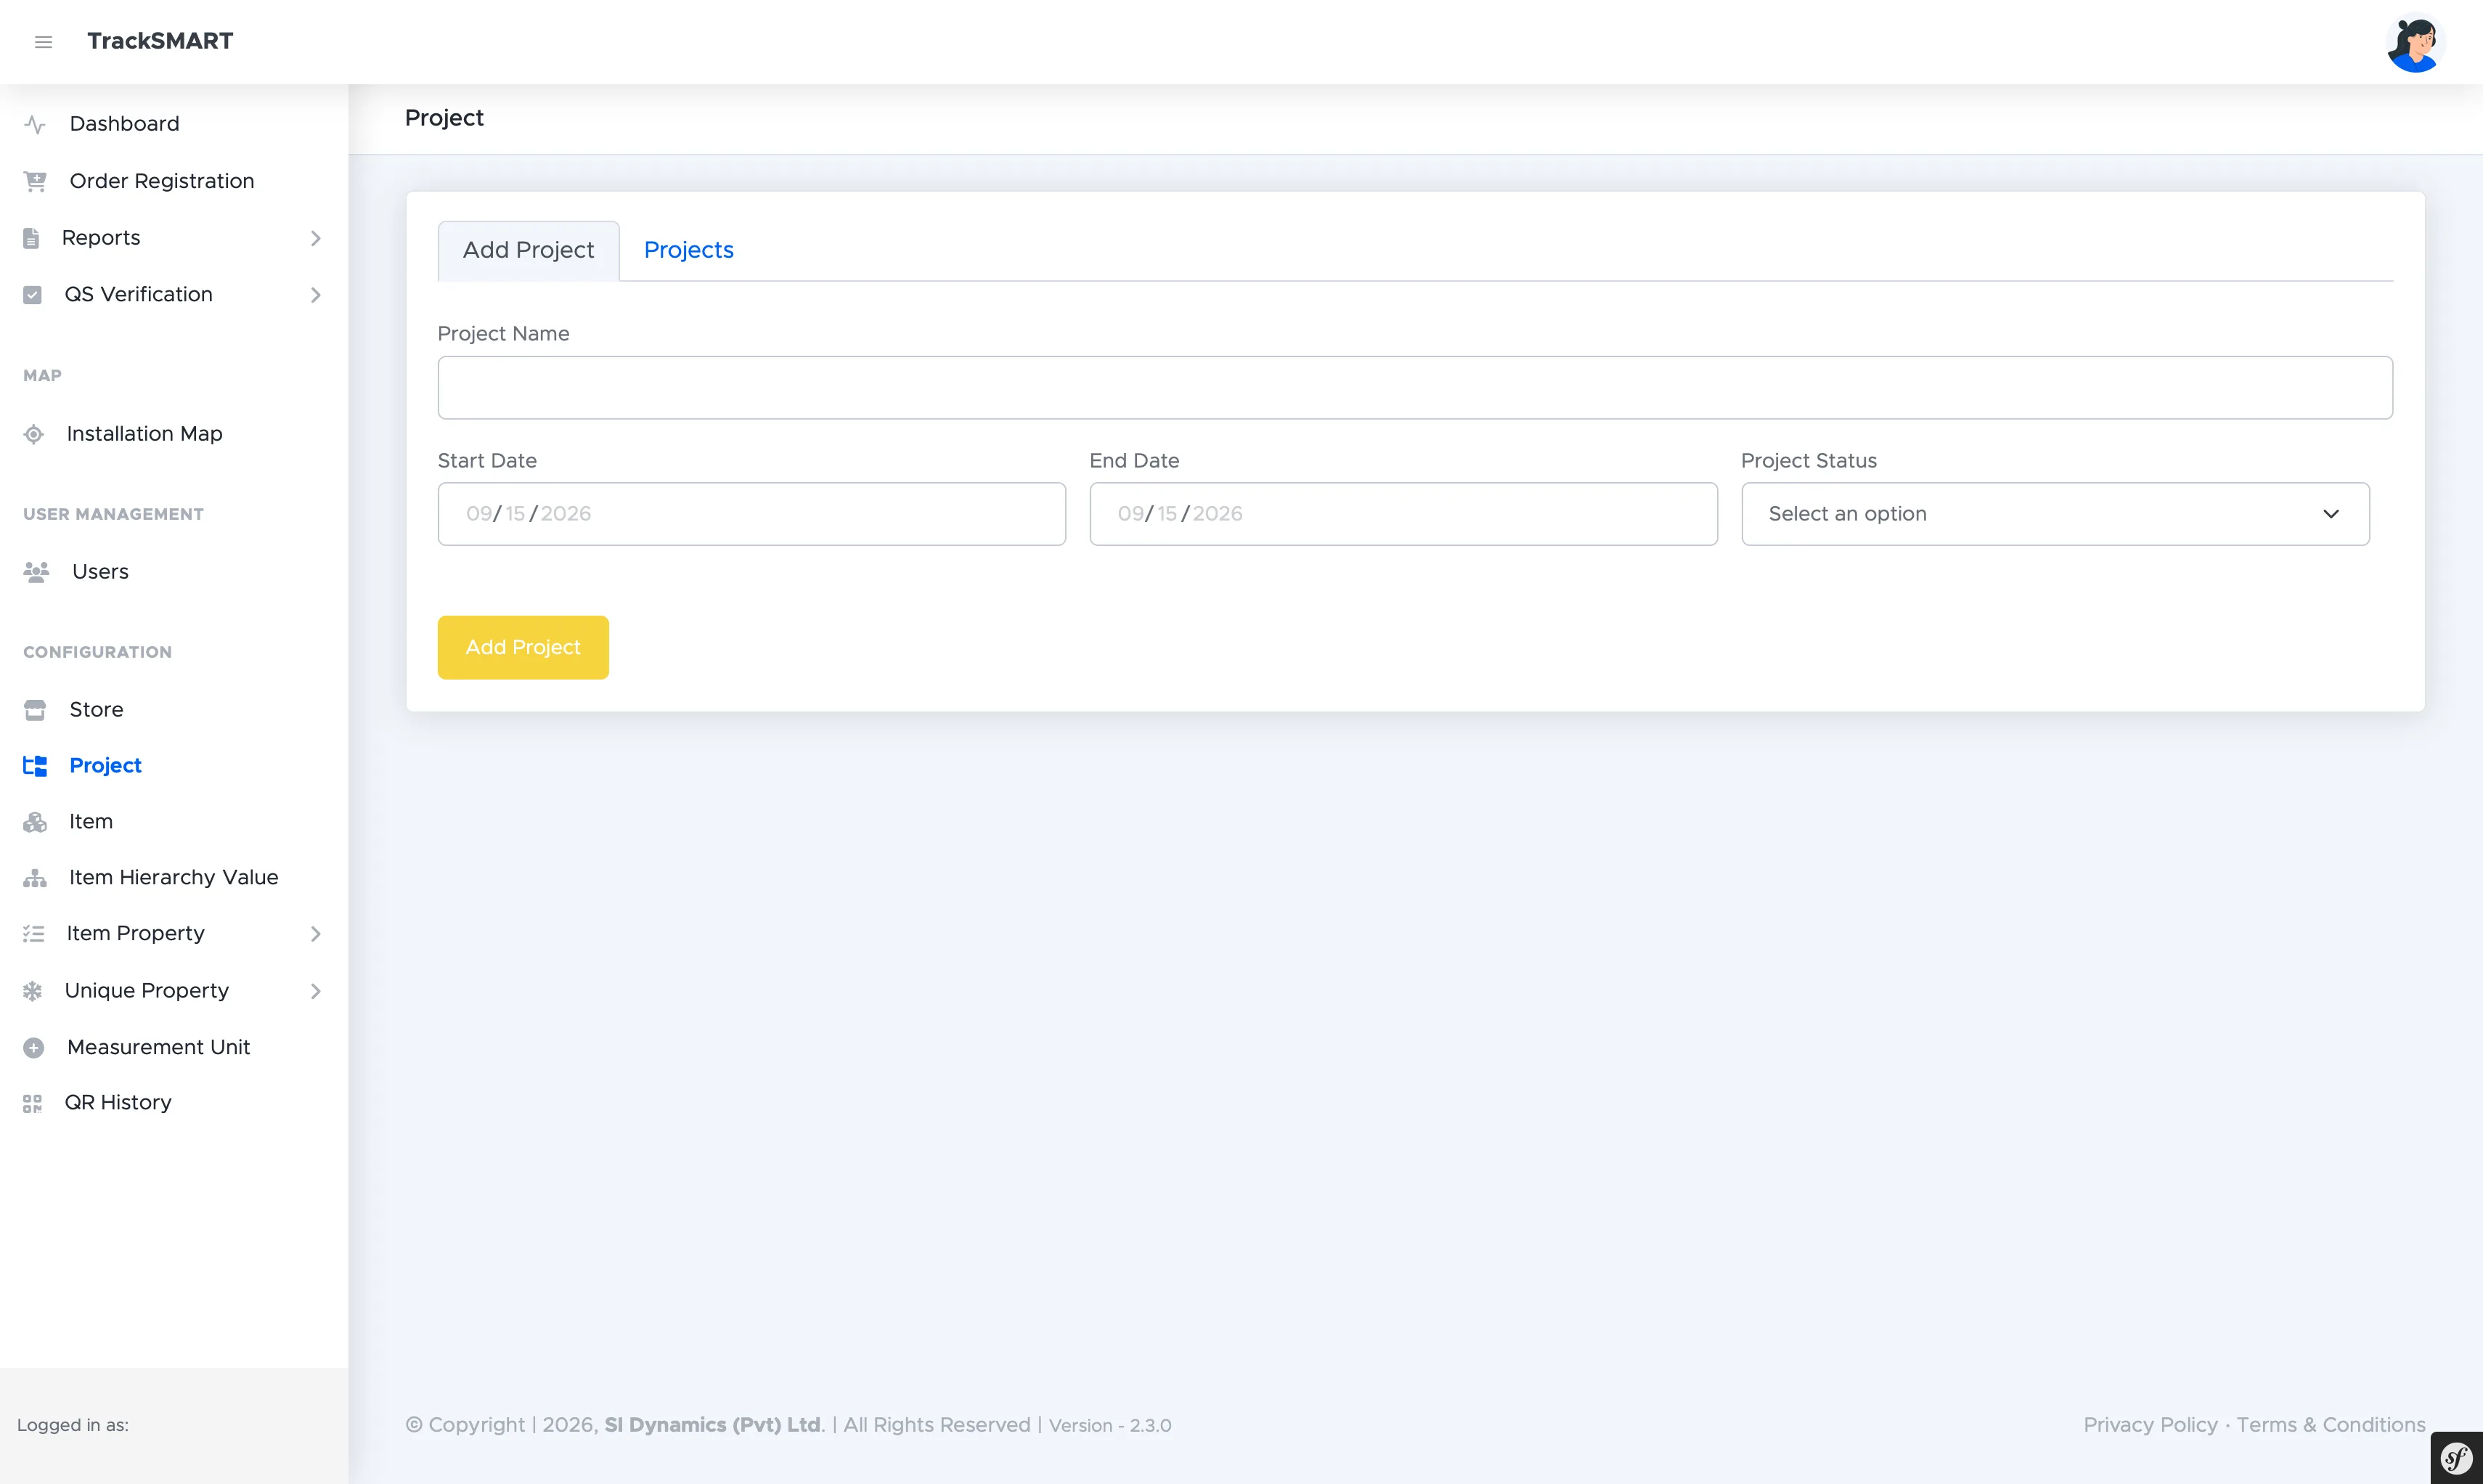
- 1From the left navigation, open CONFIGURATION > Project.
- 2On the Add Project tab, enter the Project Name.
- 3Set the Start Date and End Date for the construction program.
- 4Select the Project Status from the dropdown.
- 5Click Add Project to save. The project immediately becomes available across stores, users, orders, and reports.
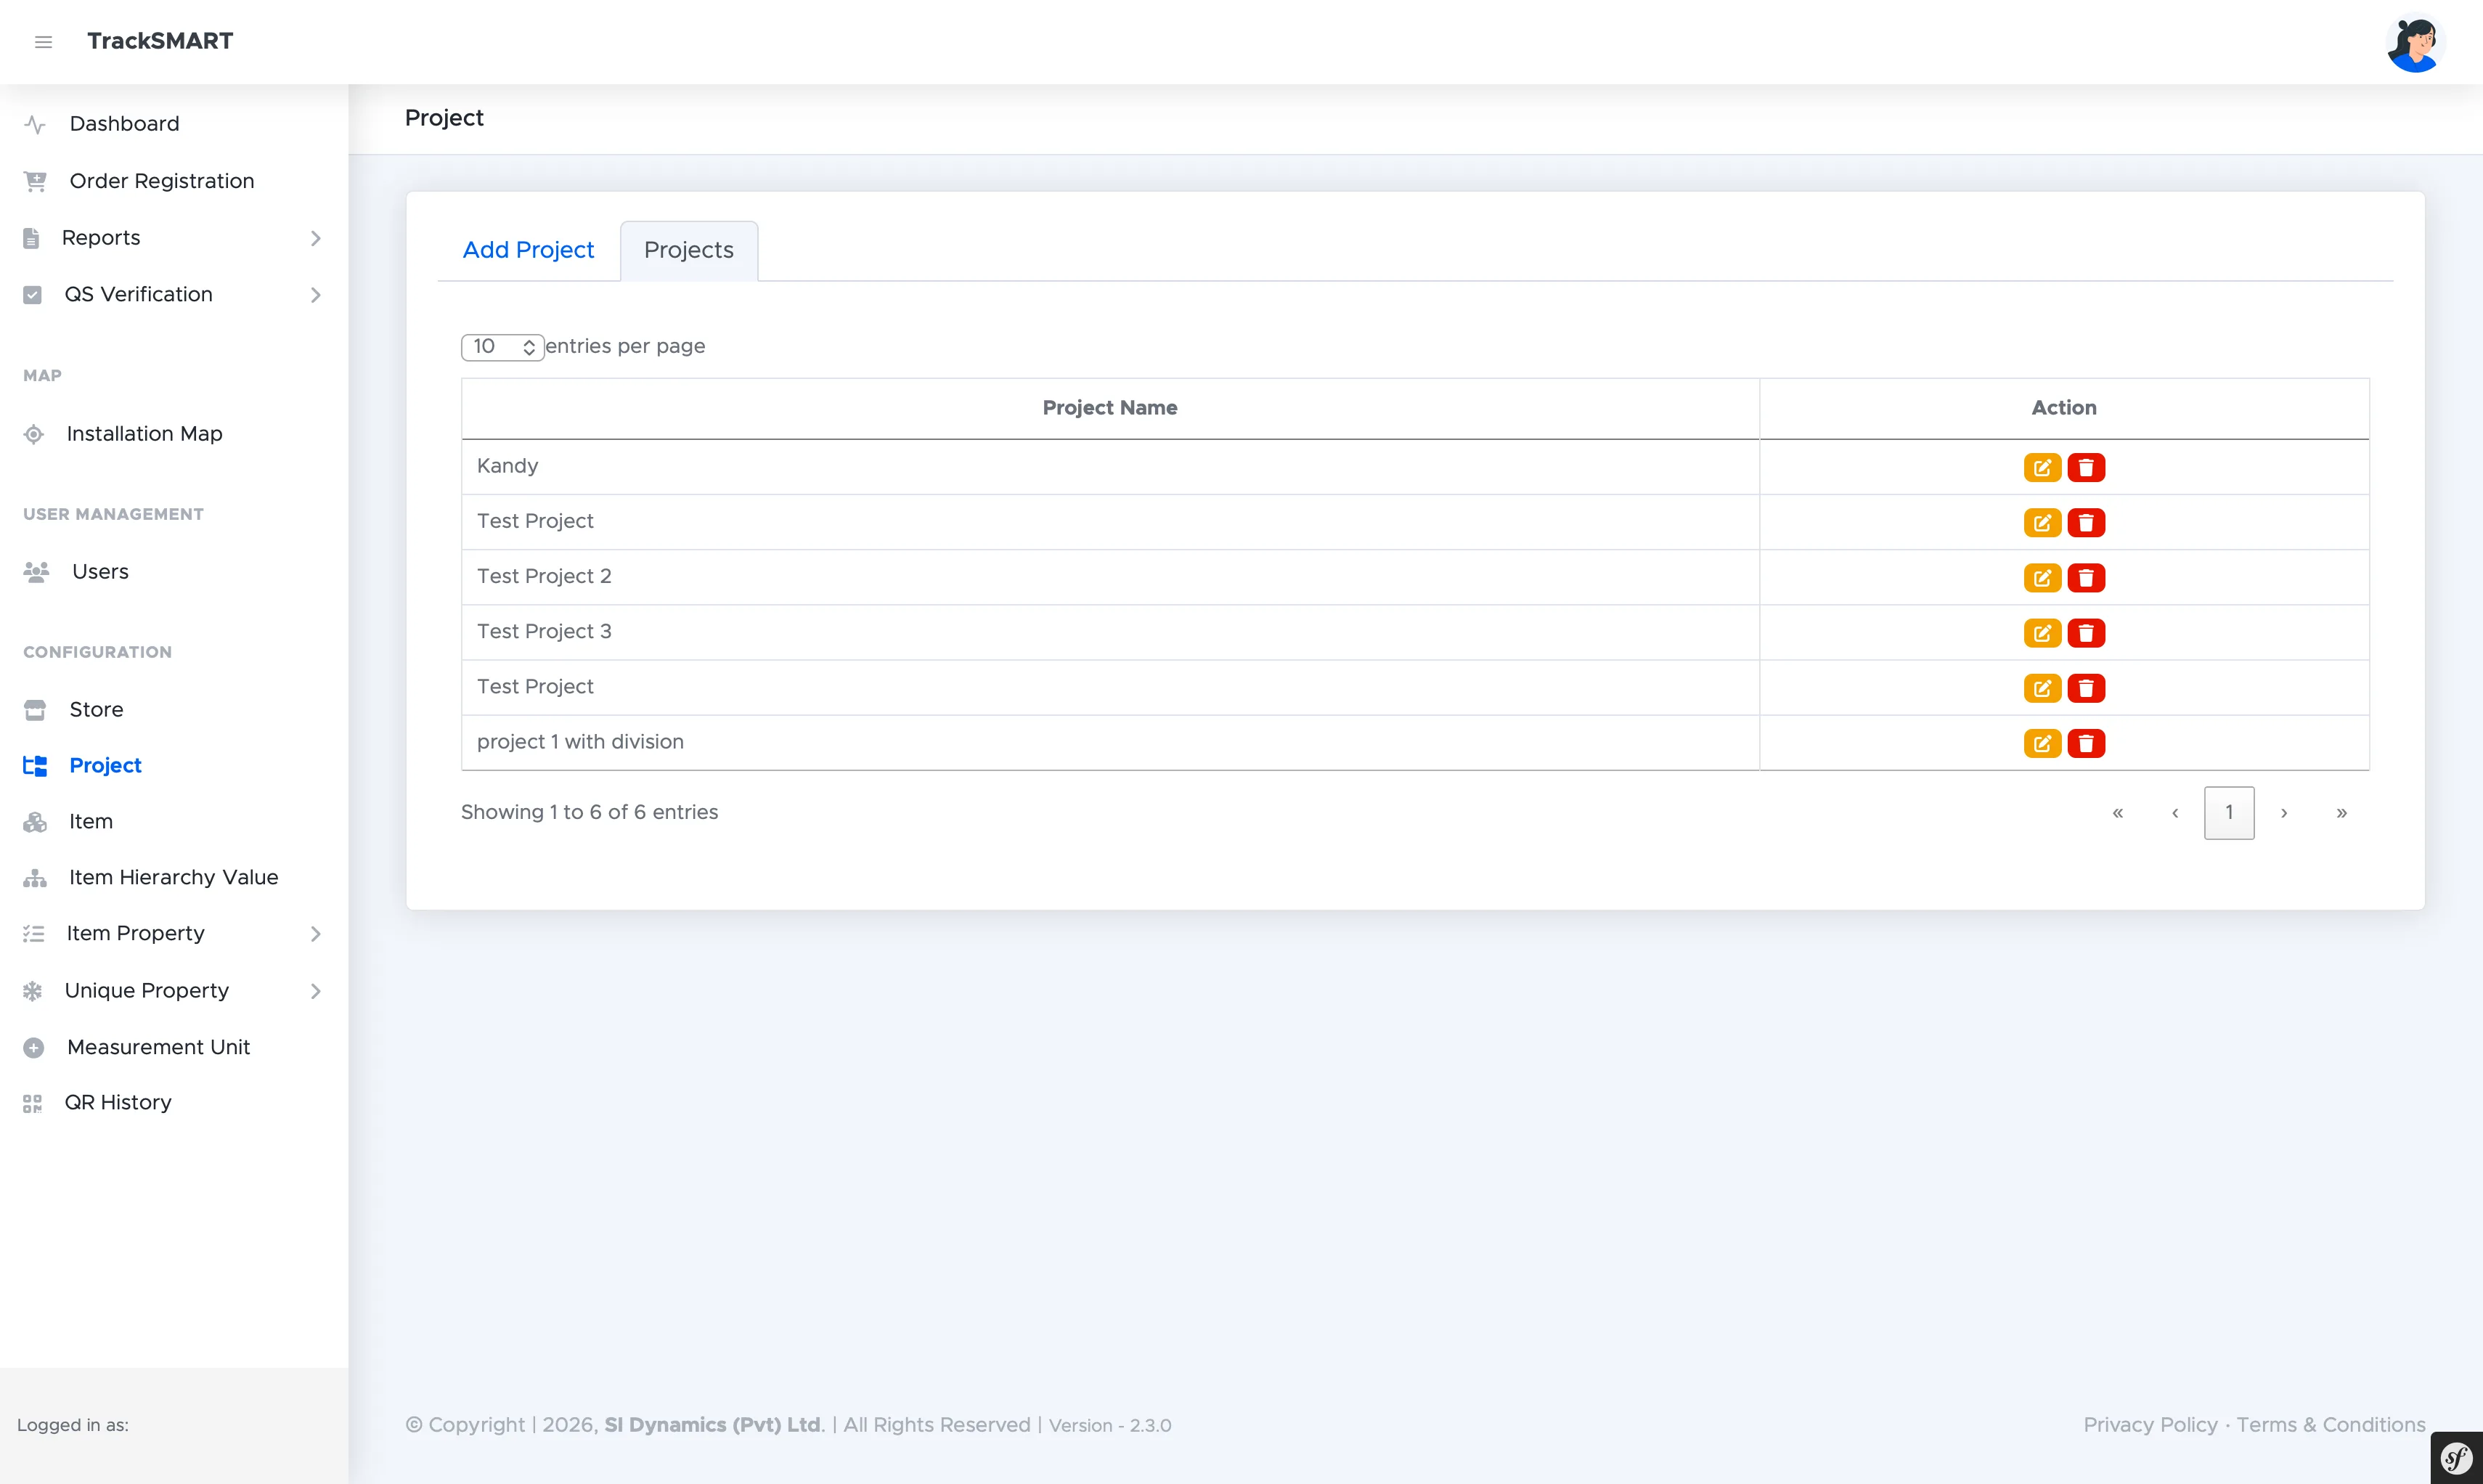
- Use the entries-per-page control and pagination to browse large project portfolios.
- The Action column allows editing project details or removing decommissioned projects.
- Every downstream filter (orders, reports, QS verification, installation map) is scoped by project.
Creating & Managing Stores
Physical warehouses and supervisor-linked stores on each site.
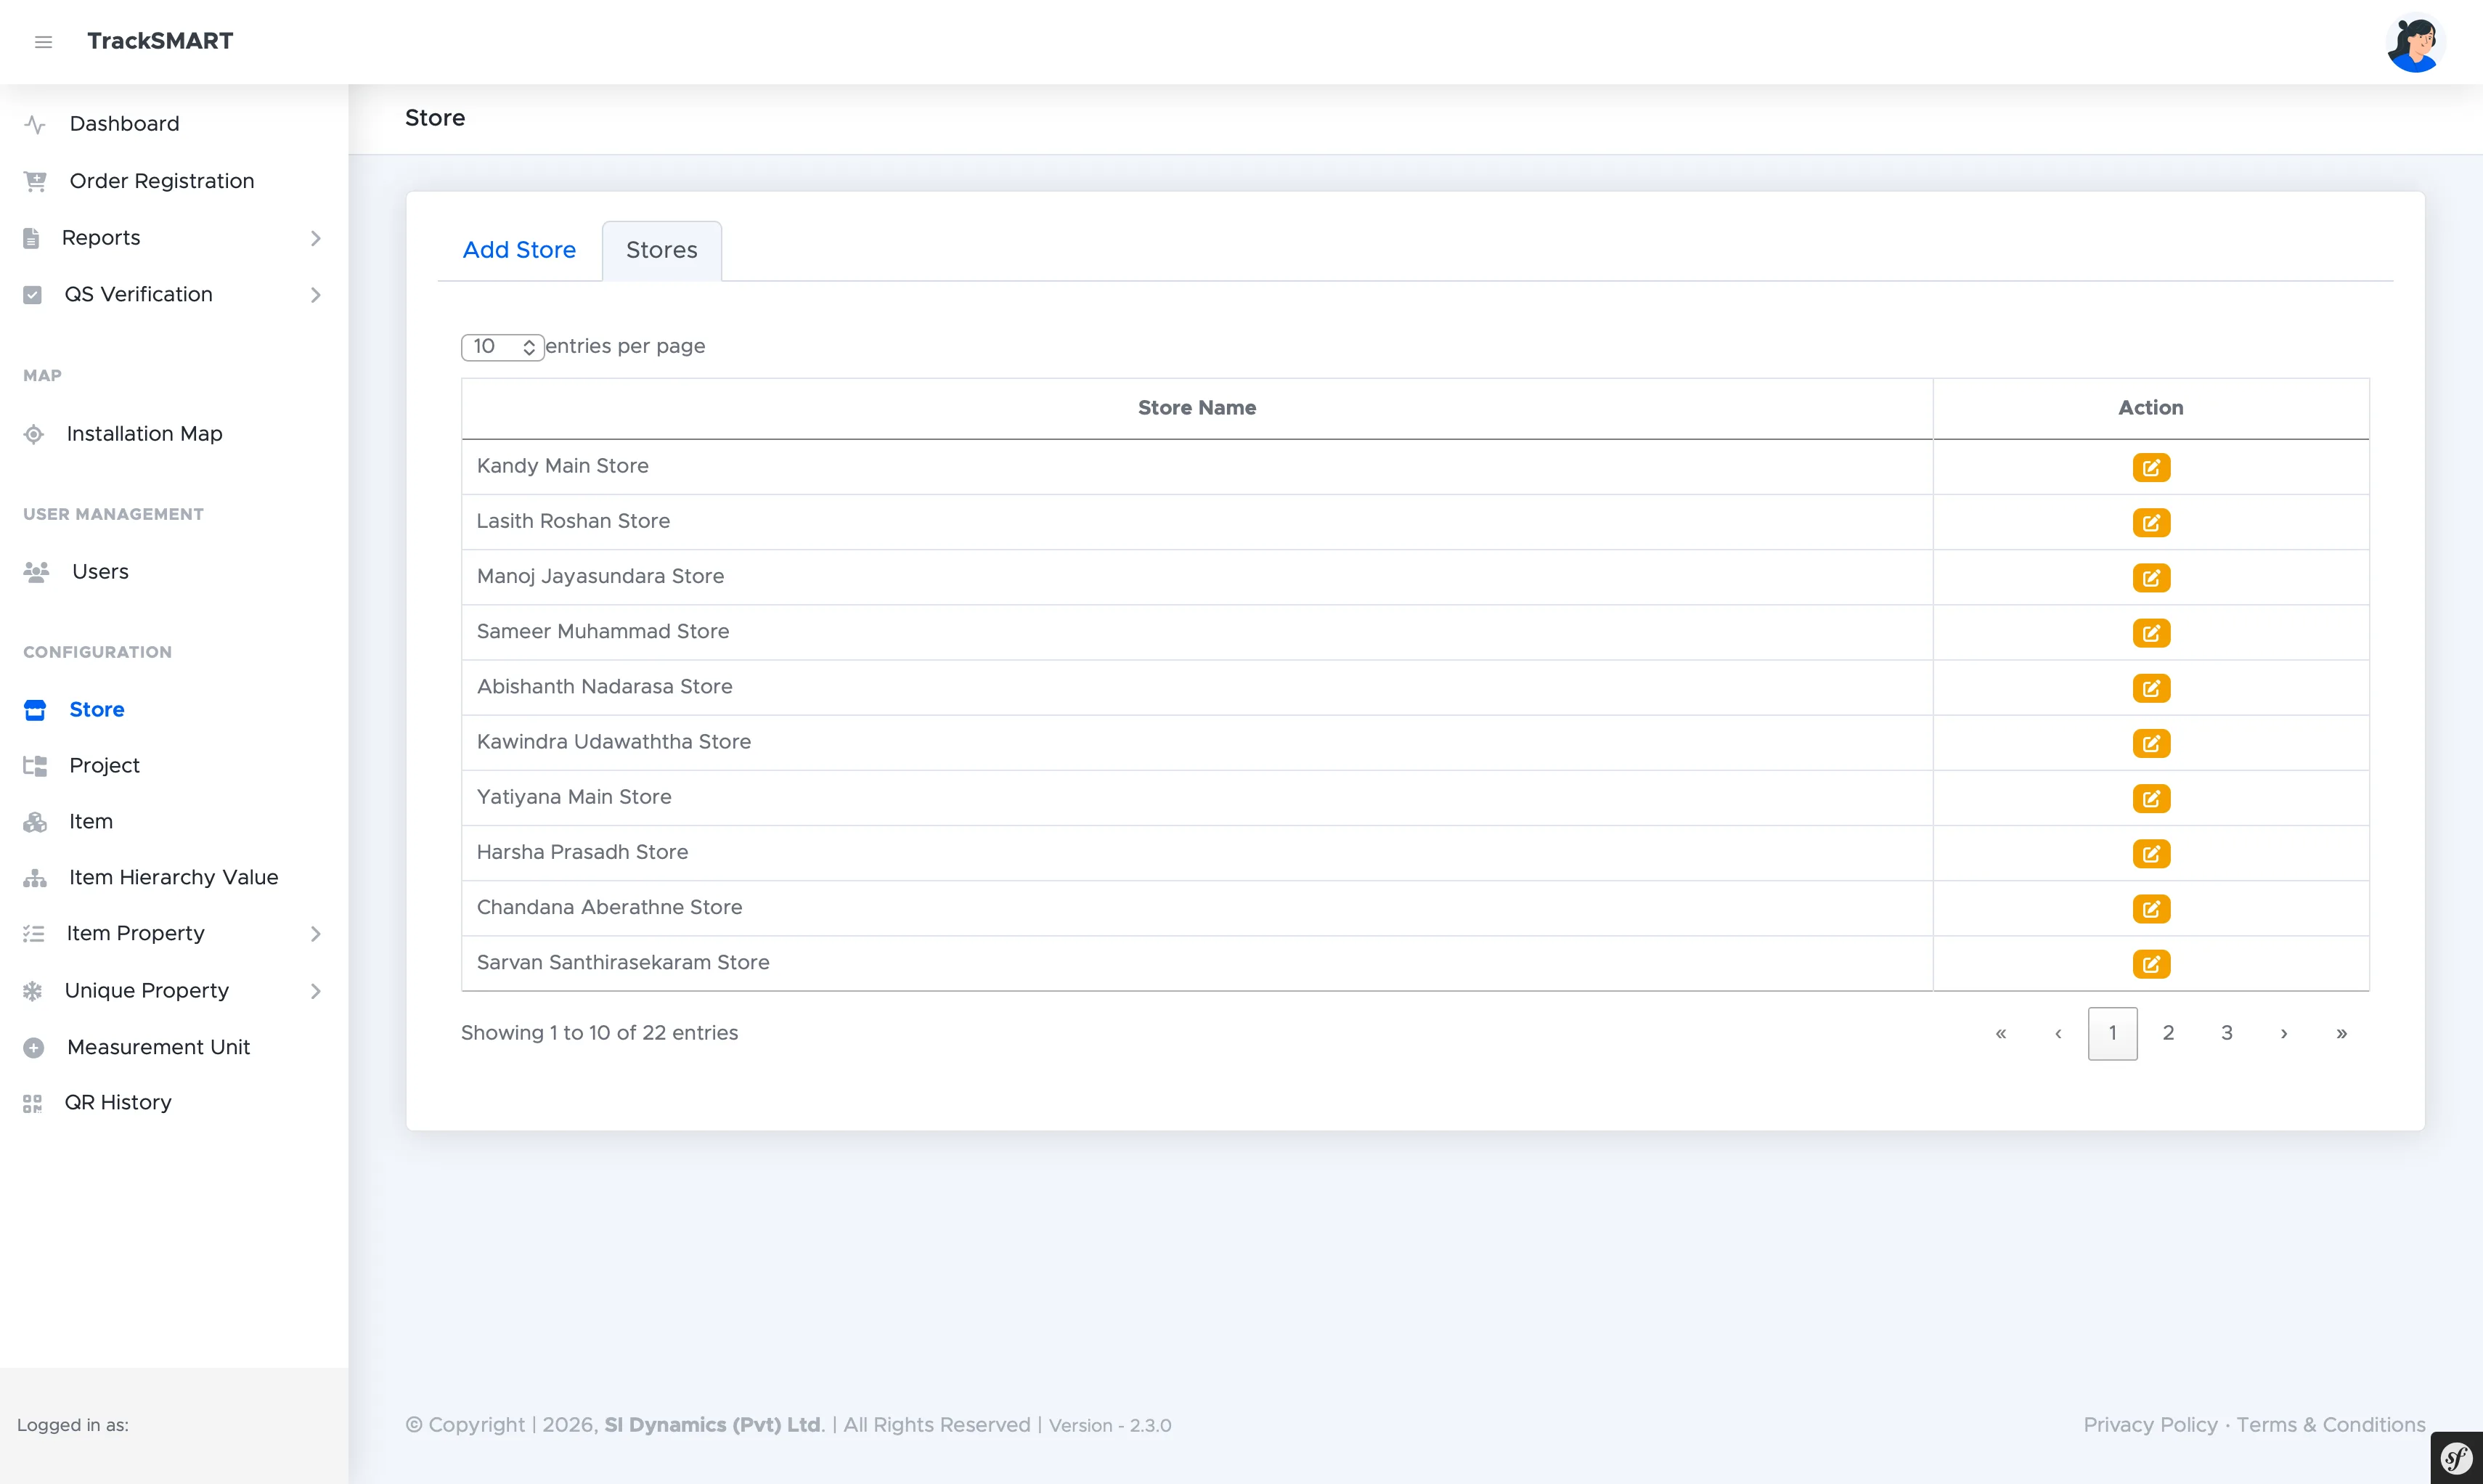
A Store is a physical warehouse or laydown yard on a jobsite. The Stores list shows both main site stores (e.g. Kandy Main Store) and supervisor-linked stores. Storekeepers operate against these stores in the mobile app.
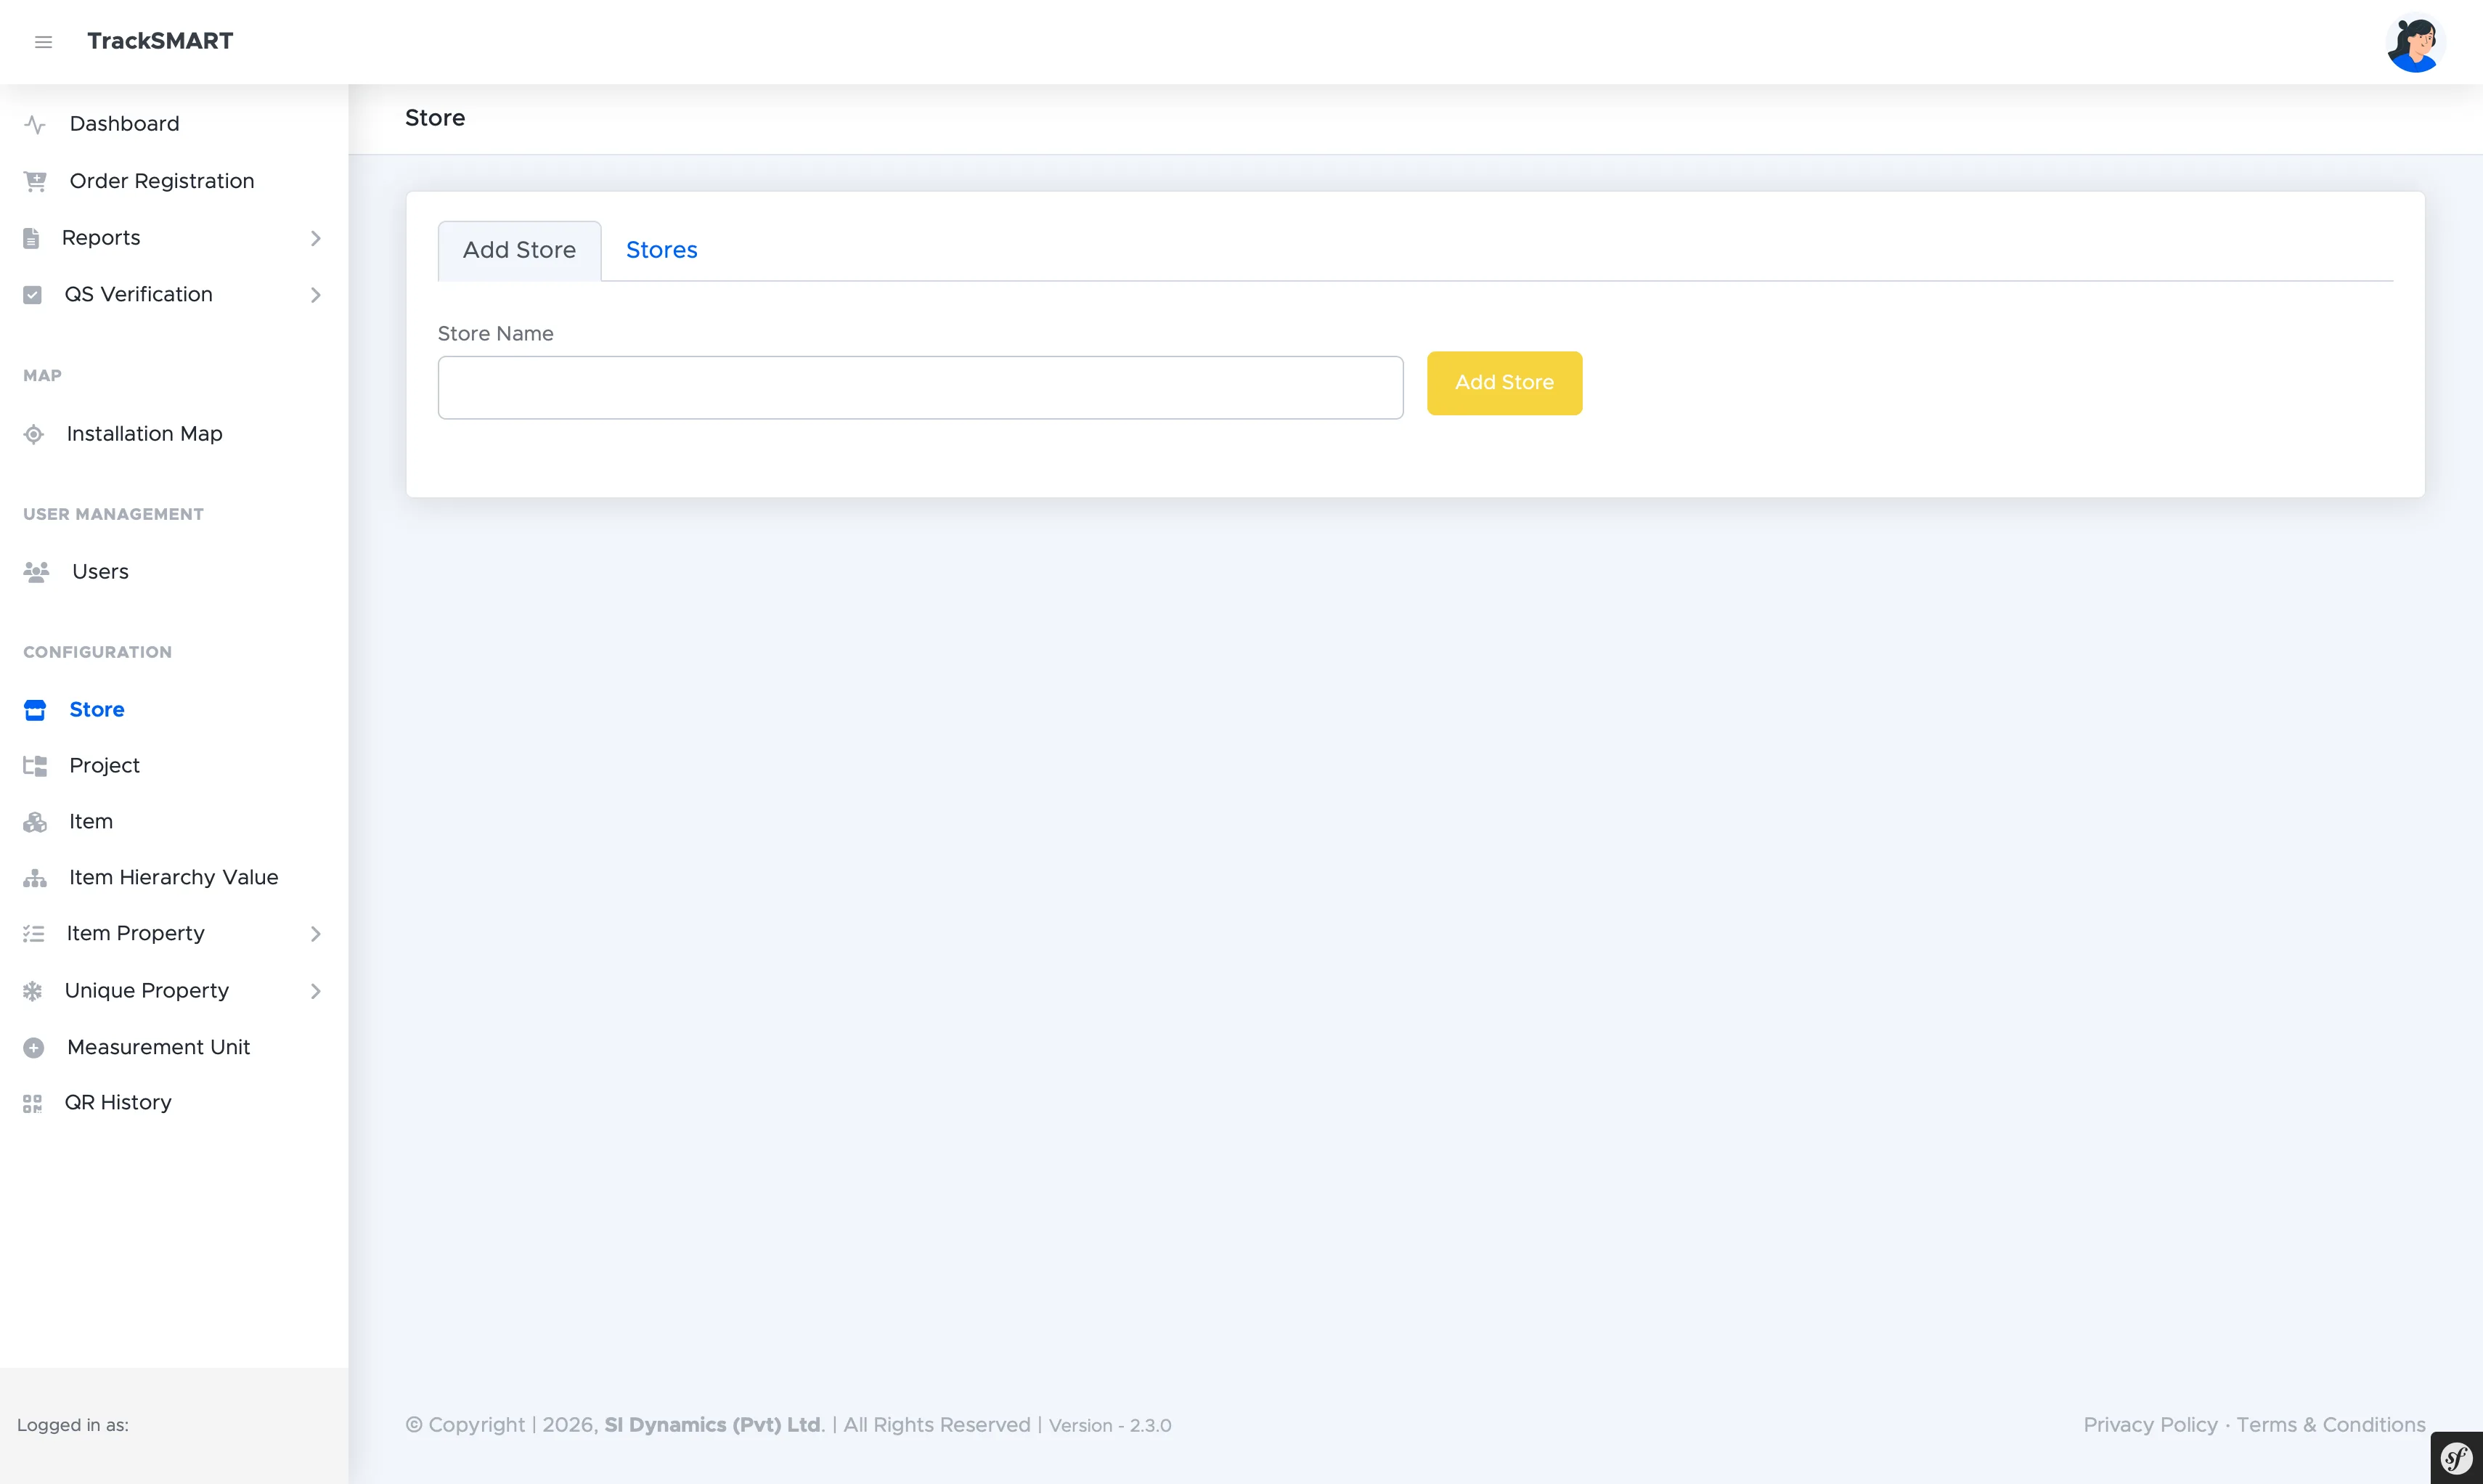
- 1From the left navigation, open CONFIGURATION > Store.
- 2On the Add Store tab, enter the Store Name.
- 3Click Add Store to save.