Web Administration
Order Registration & Dispatch
Placing purchase and dispatch orders against a project — the trigger that makes stock appear in the storekeeper's mobile Receive Order queue.
Placing an Order
Two-step wizard: order details first, line items second.
Order Registration starts the physical chain of custody. An administrator selects the destination project, assigns an order number, then adds the line items being dispatched to site. The moment the order is saved, it becomes receivable on the storekeeper's mobile app.
app.tracksmart.lk
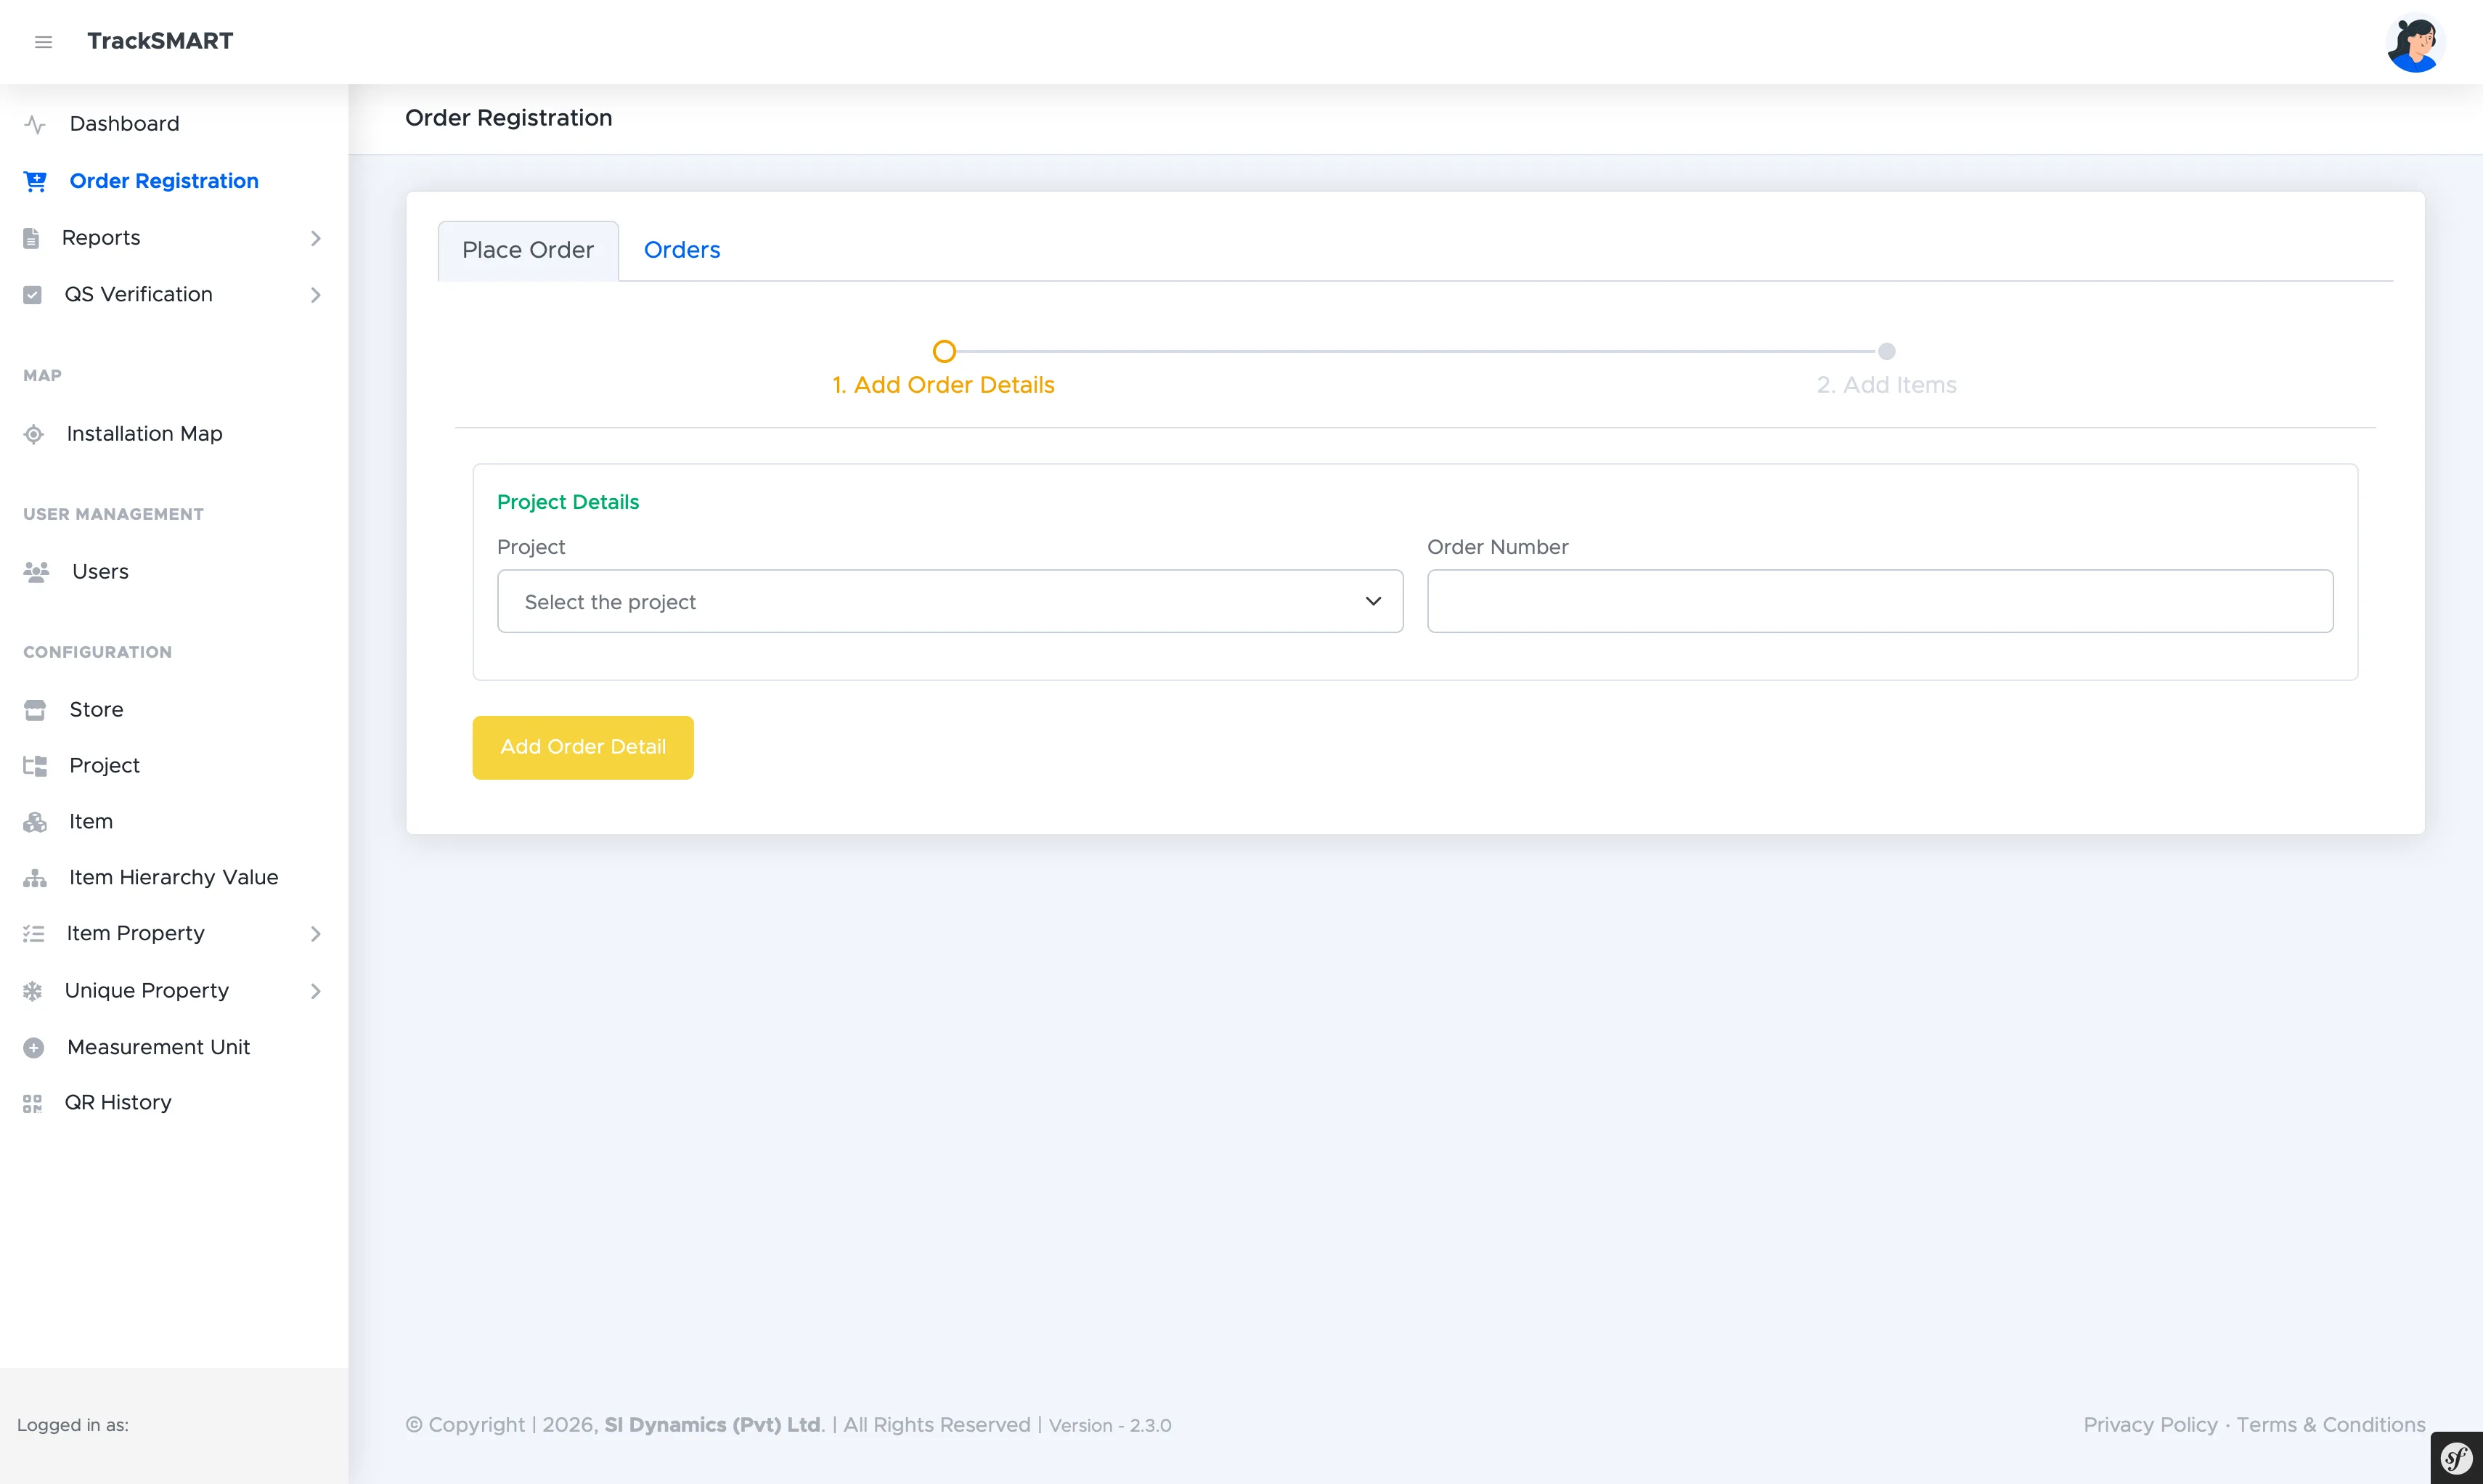
- 1Open Order Registration and stay on the Place Order tab.
- 2Step 1 Add Order Details: select the Project and enter the Order Number.
- 3Click Add Order Detail to create the order header.
- 4Step 2 Add Items: add each catalog item and quantity travelling under this order.
- 5Save the order. It is now visible to the storekeeper under mobile Receive Order.
Reviewing Dispatched Orders
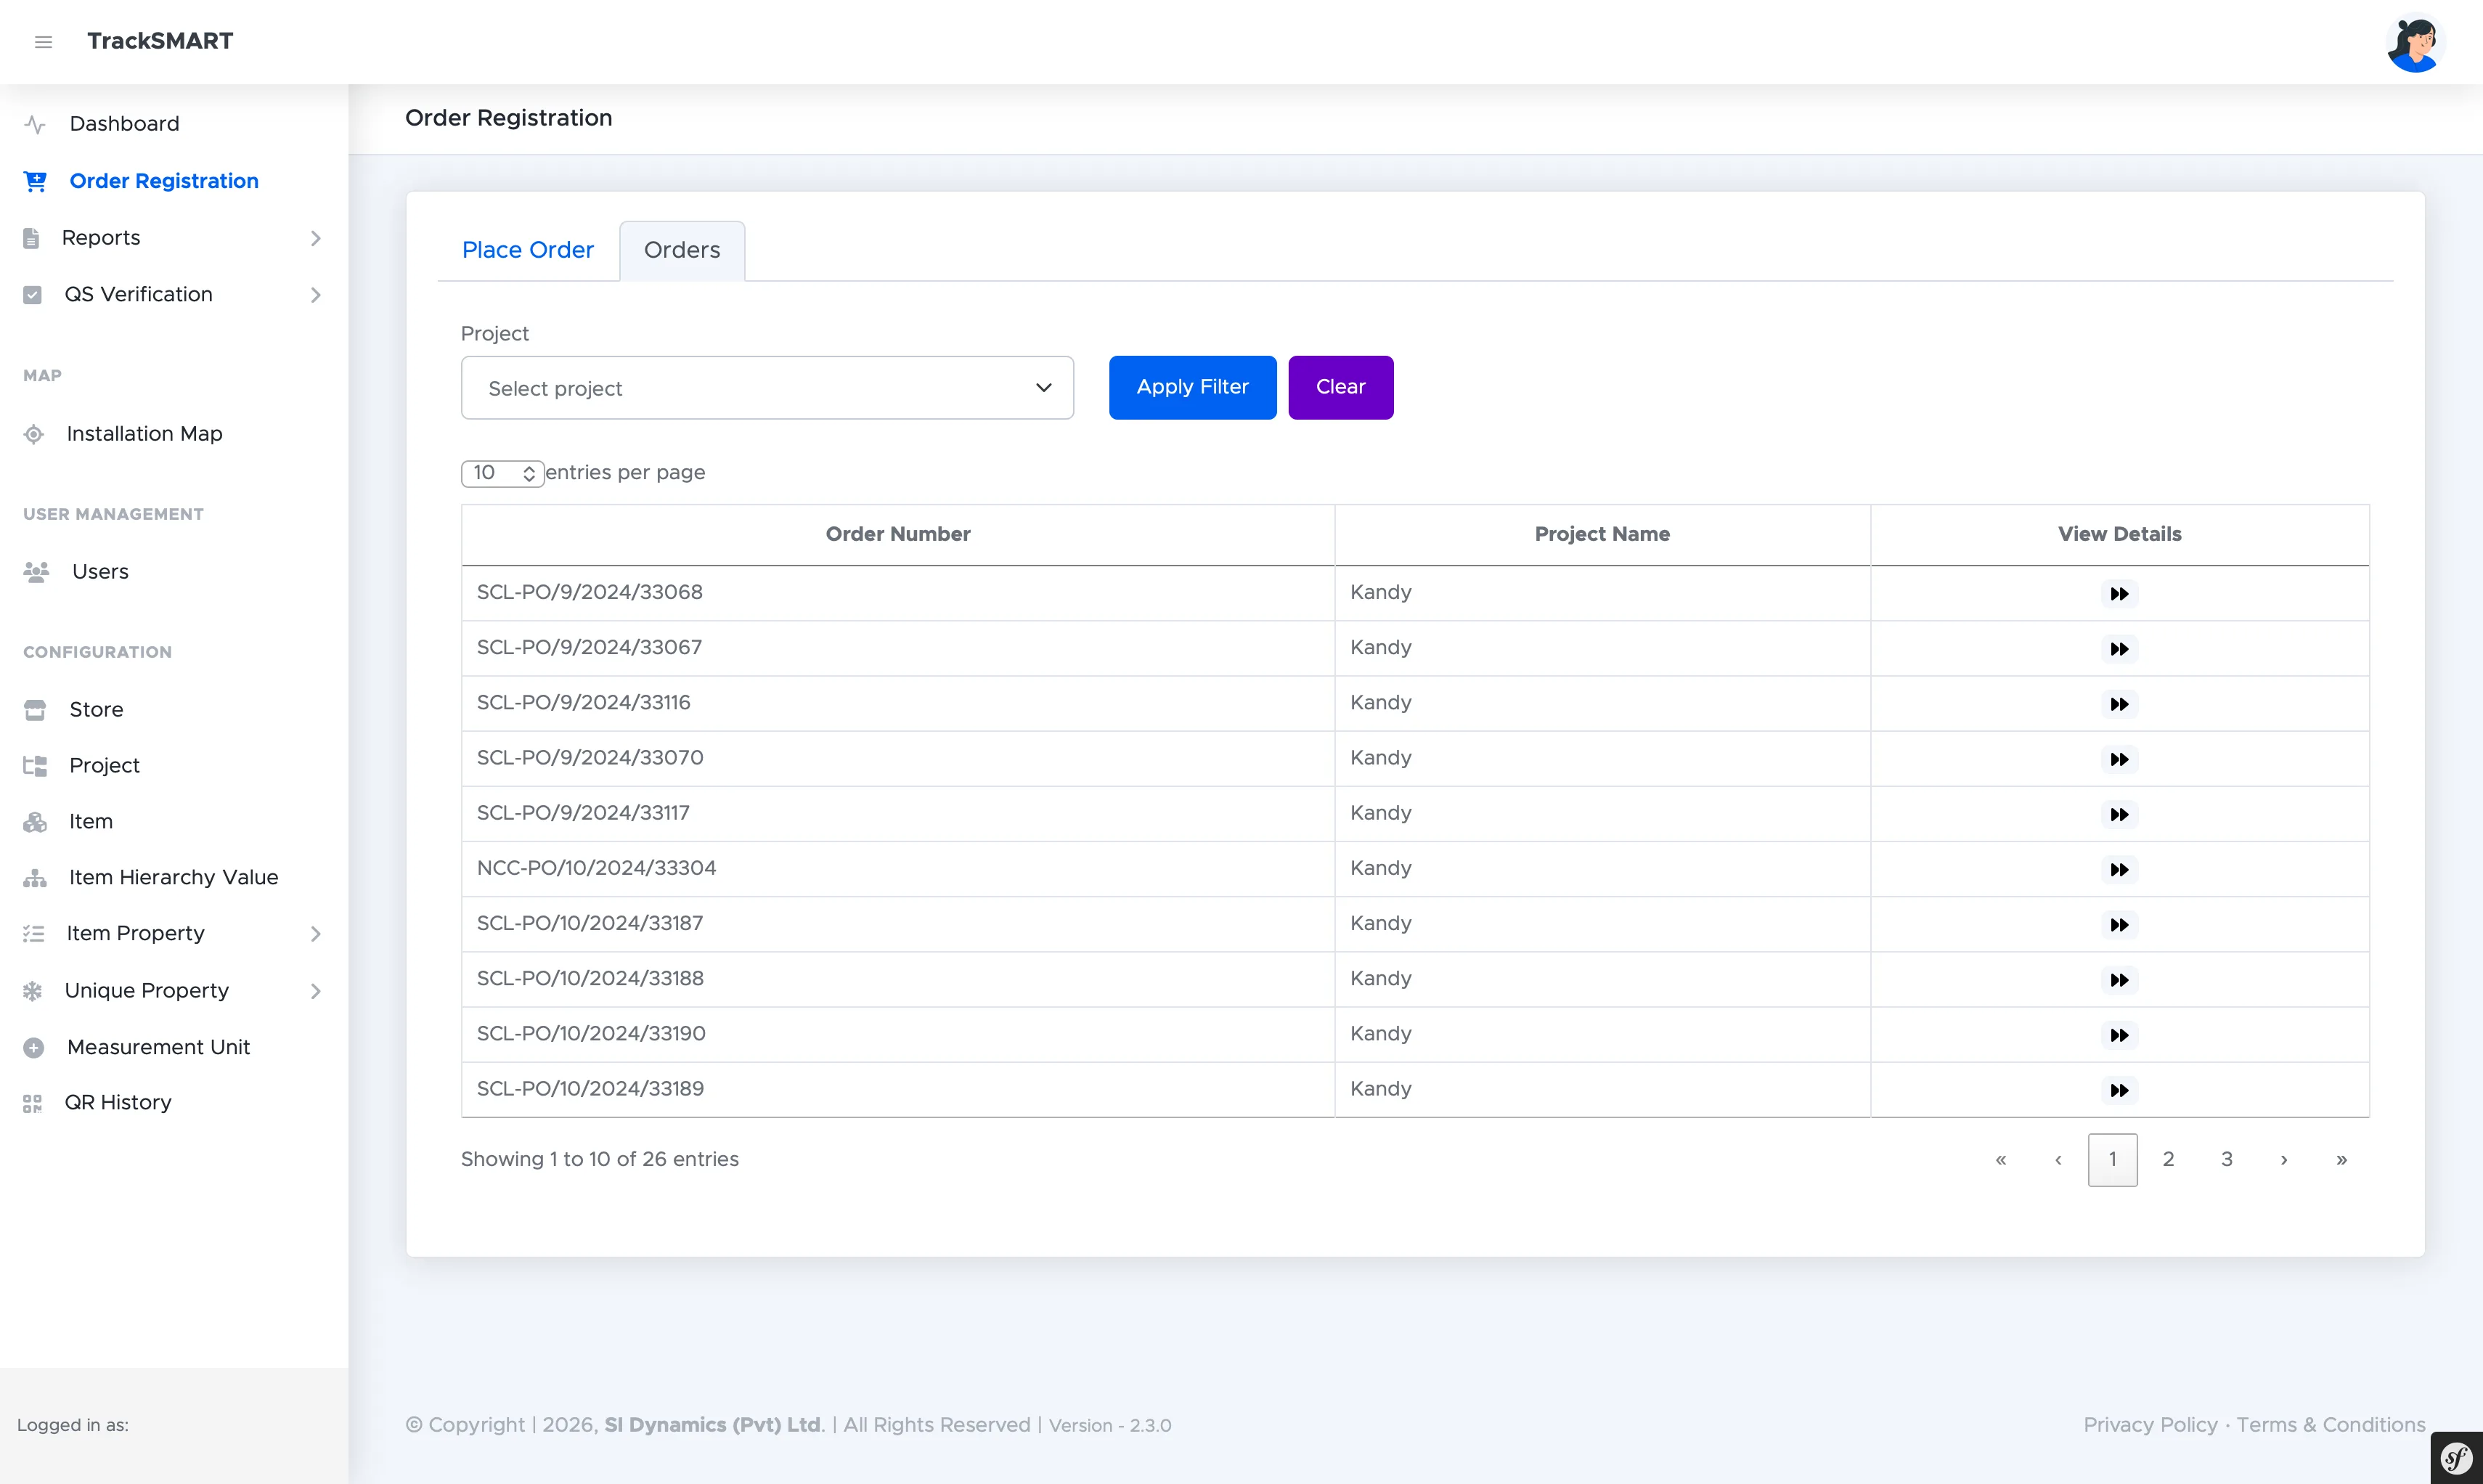
The Orders tab is the dispatch audit trail.
The Orders tab lists every dispatch with its order number and project (e.g. SCL-PO/9/2024/33068 for Kandy). Filter by project, page through the register, and open View Details on any row to inspect its line items.
app.tracksmart.lk